
My son Andrew very kindly gave me an early birthday present of a Nakamichi 8inch subwoofer to match the stereo we have in Rafe.
The boys at Vantage RV had warned me not to install a subwoofer as they can draw heaps of power but having done this before on our old Whalechaser Rorqual, I felt confident we could do this without thrashing Rafe’s batteries.
I’ve found that speakers generally tried to reproduce the whole range of sound but compromised to get full depth with the bass. It tended to take the edge off the treble and mid range and add some distortion as well.
By adding a subwoofer and directing all the bass at the sub and removing it from the mid range speakers, you get a much cleaner sound but still with the depth from the bass. Also with motorhomes, you get to remove the bass from the door speakers and get rid of some rattles 🙂
When I did this with Rorqual, my first version of the installation had a bit of a boy racer look to it as soon as you entered the saloon.
I got a bit of stick from a couple of fellow Classic Yacht Association committee members who were telling me it was “Very non CYA compliant” and it needed to be addressed fairly quickly 🙂

My second attempt with a teak grill which I made with glue and clamped together looked vastly better. The sound was spectacular with several saying it was one of the better boat stereos around. Since then, my son Andrew has removed everything I did, and taken it to a whole new level !

Anyway, back to the birthday present !
I was surprised how heavy it is for its size. There must be some serious speaker magnets and stuff in there. I was also quite surprised to hear they can draw up to 80 amps ! I suppose that’s if you’re really cranking it. As I said, for me its about having the quality of the sound rather than the volume.
Remember to click on the images for the detail

After arriving at Vantage to get it installed and getting past all the jokes about trying to be a 15 year old again :-), Phil got the job of installing it.

We had a spot under the table on a kick board which is well out of the way and I figured that would make it easy to get at the dashboard where the stereo and power was .. How wrong could I be!
It was the perfect place but getting the wires across the floor wasn’t an easy task and then getting the big 80 amp cables across to the house batteries under the drivers chair, meant actually pulling the chair out! It was turning into a major.
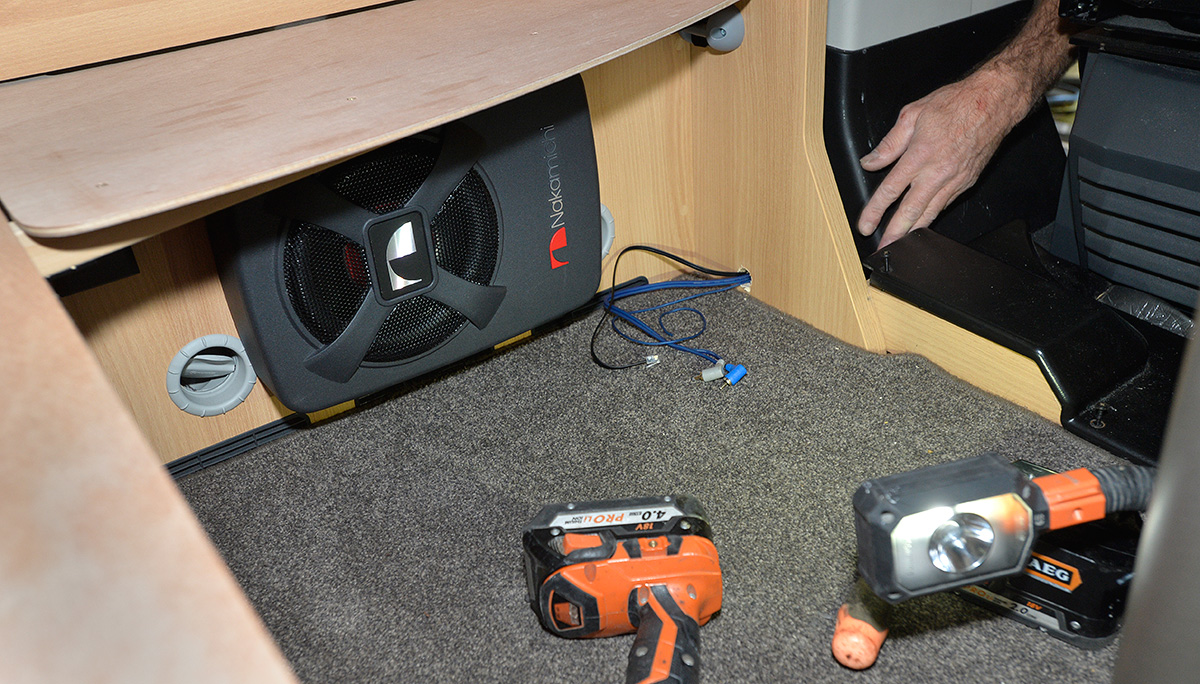
There was a stage it looked like a nightmare with all the wires out of the dash, the starter battery box opened on the floor, the drivers seat removed, it looked pretty chaotic but as quickly as it came apart, with a bit of time, it all tidied up.

Another hour later of finishing the wiring and putting the stereo away in the dash, it was all good.

The sound was spectacular. Later that night, Andrew helped me tweak bypass levels and whatnot with the stereo and it sounded amazing.
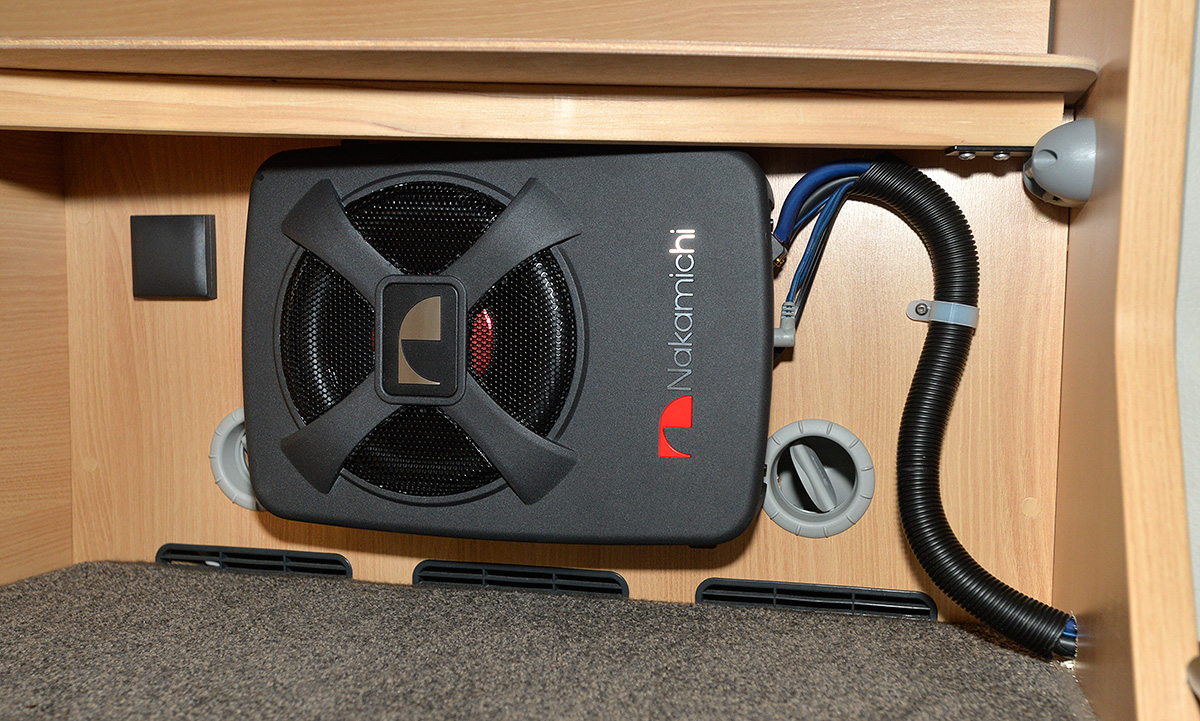
I also got a switch installed on the dashboard to disable the sub in case the power becomes an issue. As always, Phil did a magic job of the installation with all the cables in conduit and tidied up with the appropriate clips.

You must be logged in to post a comment.