

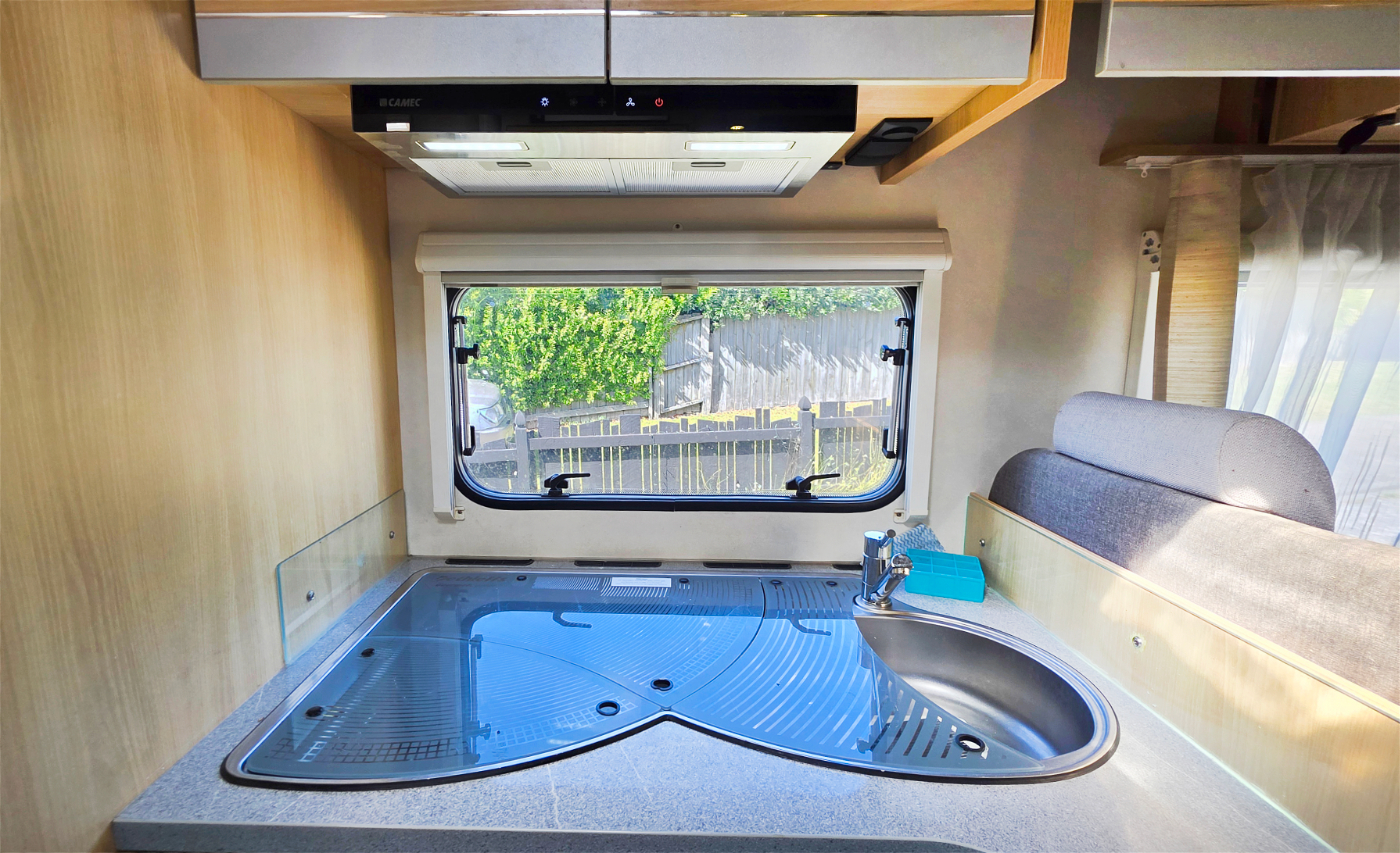
A random trip into the Motorhome a week or so ago to get something and I heard a fan going. No lights, no indication as to where the sound was coming from. A process of elimination showed it was the extractor in the Galley.
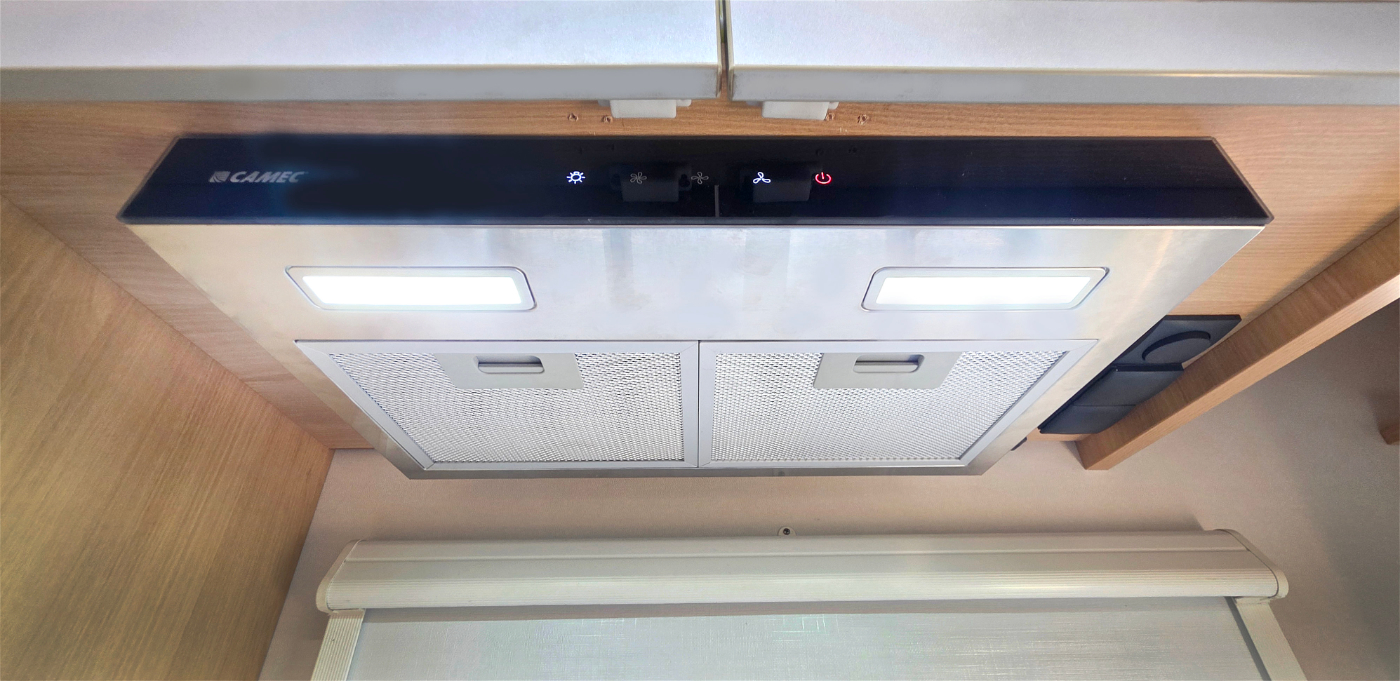
On a closer inspection with a torch, I could see water between the top of the extractor and the underside of the cupboard where I was attached. not much but how long had this been going on for? I pushed all the buttons to switch it off which are usually lit and nothing worked, it just kept going. The switch next door which feeds it finally turned it off.
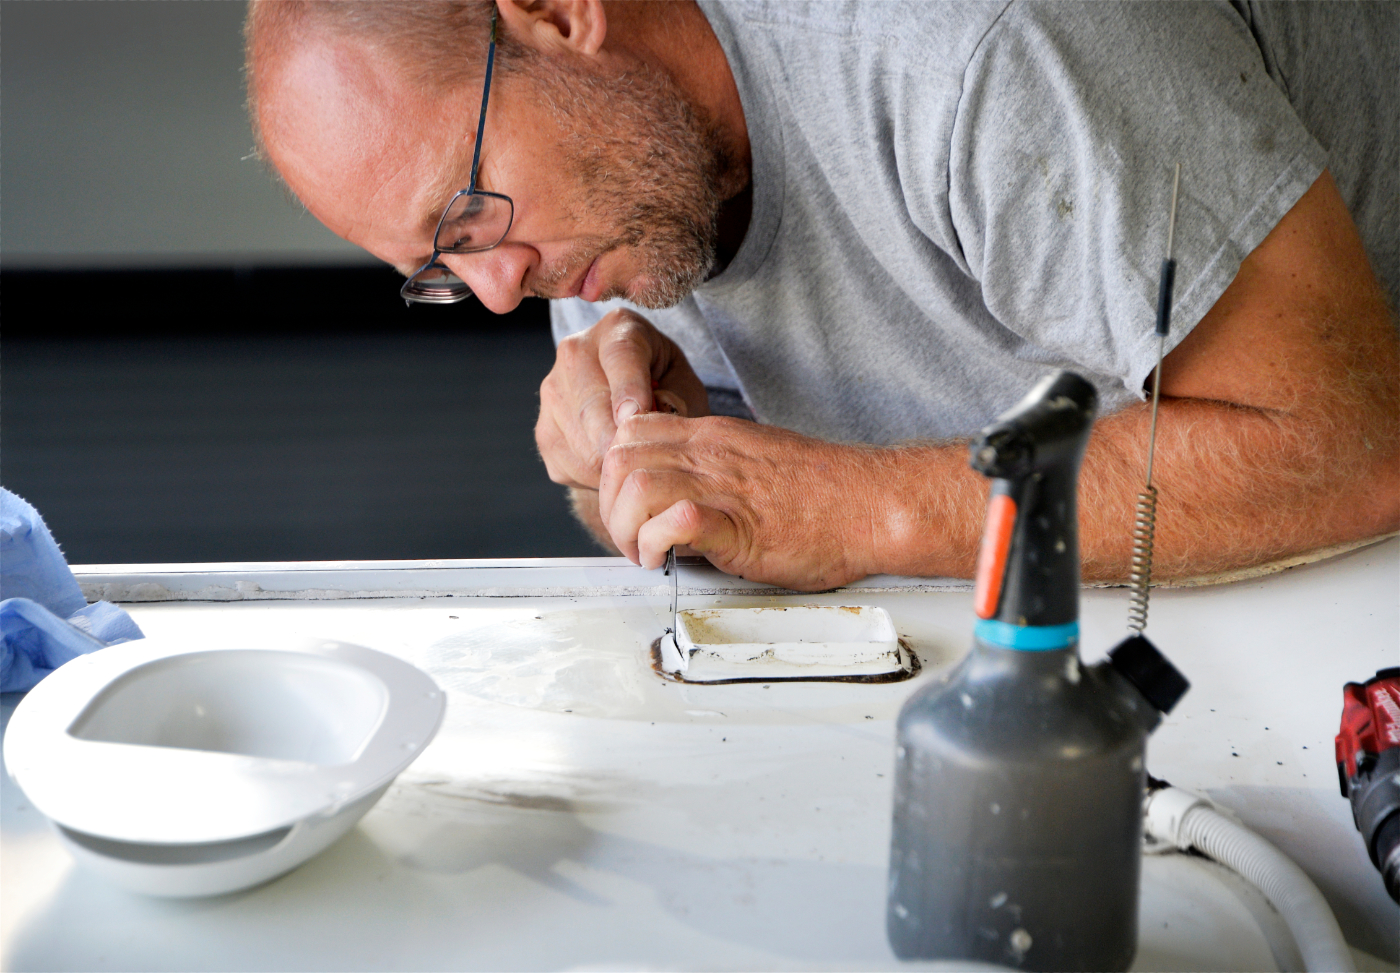
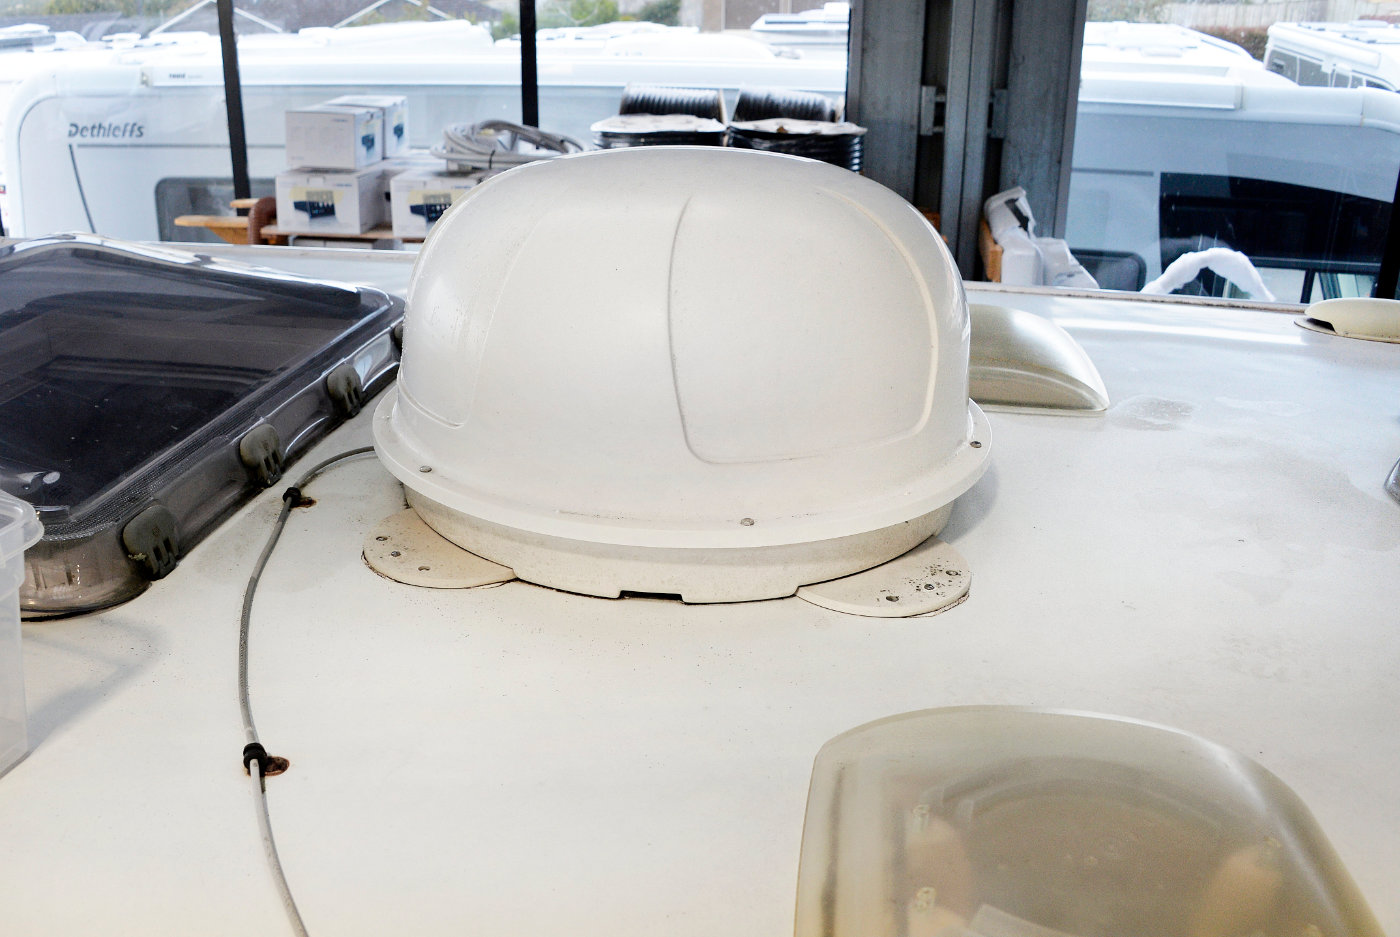
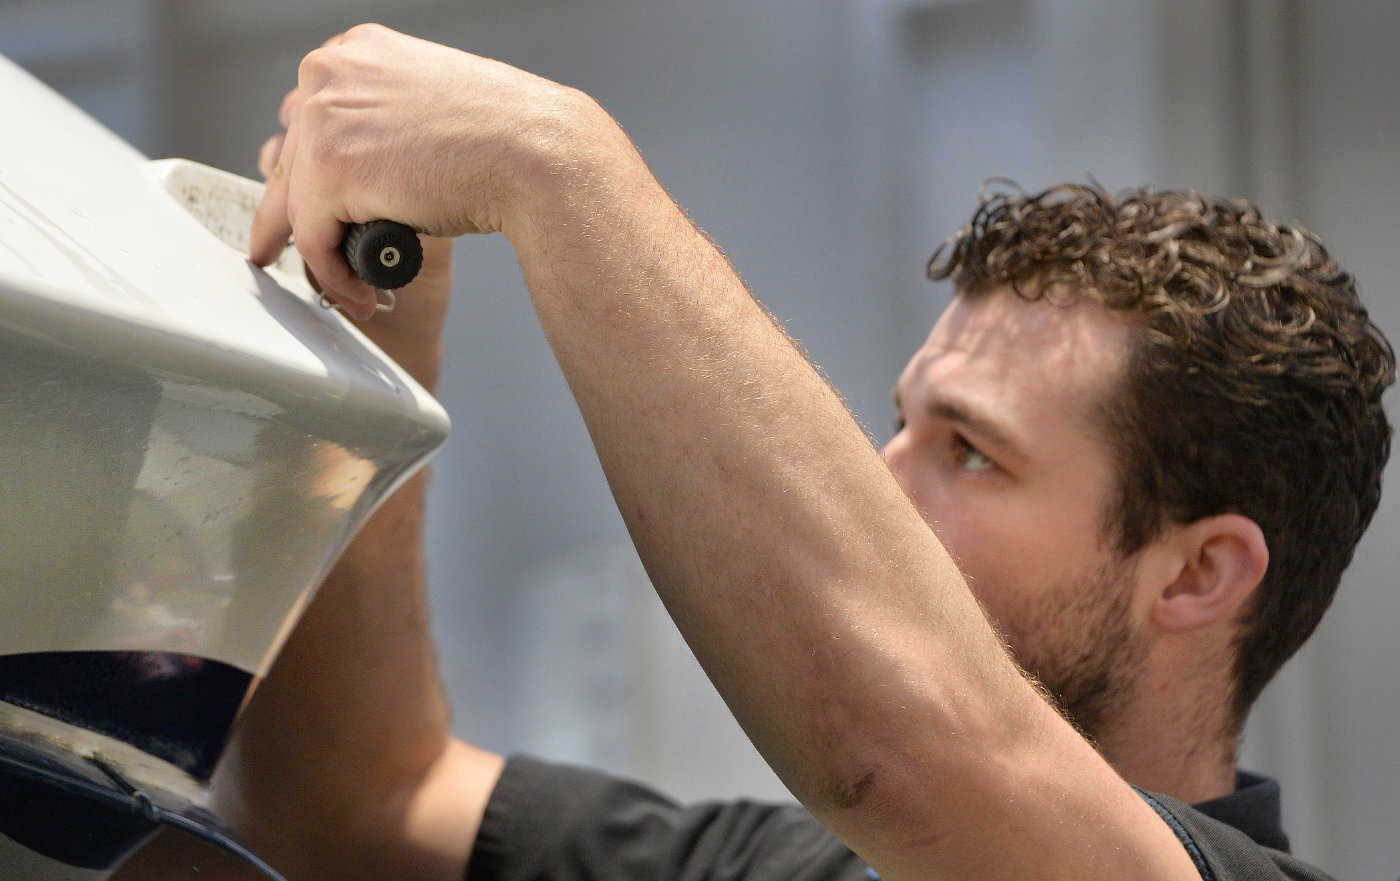
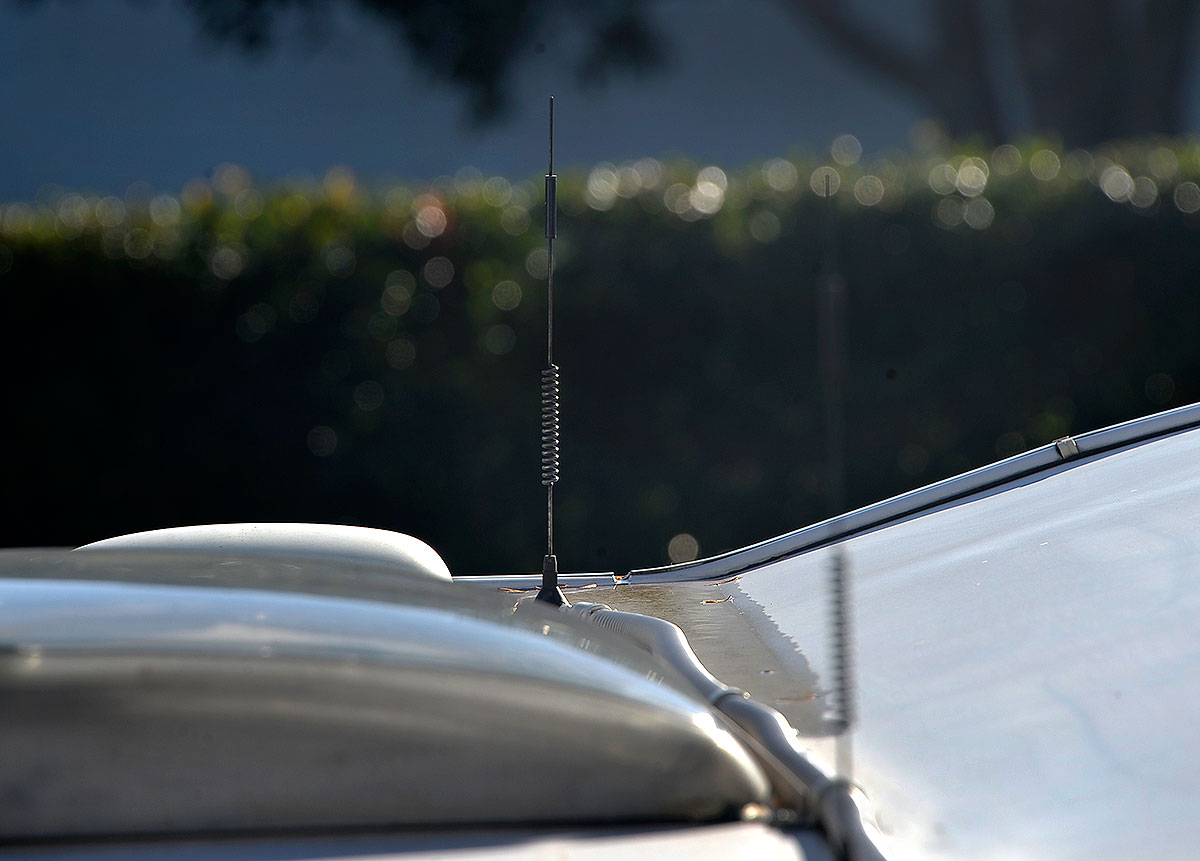
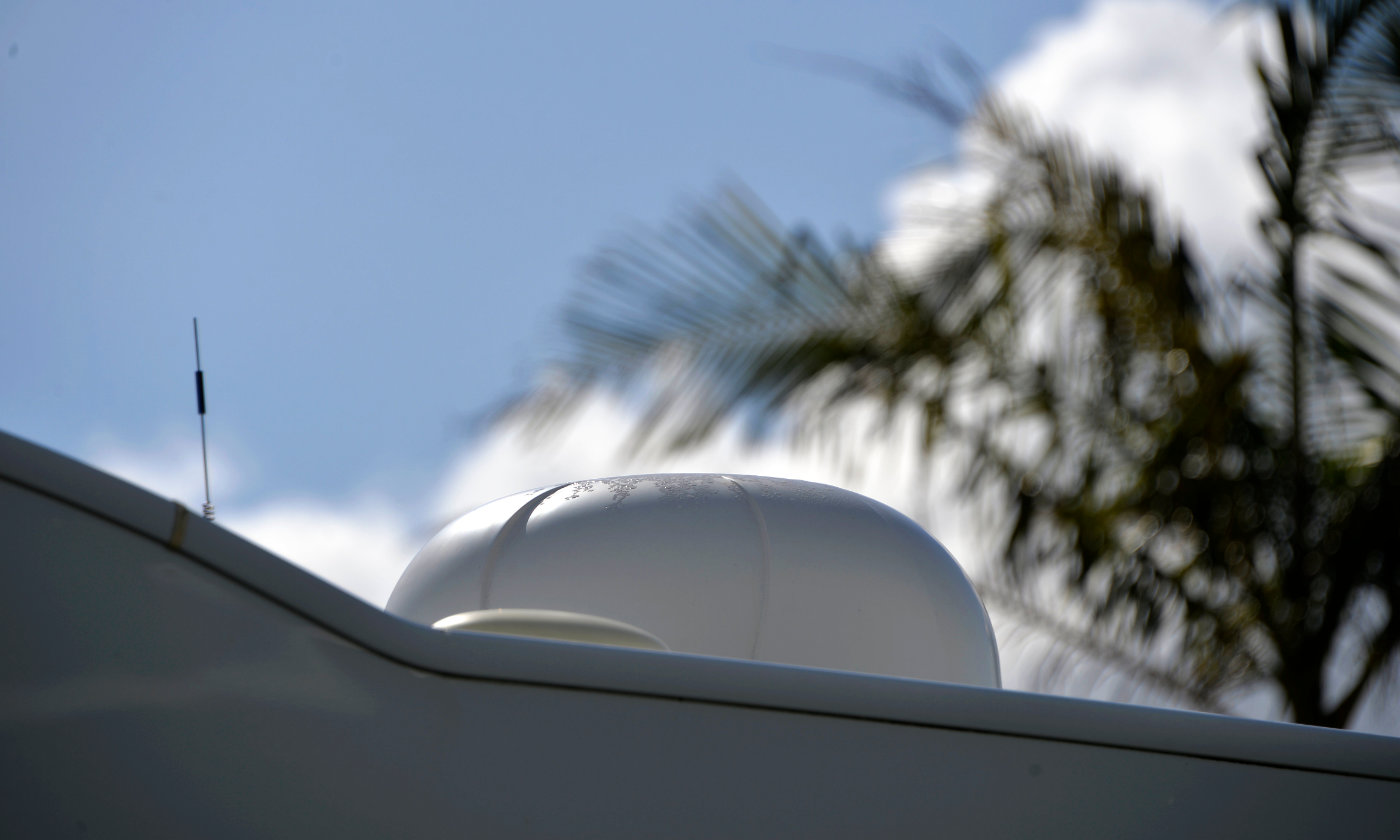
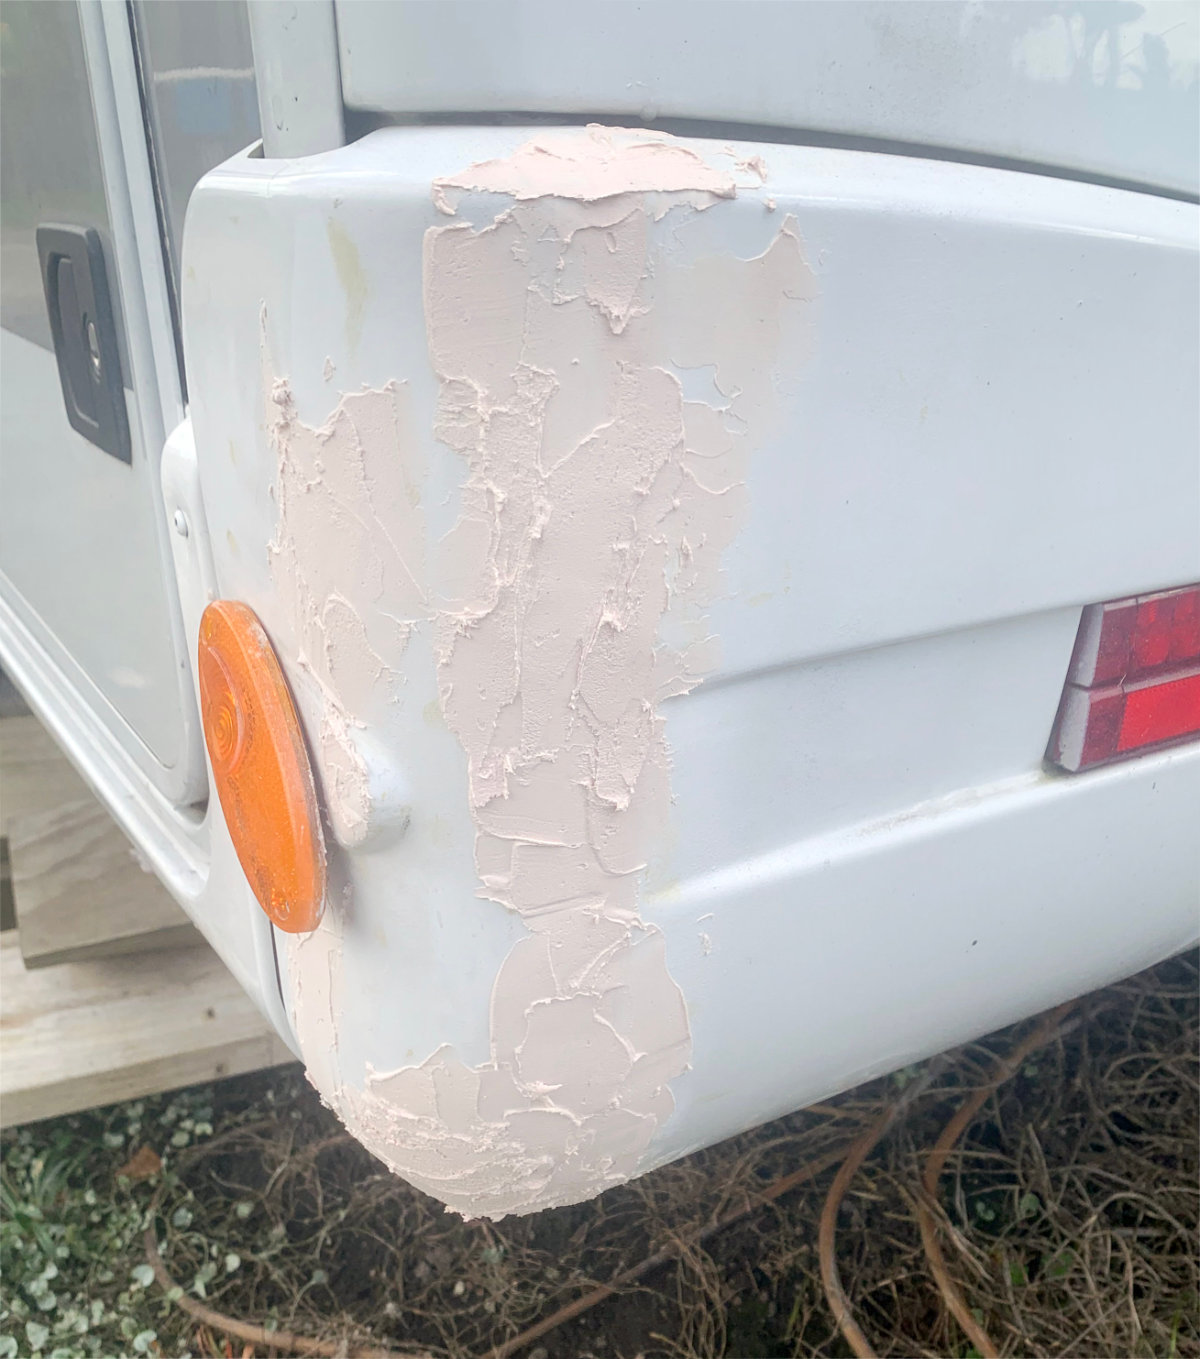
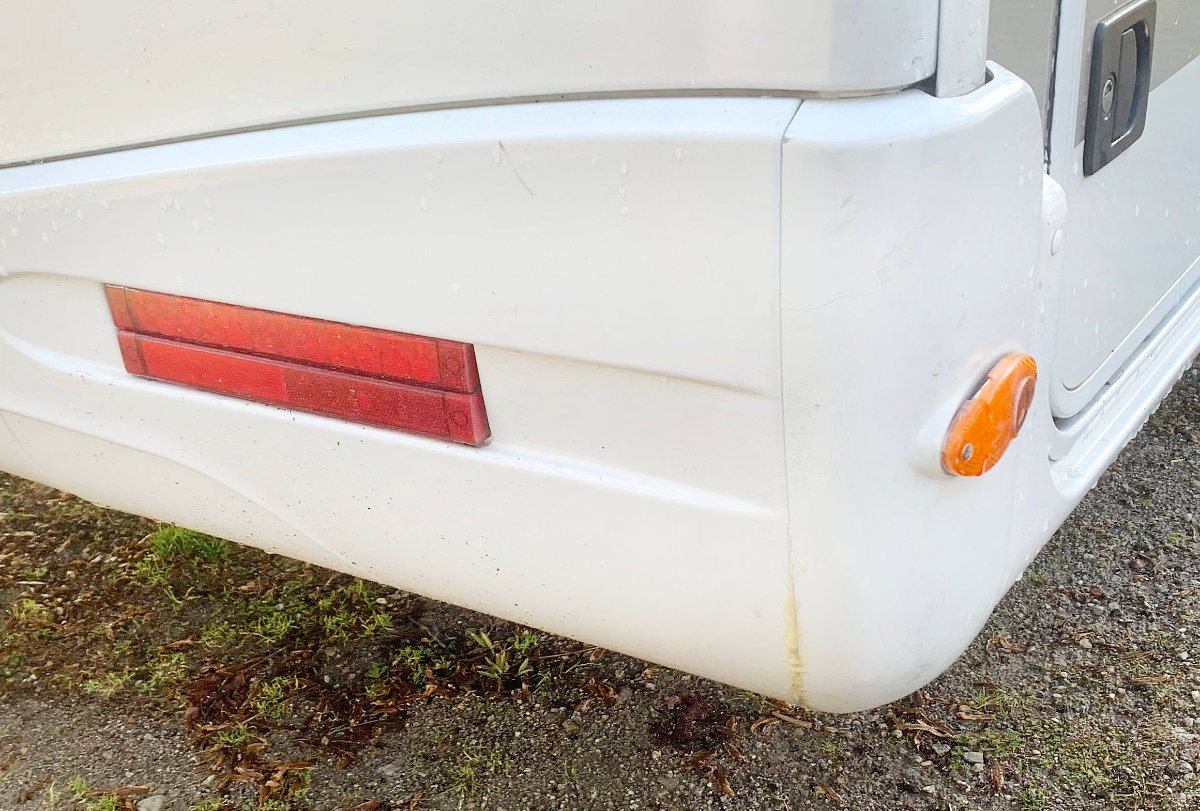
So, my next trick was to get on a ladder and see what was happening on the roof and sure enough, I could lift one side of the hat over the flue to reveal the goop had given up.
Click on any Image to Enlarge
 I booked it in with Vantage RV in Silverdale and as they couldn’t do the work for three weeks, I got up and put some silicon all around the vent to seal it in the meantime.
A few days later with fine weather, it had all dried out and the Extractor came alive again, by which time I’d bought a replacement new model with lots of improvements and a new Mueller vent hat to go on the roof.
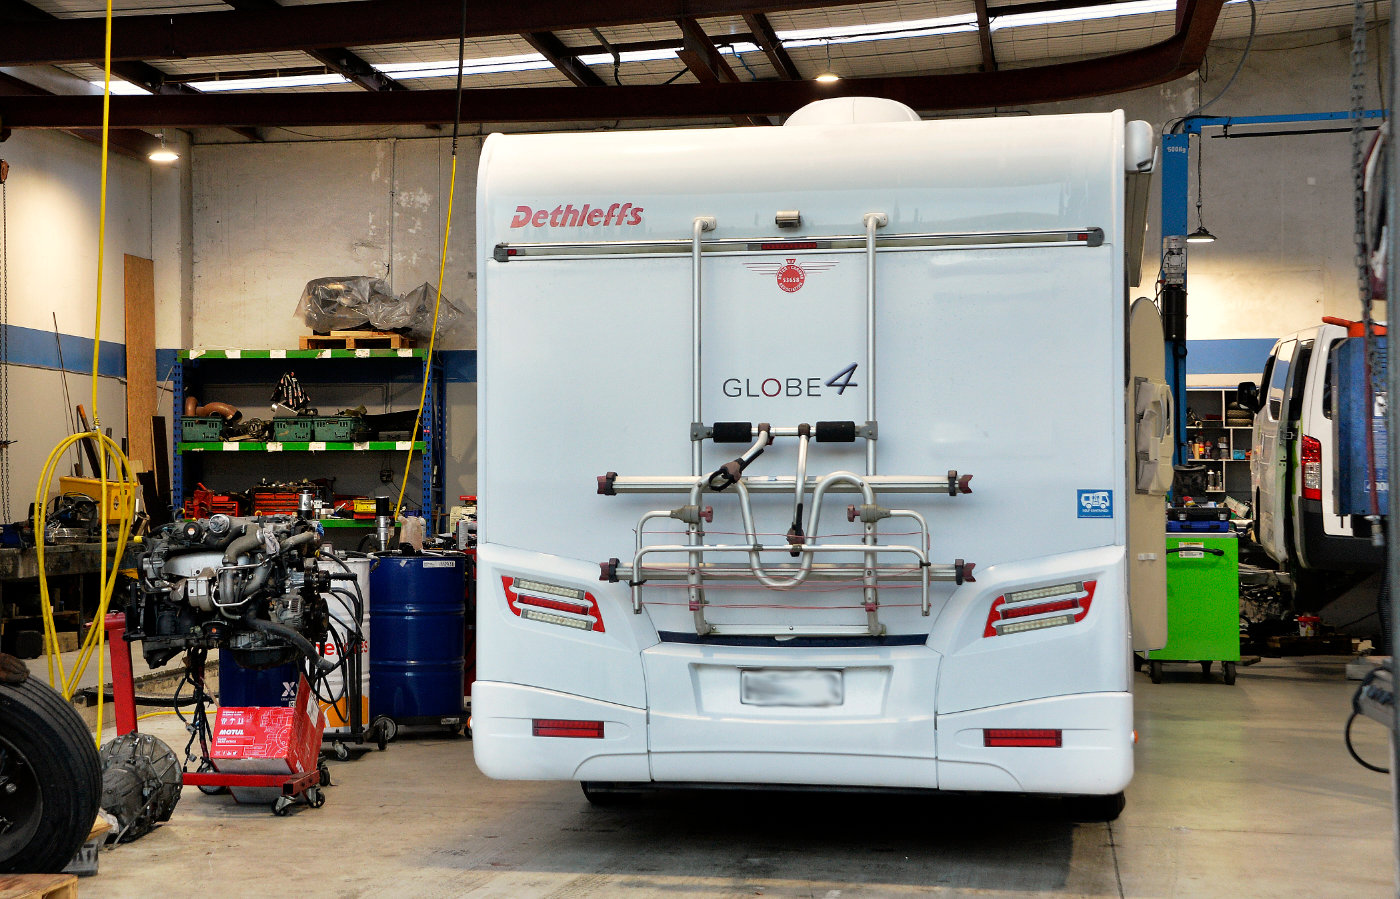
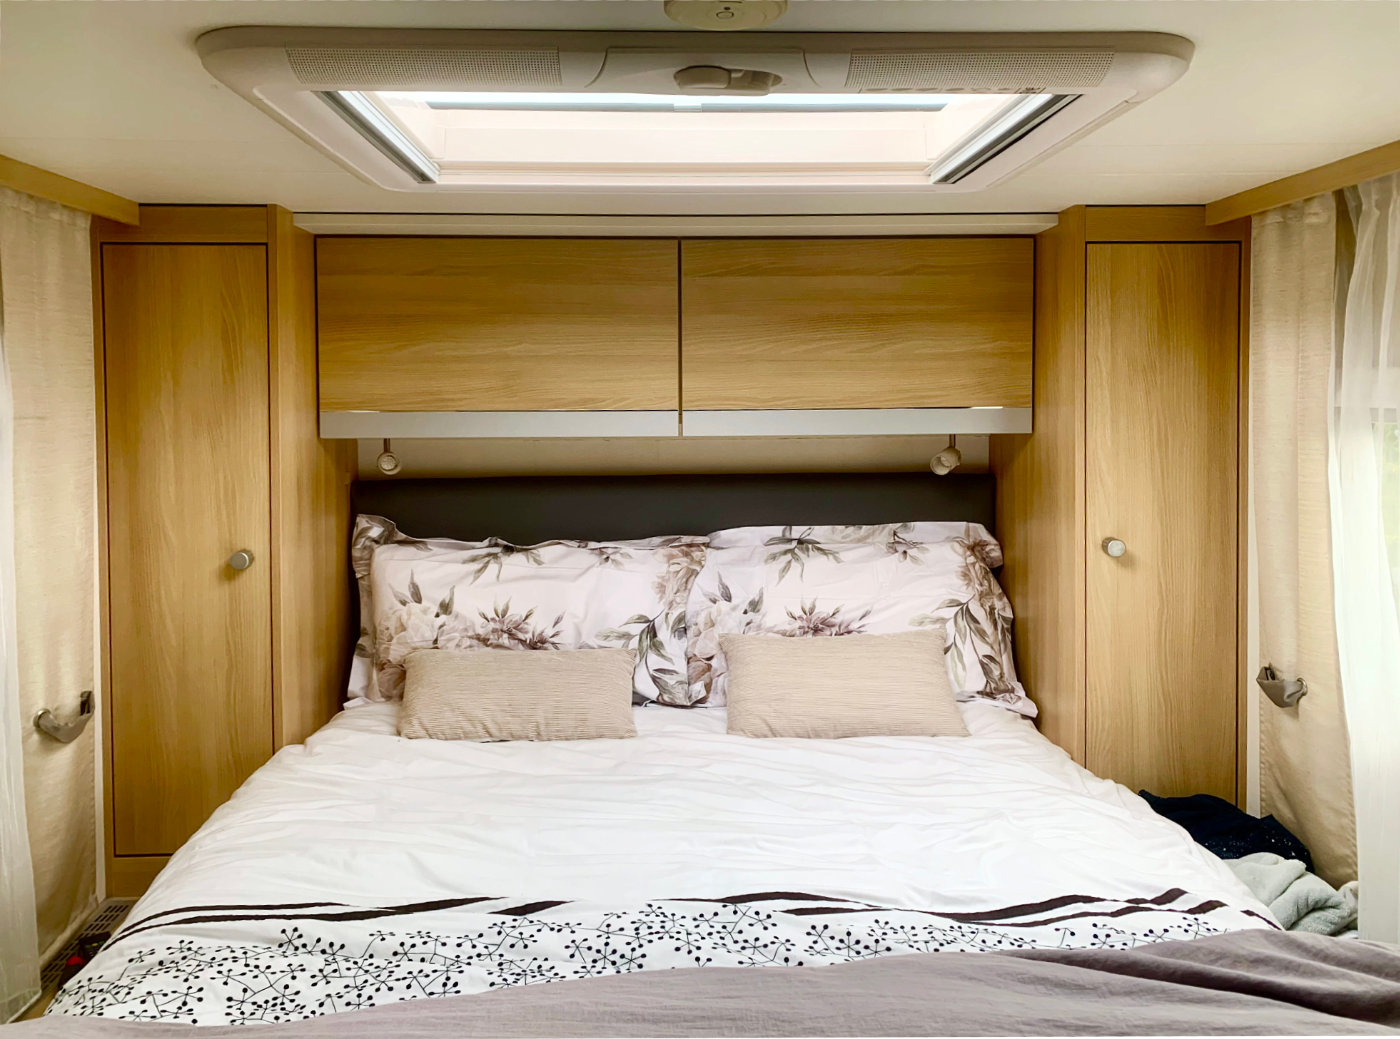
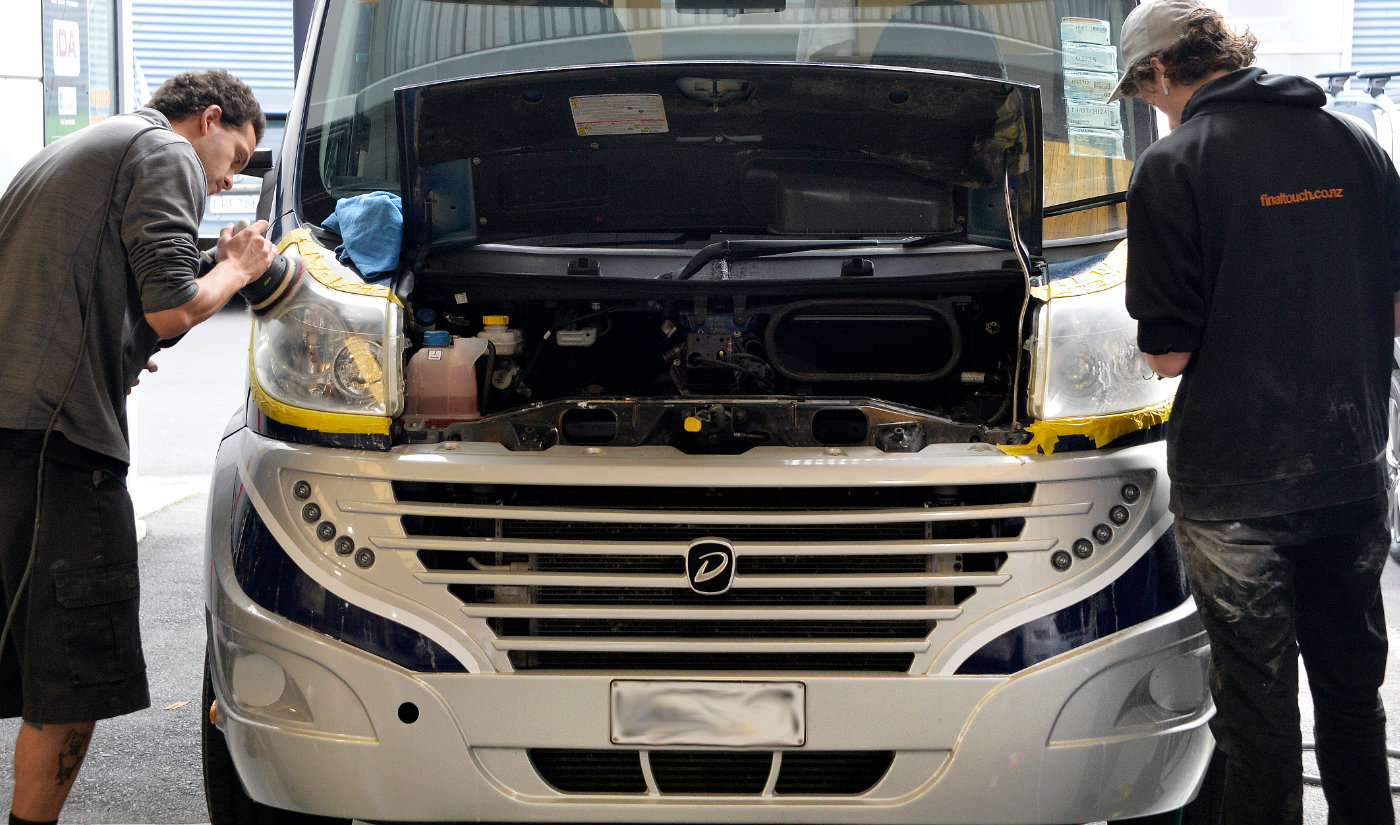
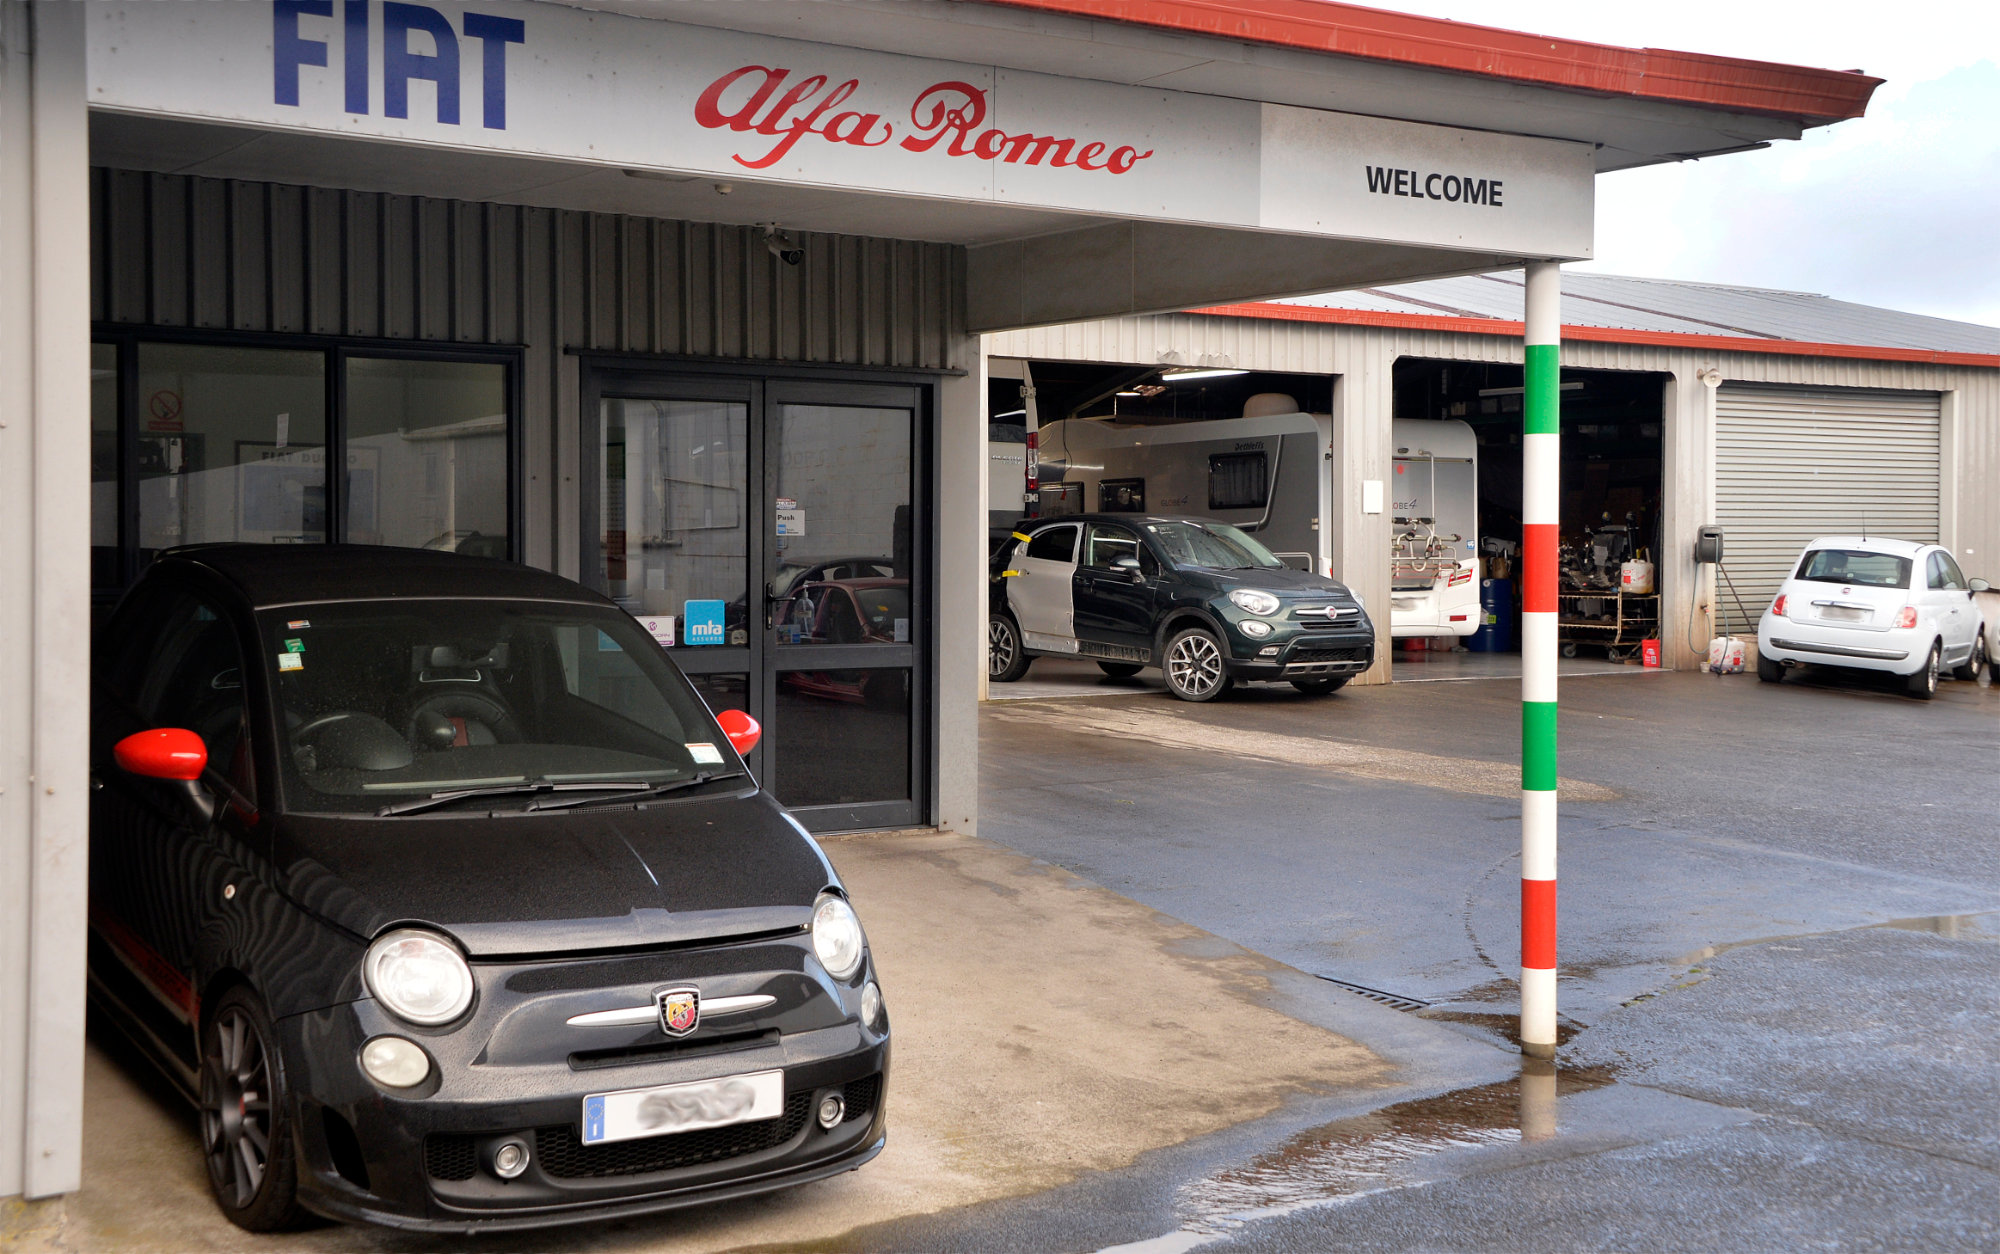
It was 10 years ago we bought the Extractor and had it installed in the Galley to get rid of the cooking smells. Phil, who has now retired from Vantage RV installed along with a subwoofer!
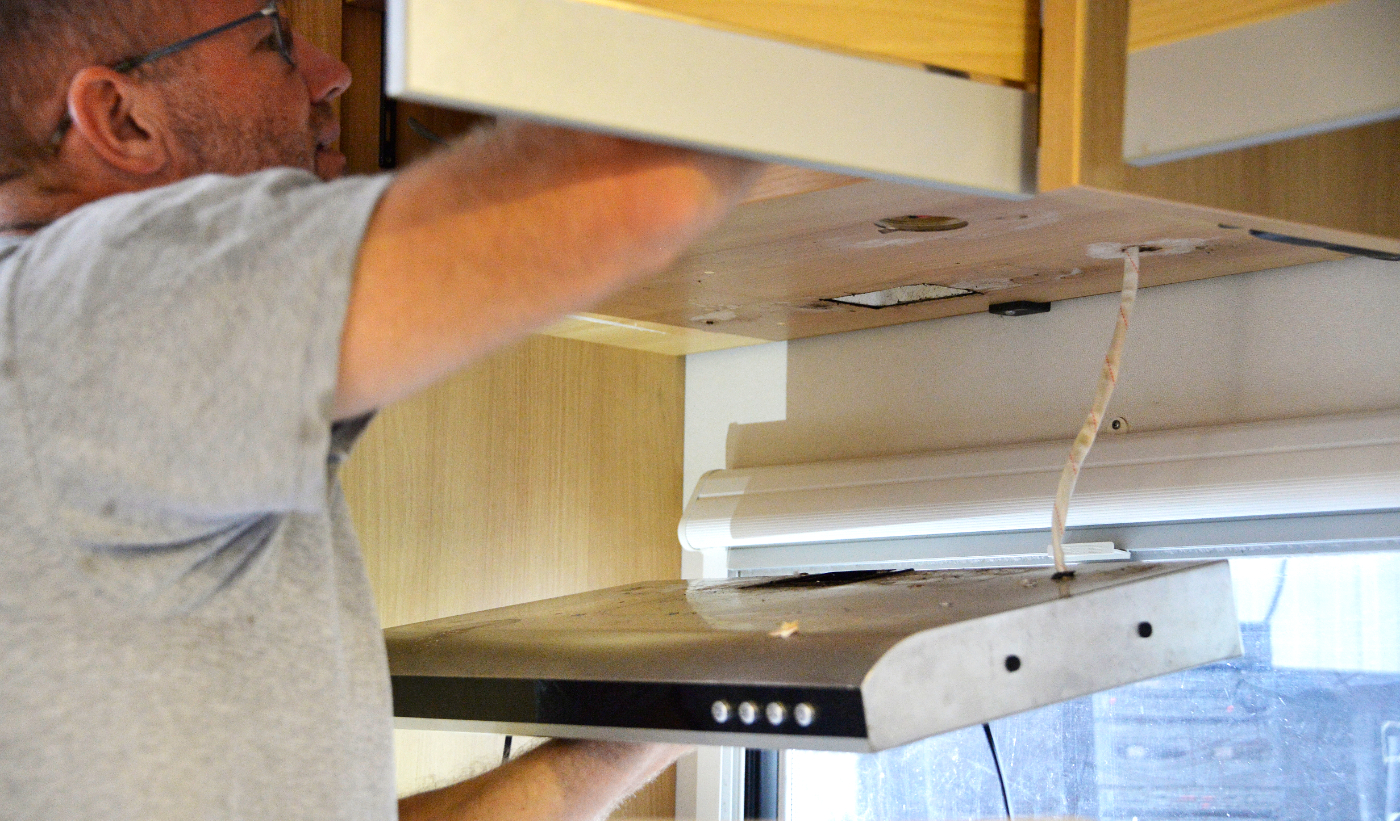
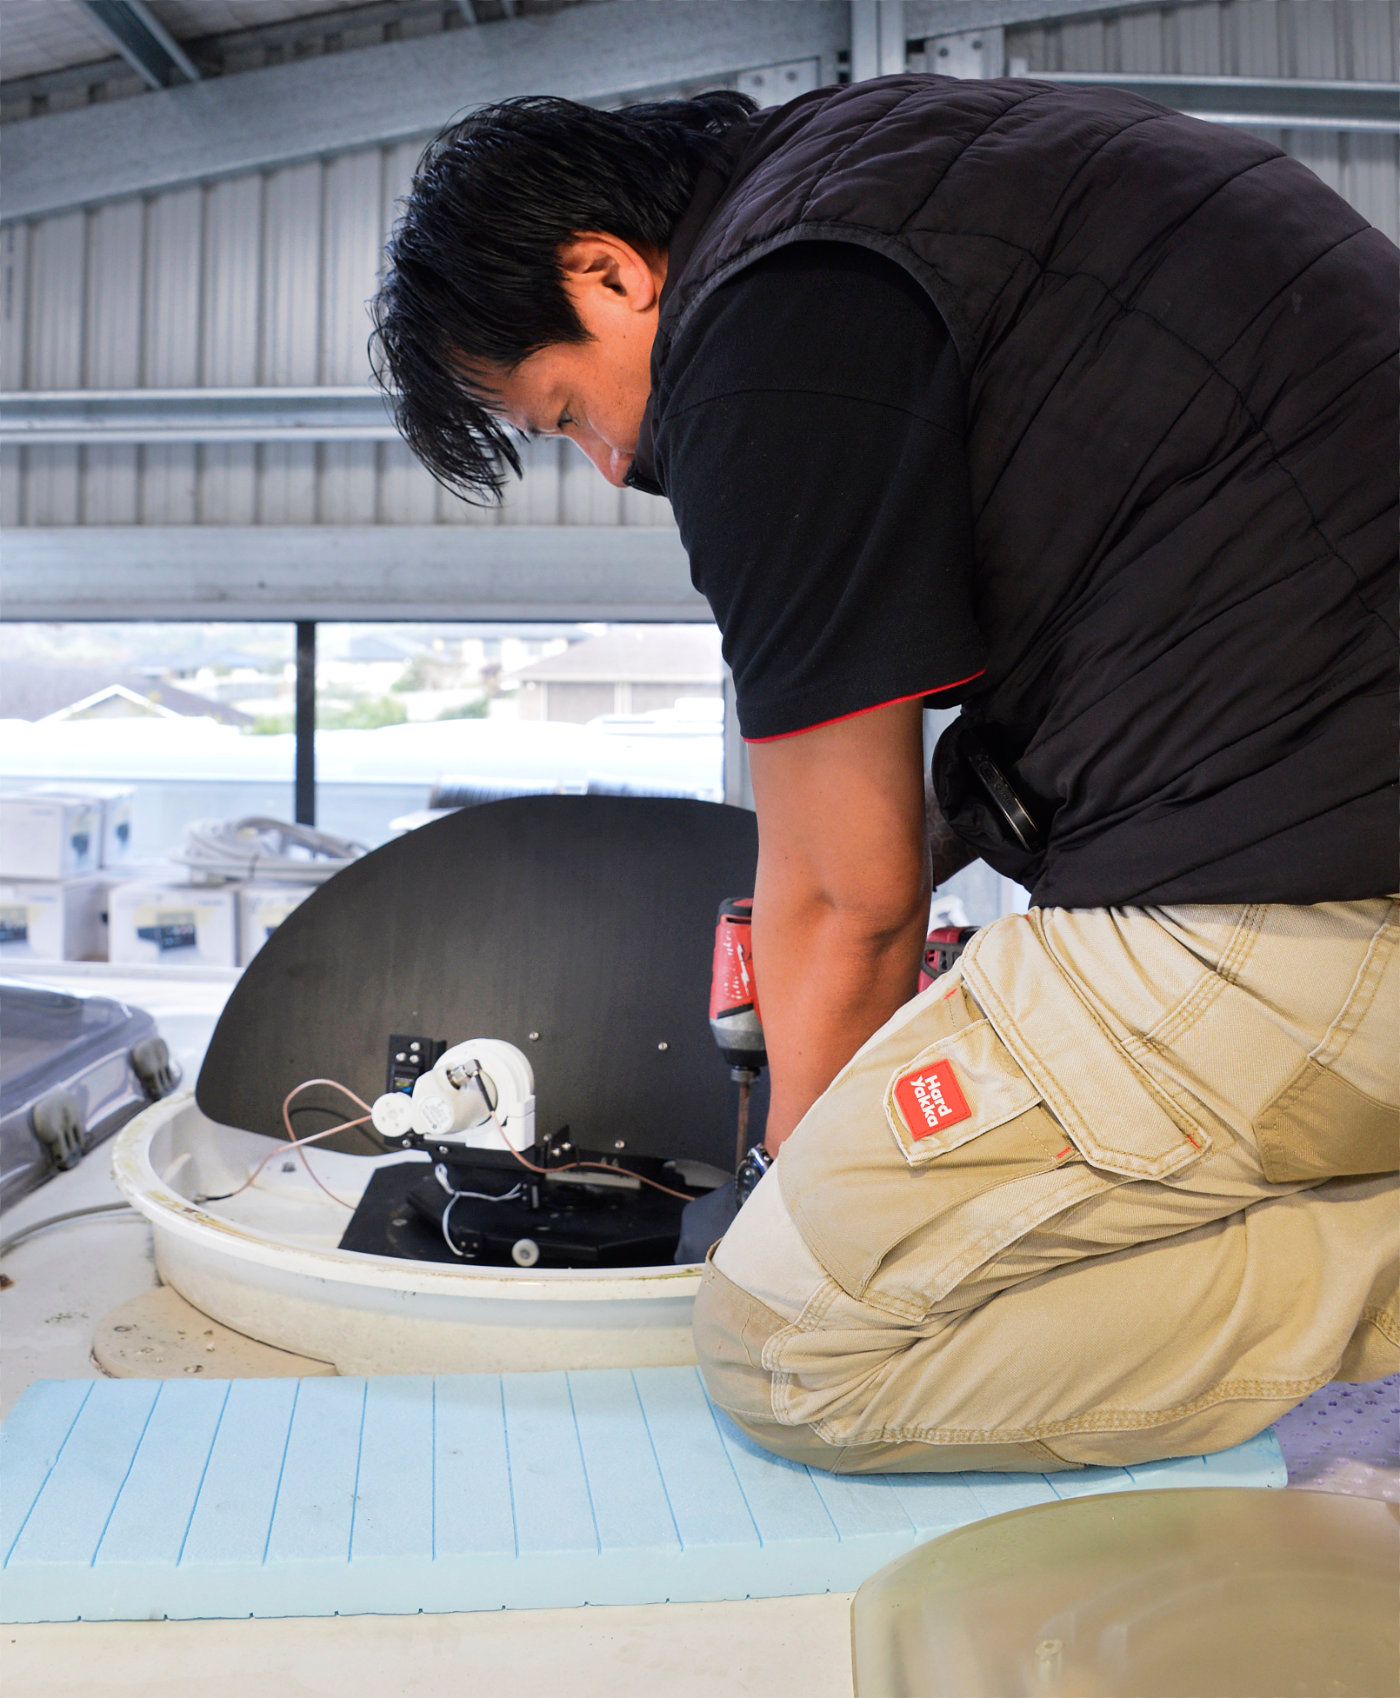
The day came around quickly to get the new unit installed and Manager Malcolm was ready to do the upgrade.
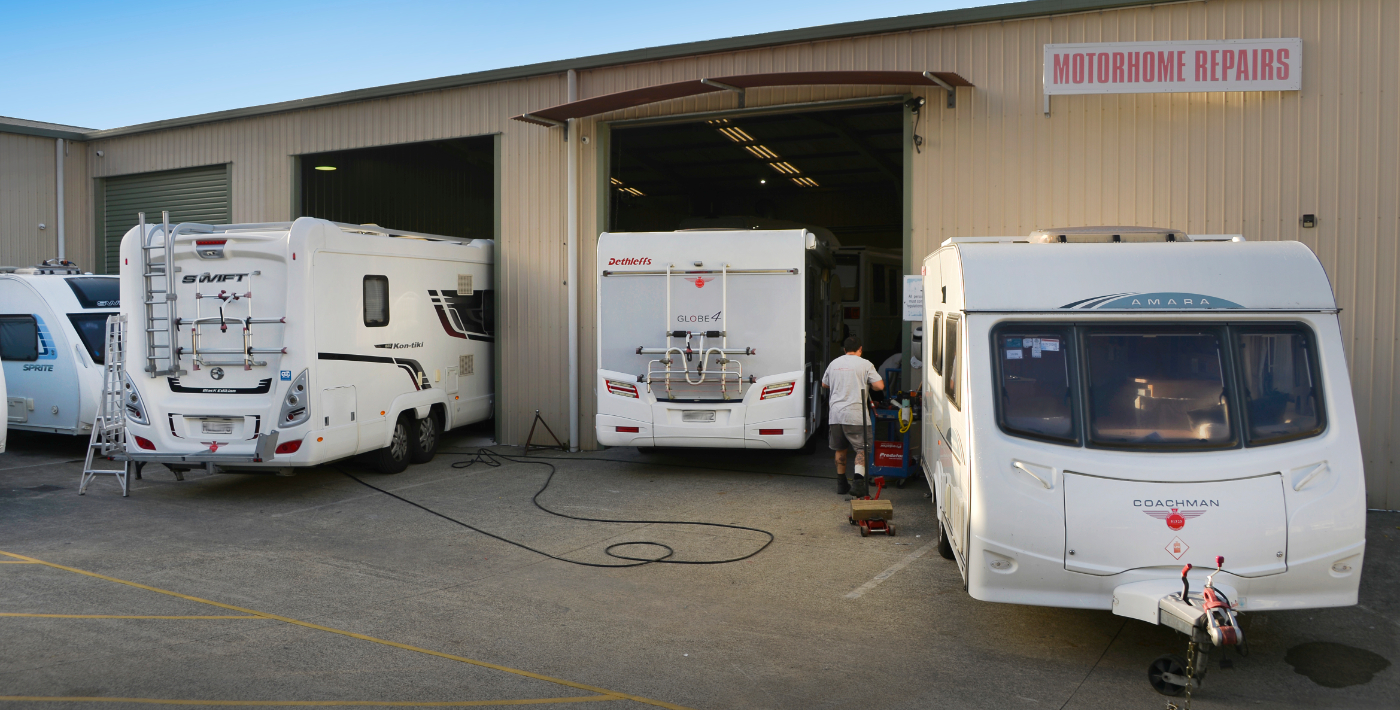
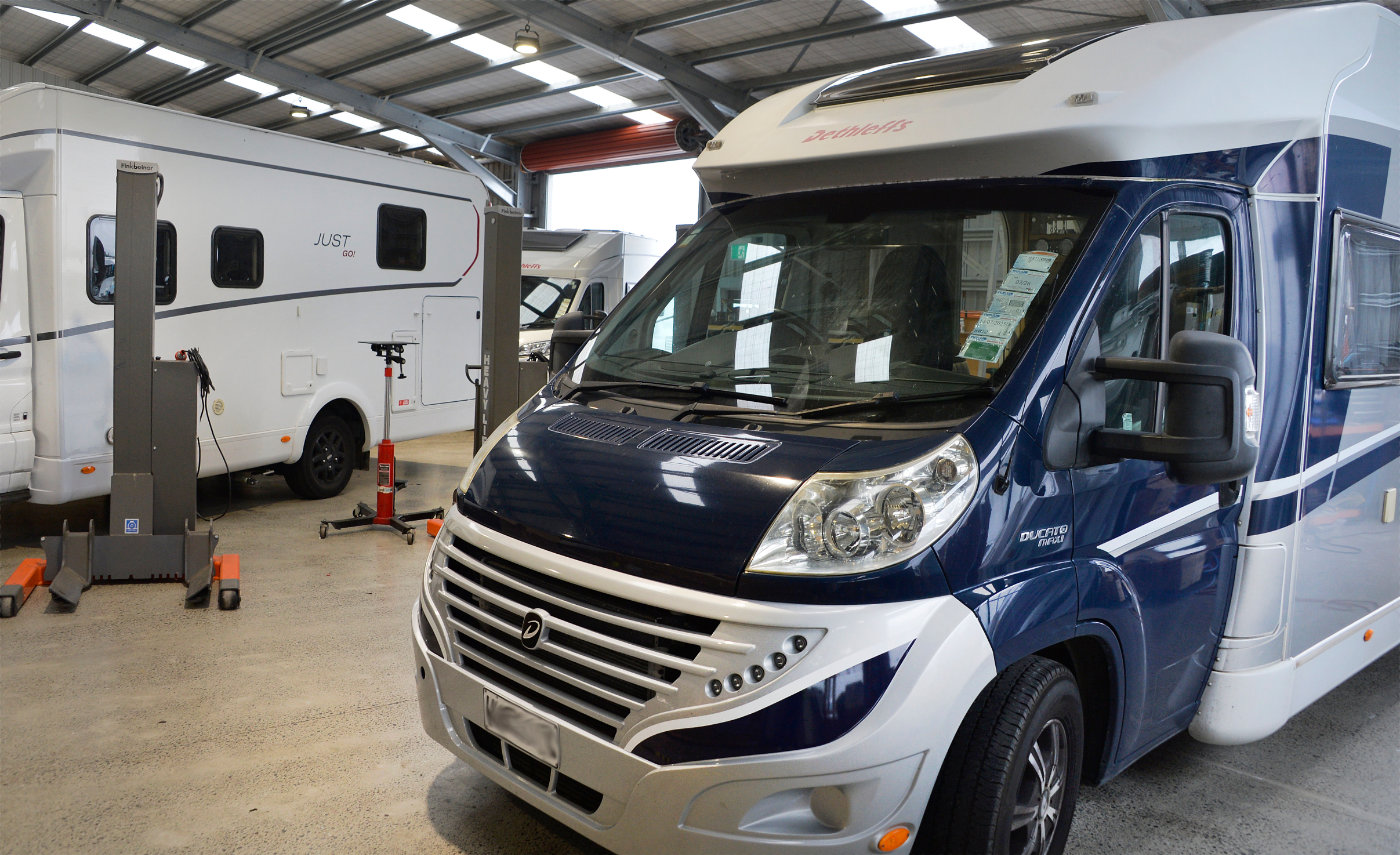
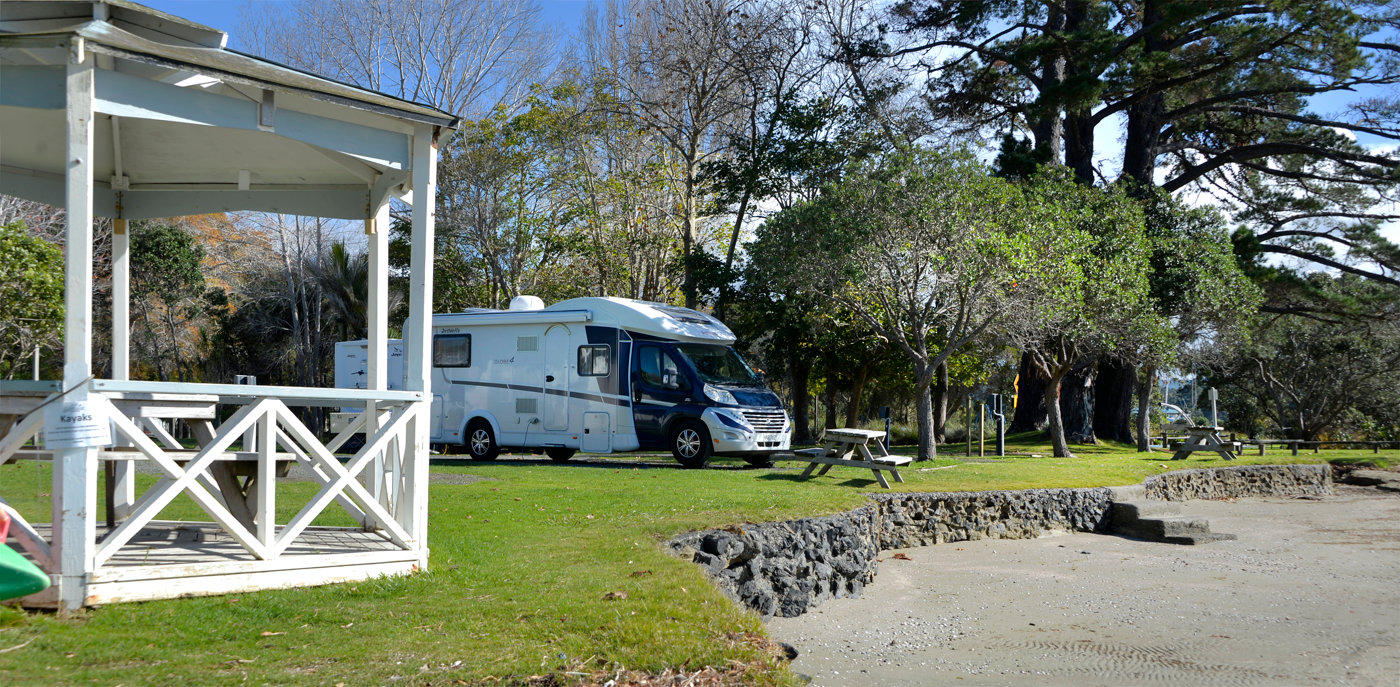
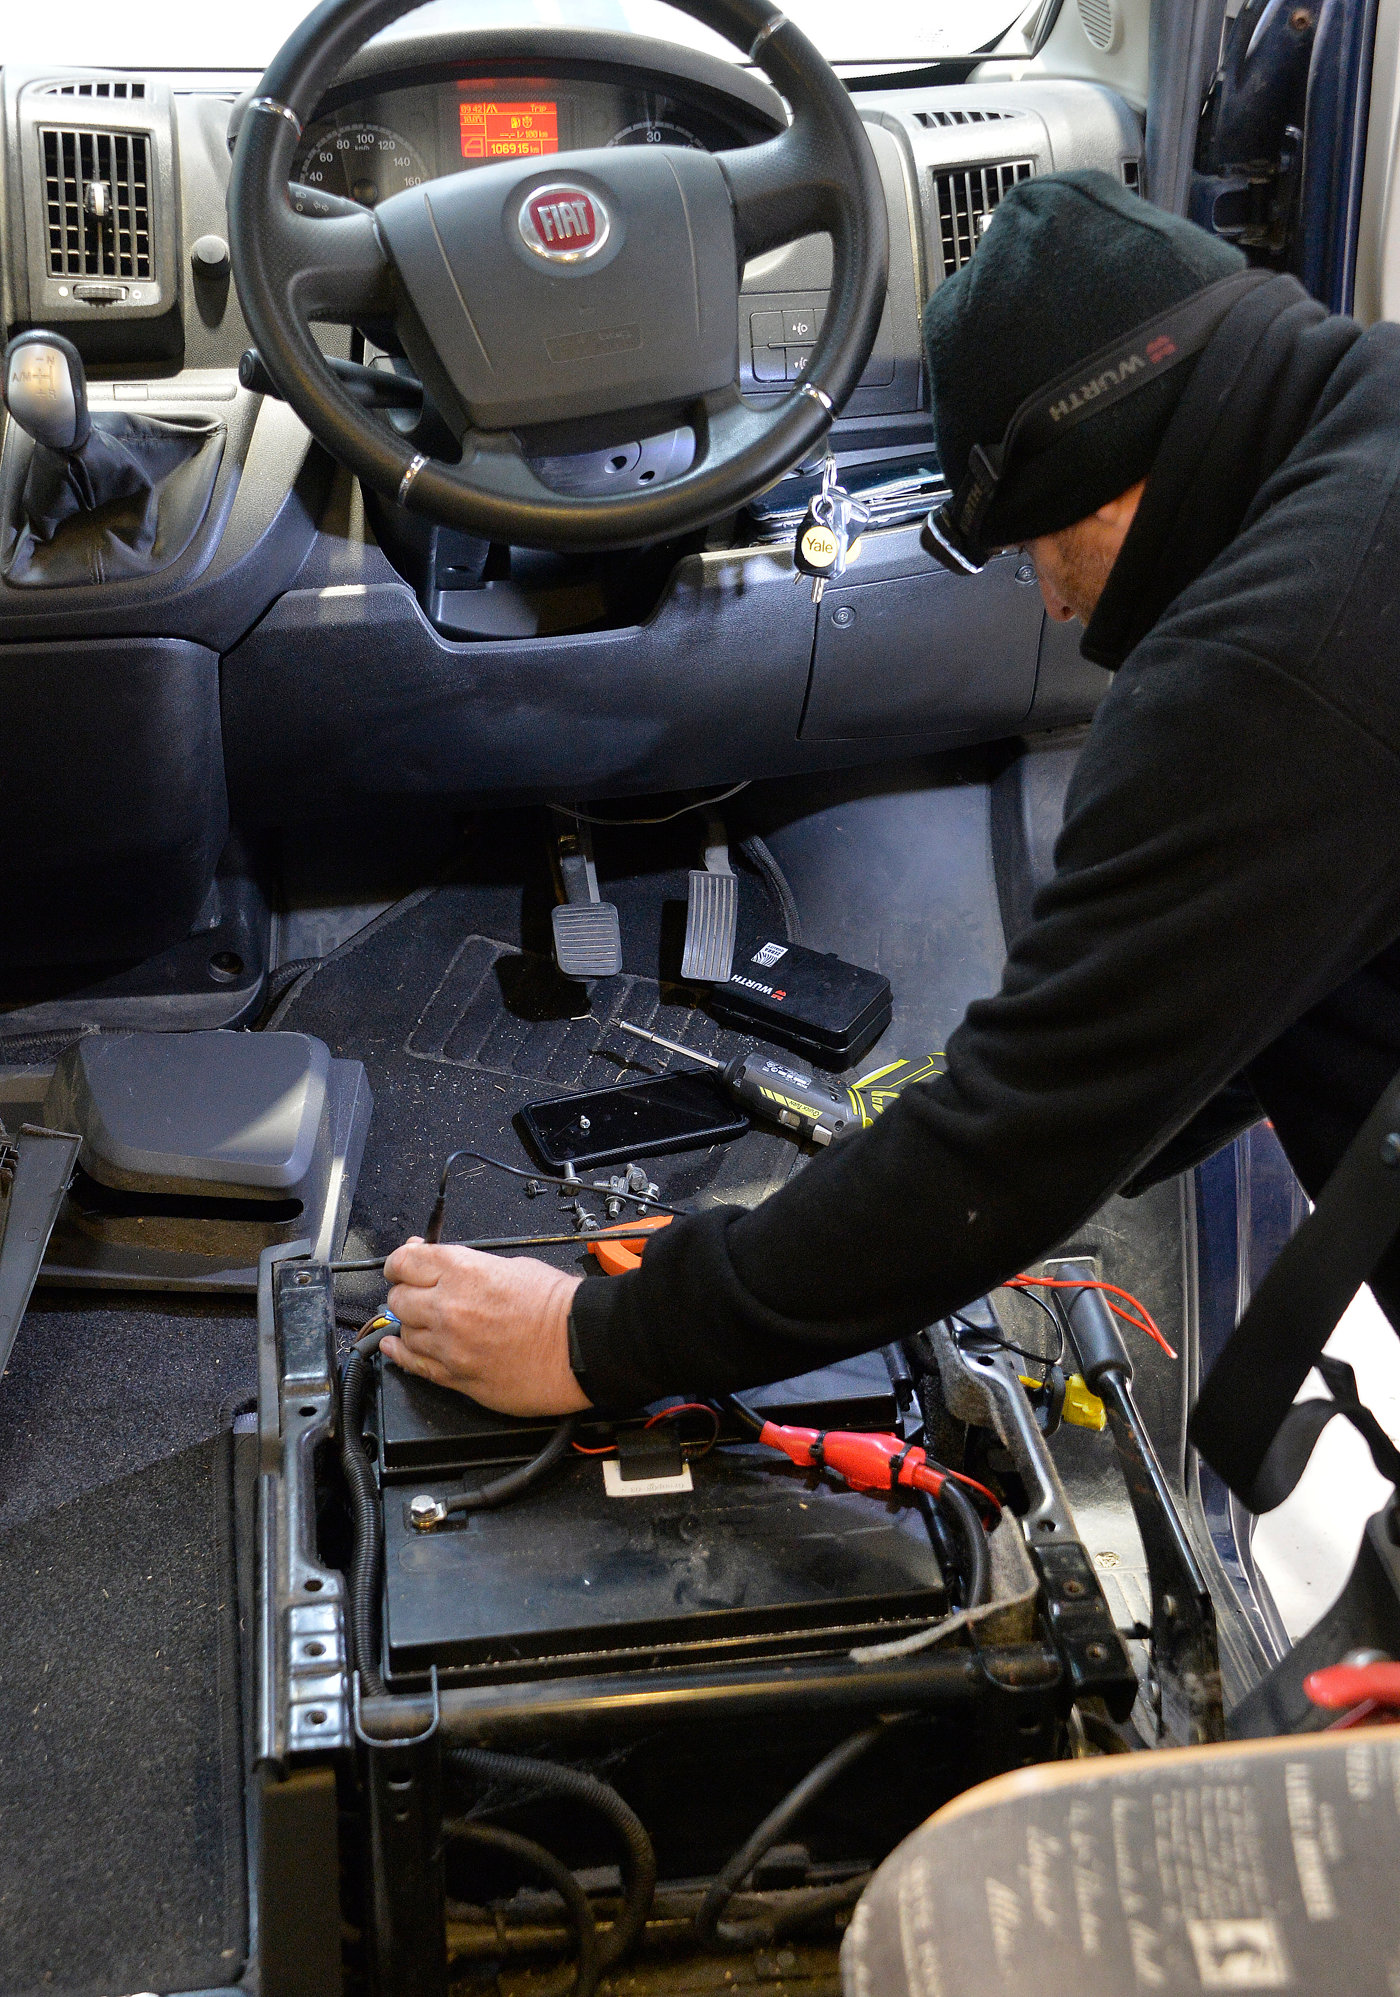
The weather forecast was fine with occasional showers (A buck each way :-)) so he moved Rafe so the front half was inside the shed beyond the reach of any weather.
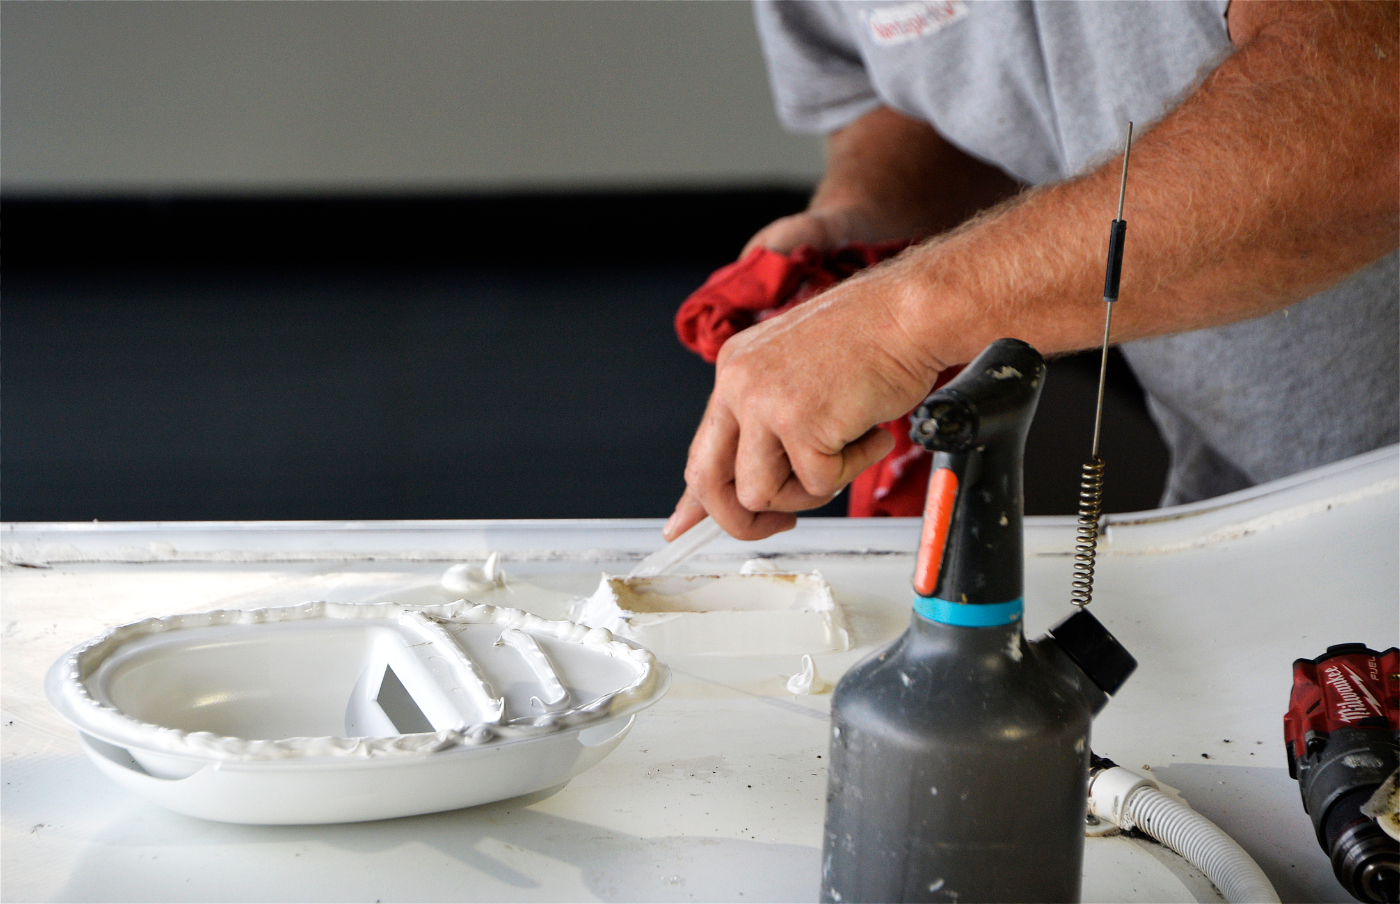
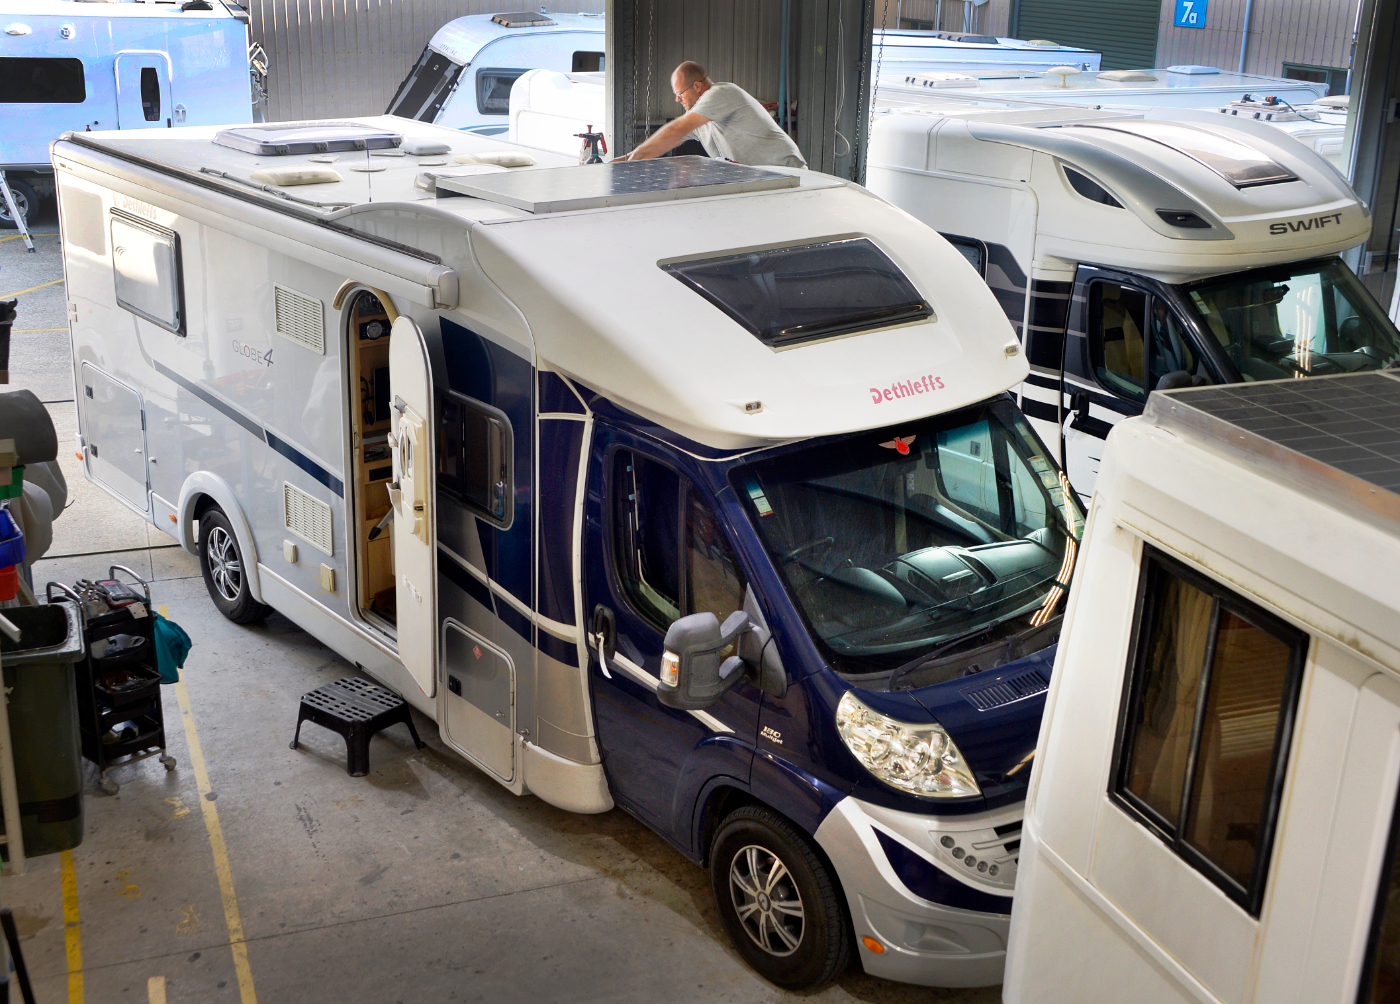
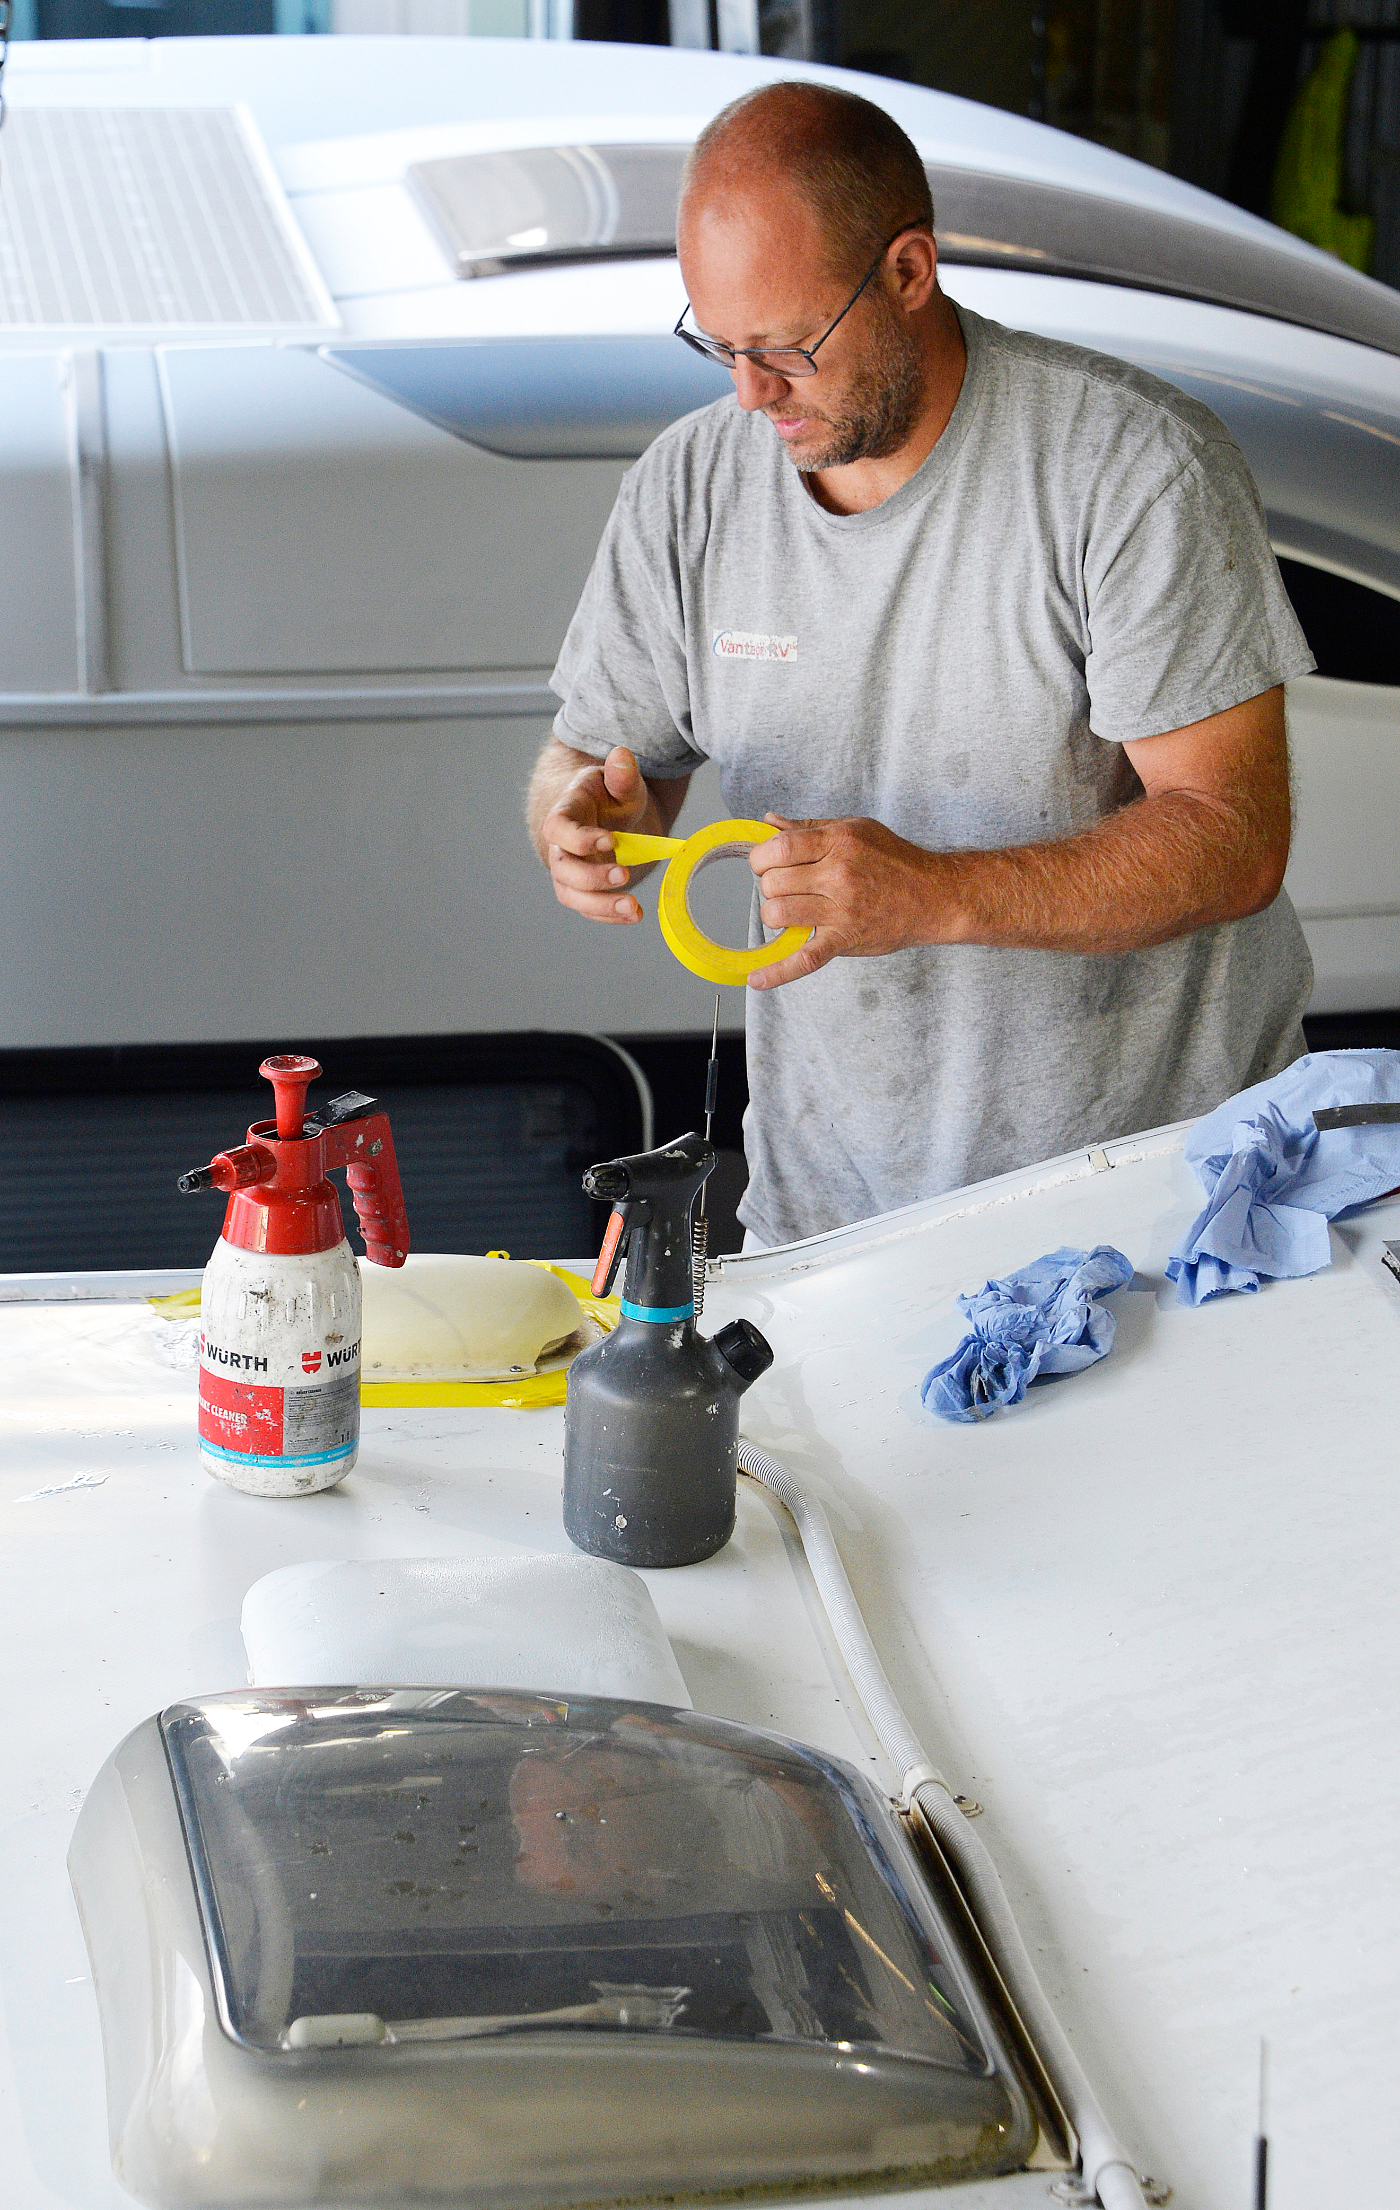
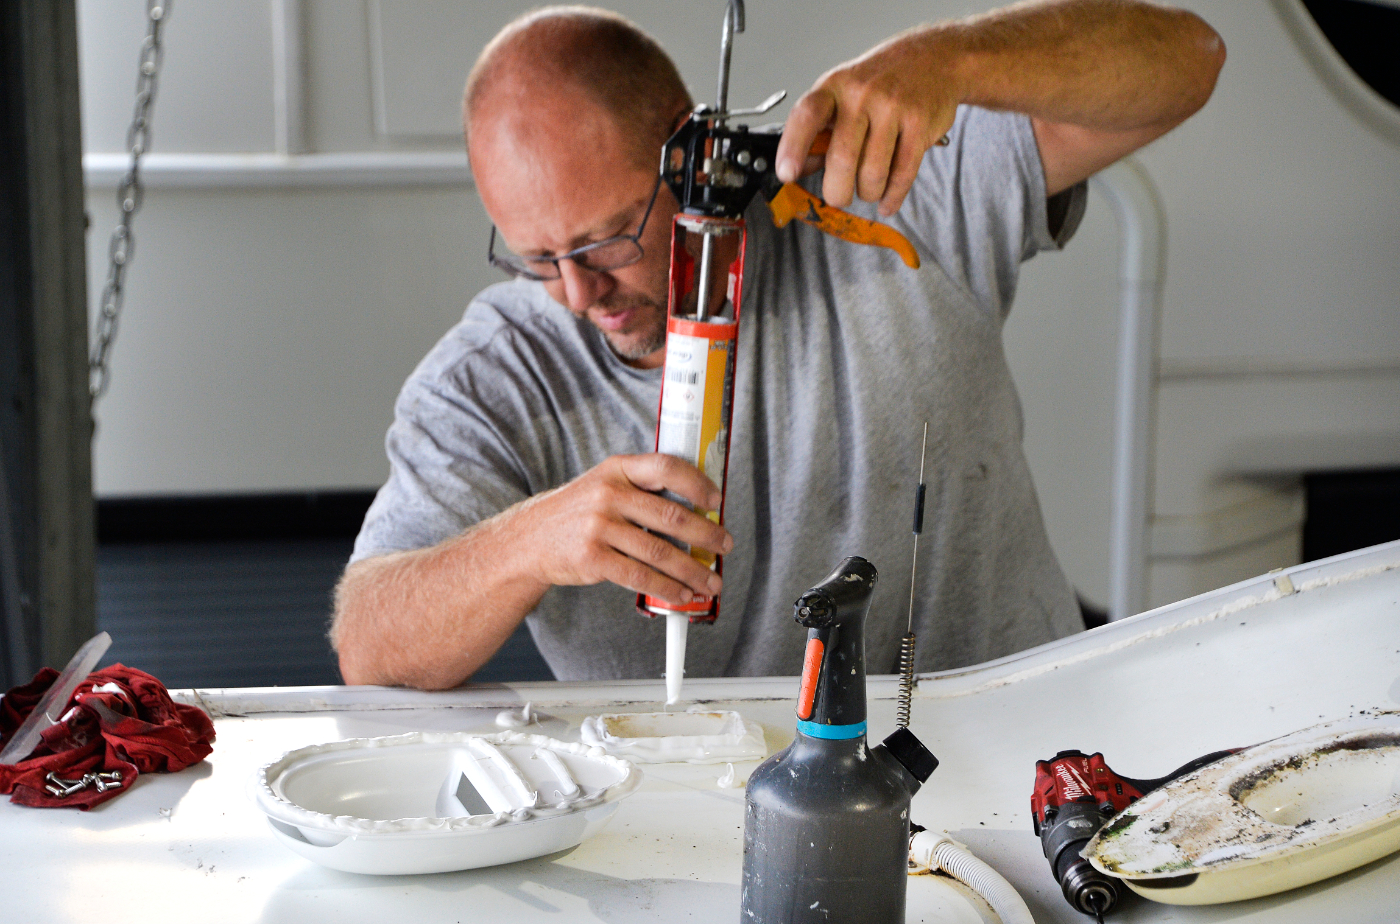
After cleaning up around the flue cover on the roof, he completely sealed both the flue and the vent cover edges. Then we moved into the truck to install the unit.

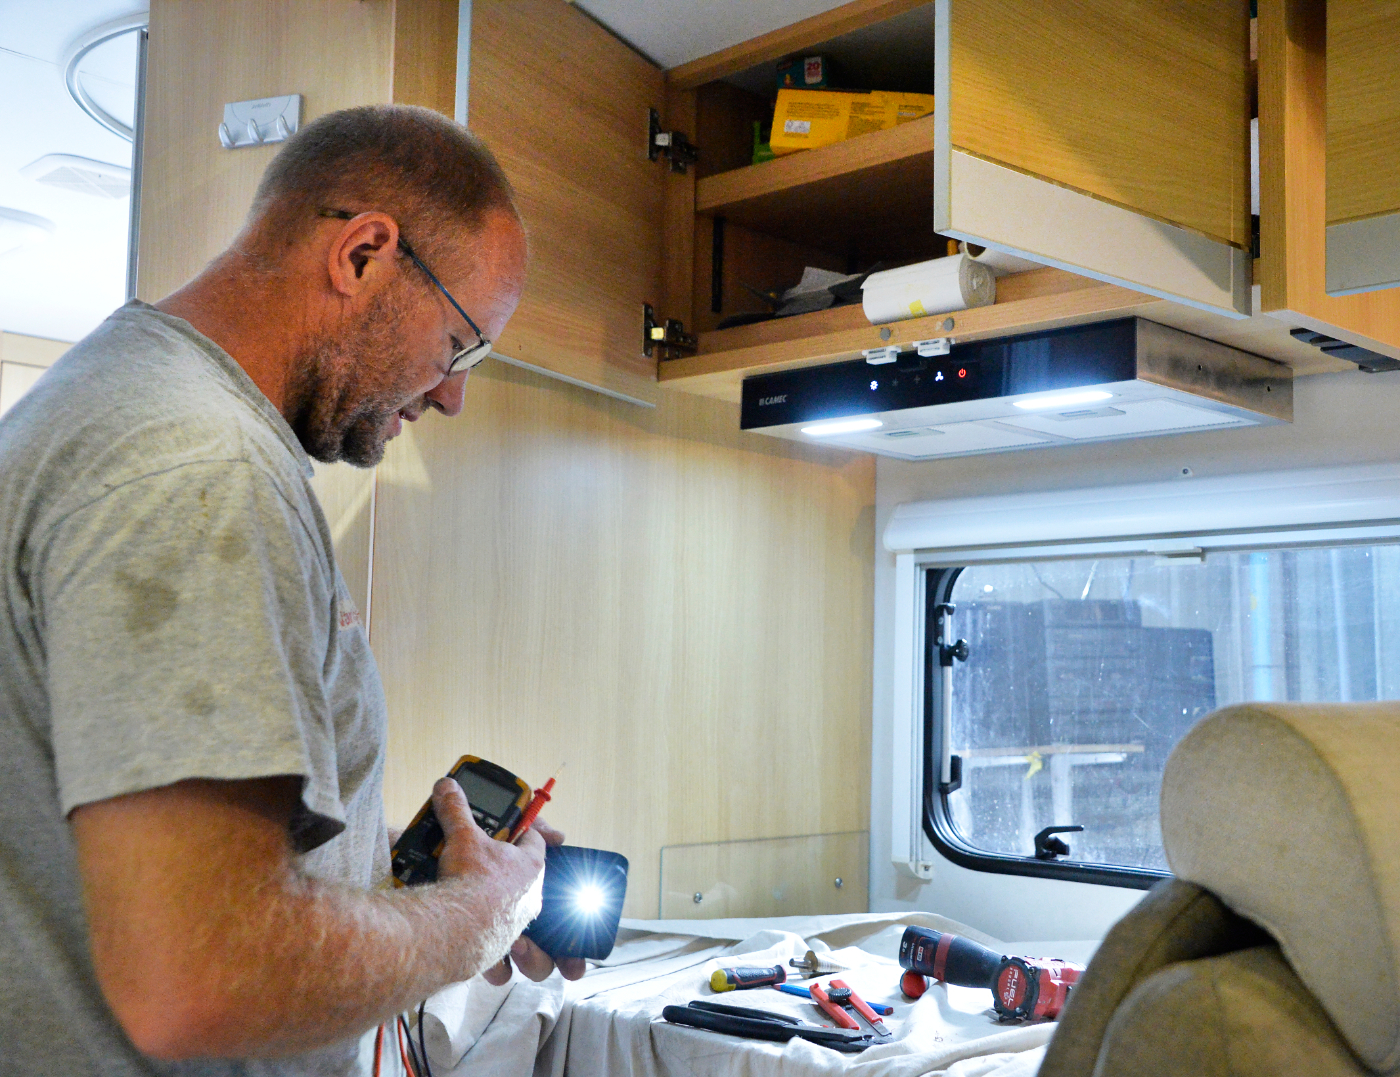
After drilling an extra hole in the cupboard bottom for a new exit point for the wiring, it fitted like a glove and the whole job was done with a couple of hours.
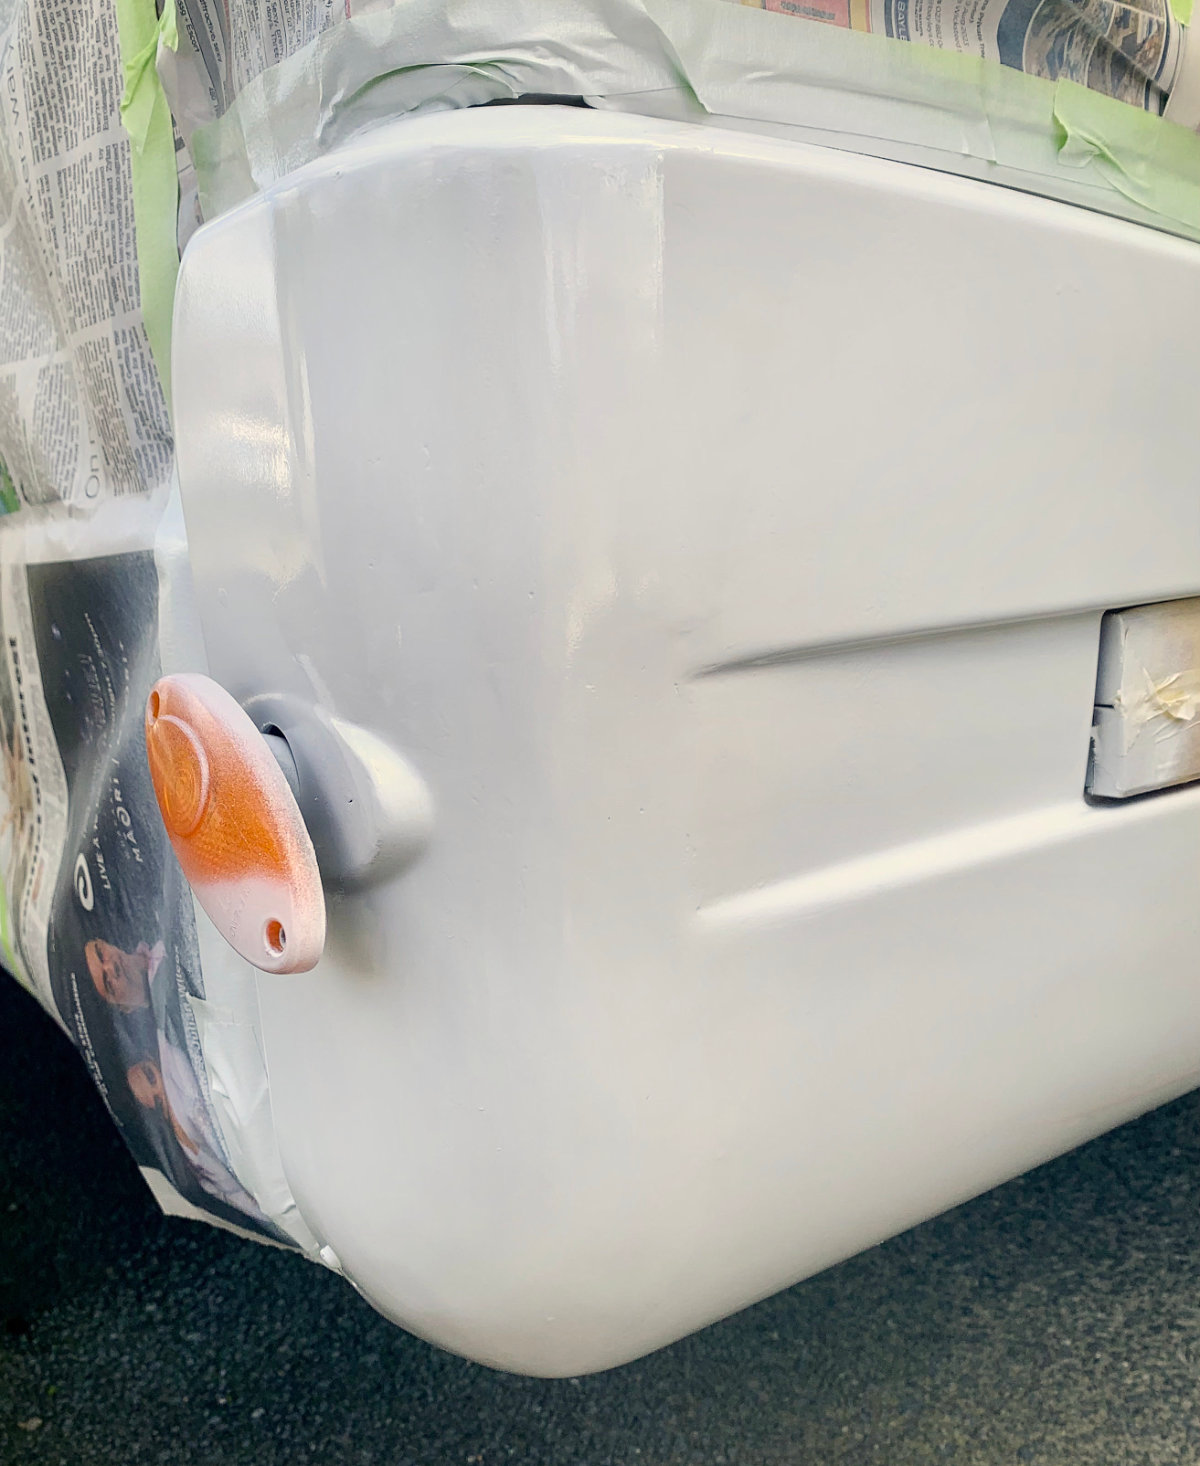
A much nicer unit than the original so I’m really pleased with the result. Malcolm did a good job of getting it all in.
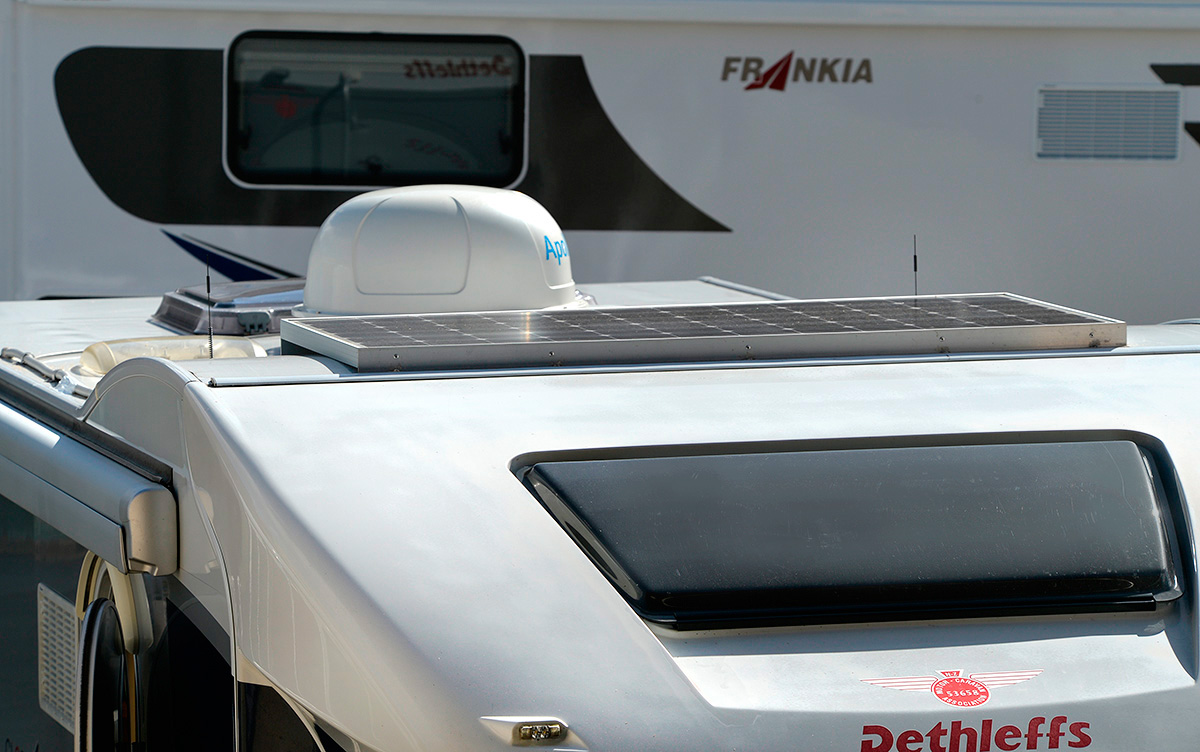
Afterwards, senior technician Johan arrived and the two of them checked out all the work they had originally done installing the Satellite, Solar and Tv bits on the roof and after 12 years, it was decided that the UV had got to the exposed sealant so it is booked to have the roof bits all redone in a month’s time.
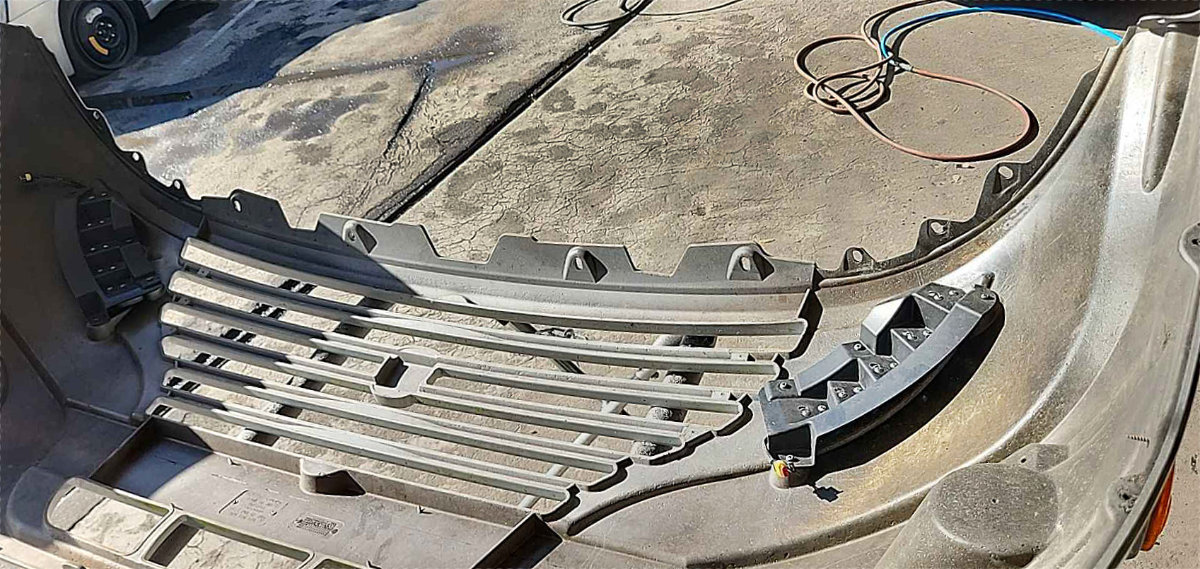
Johan also showed me their impressive 3D printing setup for making those hard-to-find parts. It’s a monster of a machine inside a large cabinet, capable of printing much bigger components than the typical desktop printers. They’re using it to produce larger body parts as well as repair work, combined with plastic welding for damaged or worn plastic pieces.
Pretty clever stuff, and good to know there are solutions for parts that are no longer easy to find


You must be logged in to post a comment.