

I can clearly remember how upset I was when I reversed into a hidden post and damaged the rear corner bumper, not long after we first got Rafe 9 years or so ago. I had all these feelings of wanting to turn the clock back and things I could have done, too late, damage done. Time to get it fixed.
In those early days, I was able to get a spare “Lamp Holder” as they’re called, and it was a 5-minute job for Vantage RV to stick it on. They stick on with Velcro so they’re expecting you to break a few… it was then $150… They’re now $1100!!
Since then, I’ve managed to break a few on both sides. It’s usually just the plastic join breaking a part of the way up and an easy glue job with Gorilla Glue. The Gorilla Glue expands and fills all the gaps and is very easy to sand.
Click on any Image to Enlarge

The hidden pole I hit this time though was a real wallop and the corner piece disintegrated into 4 different pieces. A much bigger job than usual.
So, I repaired it in two chunks, the side bit of 3 bits into 1 part and then glued that after 3 hours to the back panel. A bit of Gaff tape was used to hold it together while the glue went off. The next morning, I was able to sand it and it didn’t look too bad from a distance :-). Enough to get home from Rotorua. See the pic above.
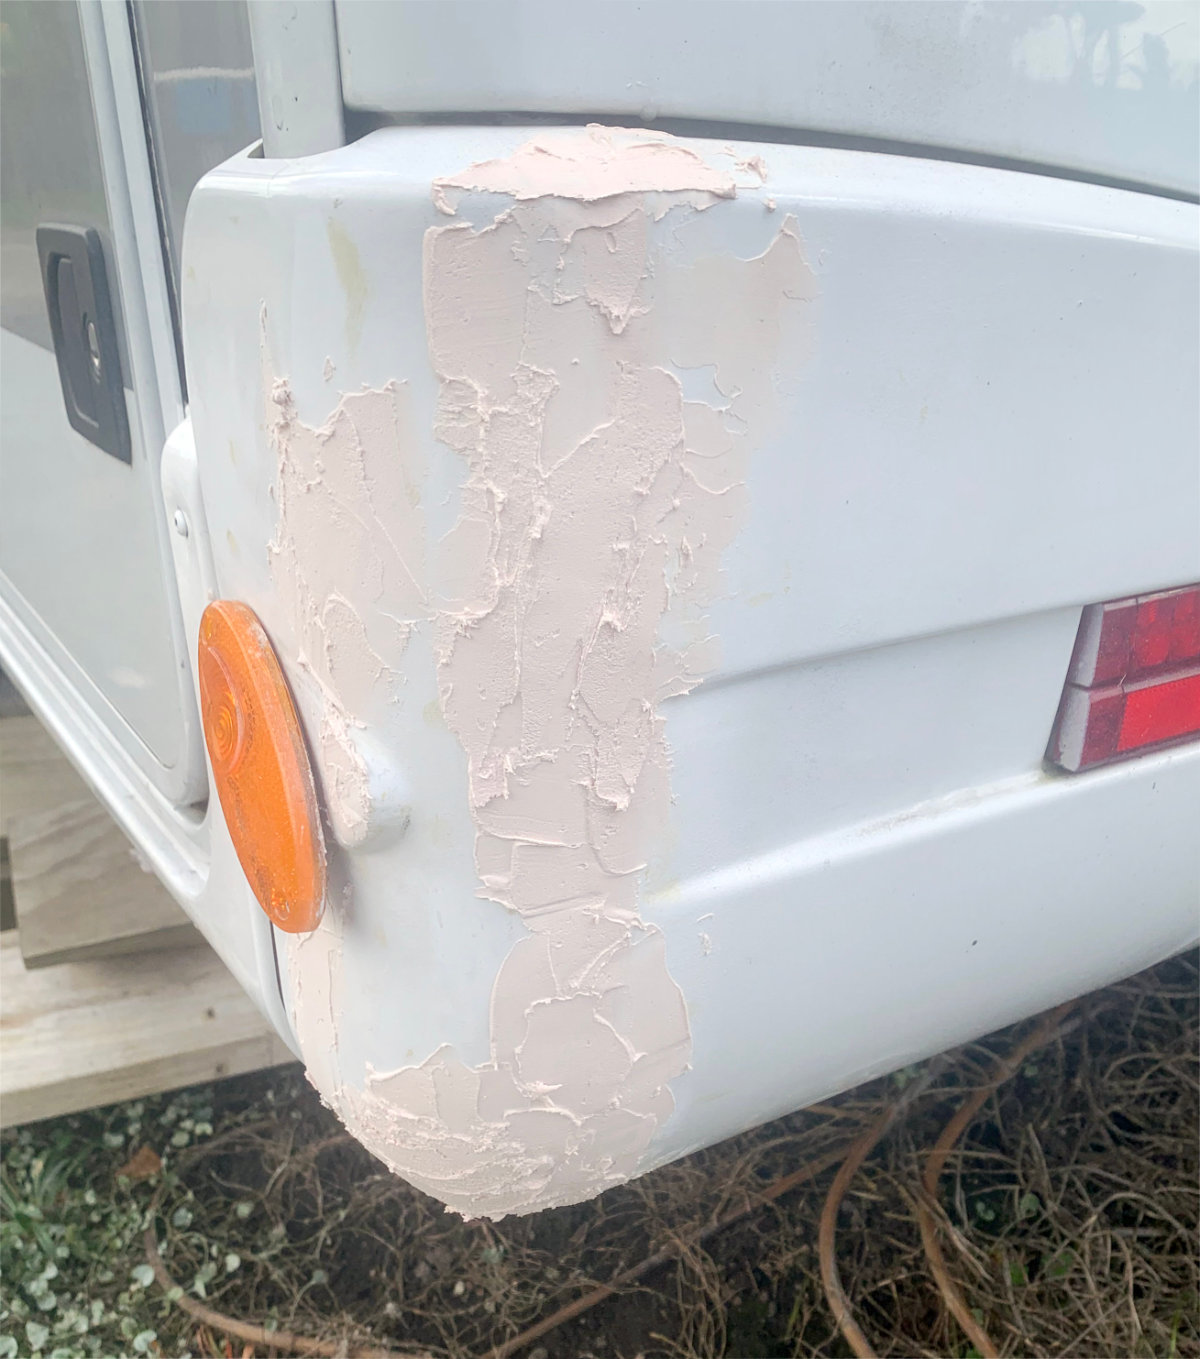
Once I got home, I got the sander out and gave it a real clean up. Then I put on some Ados Automotive two pot body filler. Great stuff which allows you to fair it properly. See above and below, sanded.

I had to add bits a few times as I wasn’t happy with the finish and because it’s on thin plastic, it doesn’t allow you to sand the filler as much as you probably could on metal… I got there in the end also dodging the rain too.
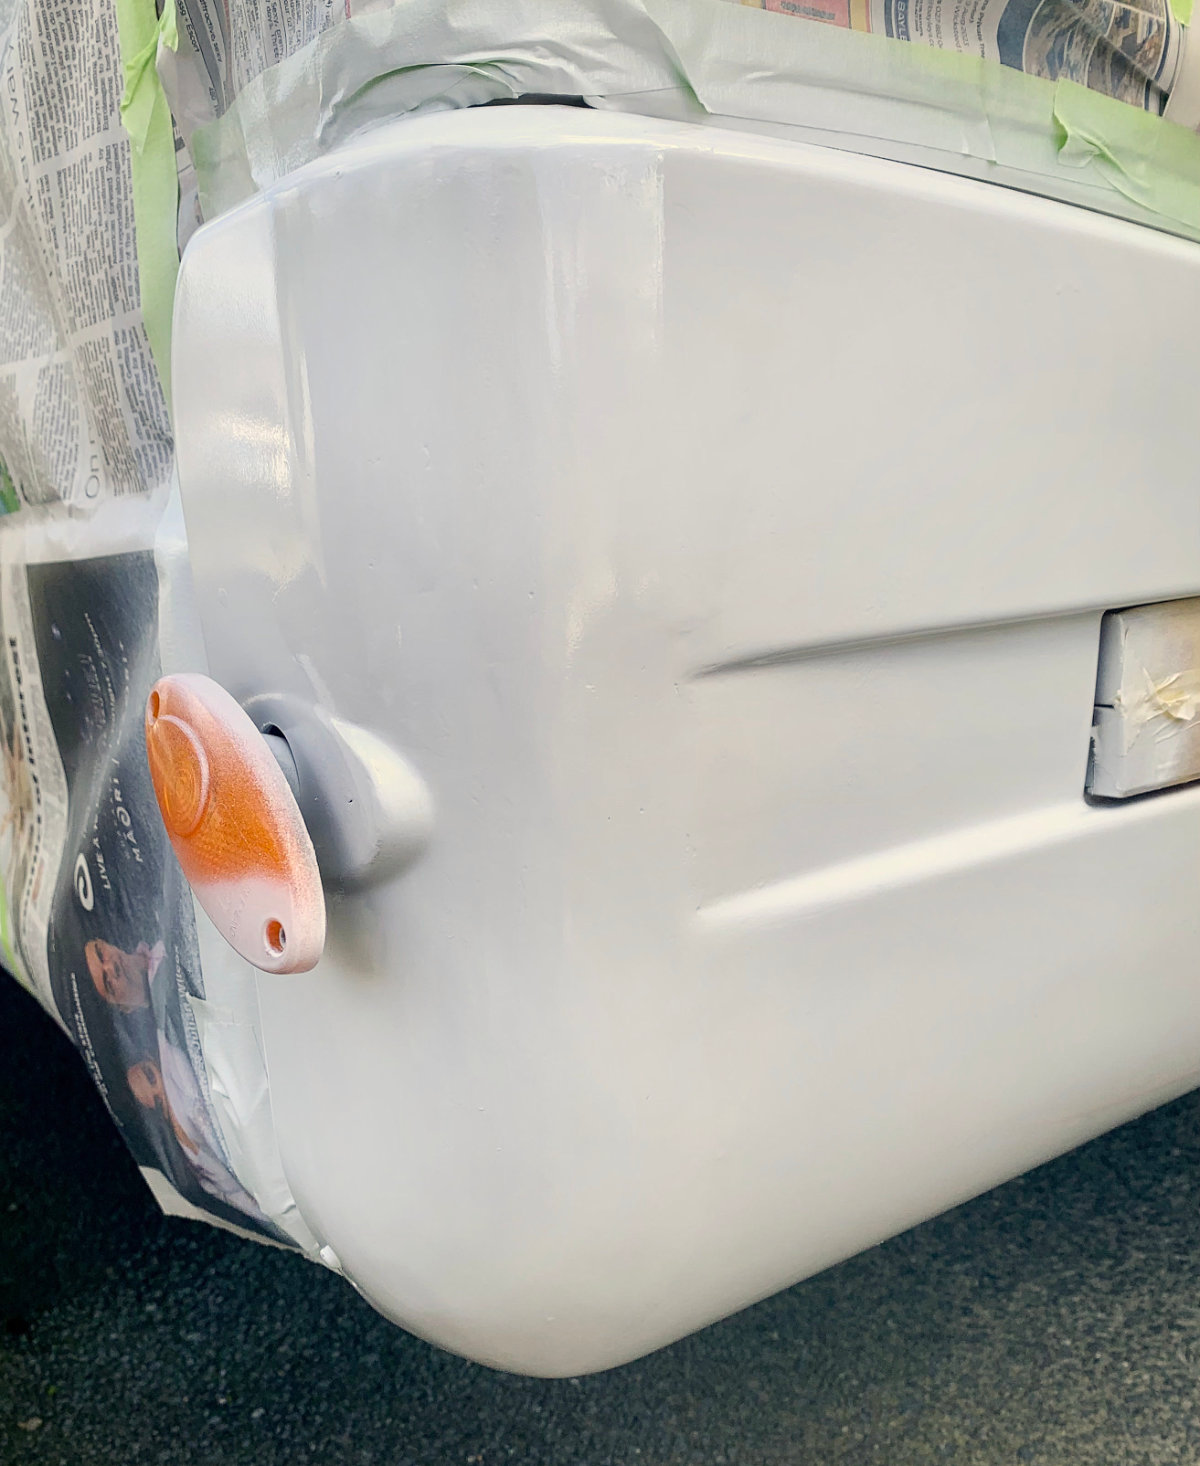
The last bit was sanding it up to 800 grit by hand to smooth it all out and then masking it.
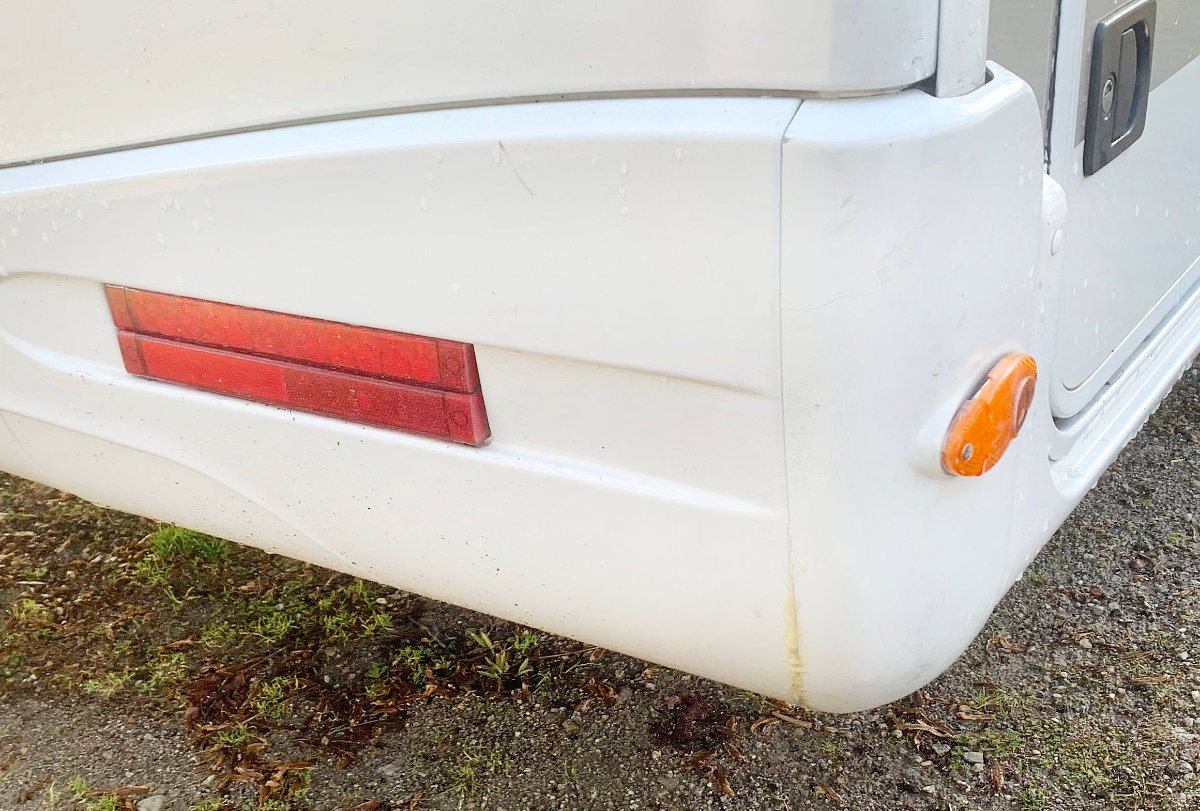
Then on with the paint. The paint I used which is the same colour as the bumper. It is certainly within a whisker of it, anyway. I used Colour Lab’s Premium Gloss paint putting three coats of paint on and then 4 coats of Premium Clear High Gloss.

It certainly cost me a lot less than replacing both panels although I did replace the two marker lights as they were only $20 each.

Because I shaped the damaged side to hide the join completely, I had to do the other side to match 🙂

I think the result is pretty good and now I’ve got the hang of this Ados Filler, I reckon I can do it better next time…!

You must be logged in to post a comment.