

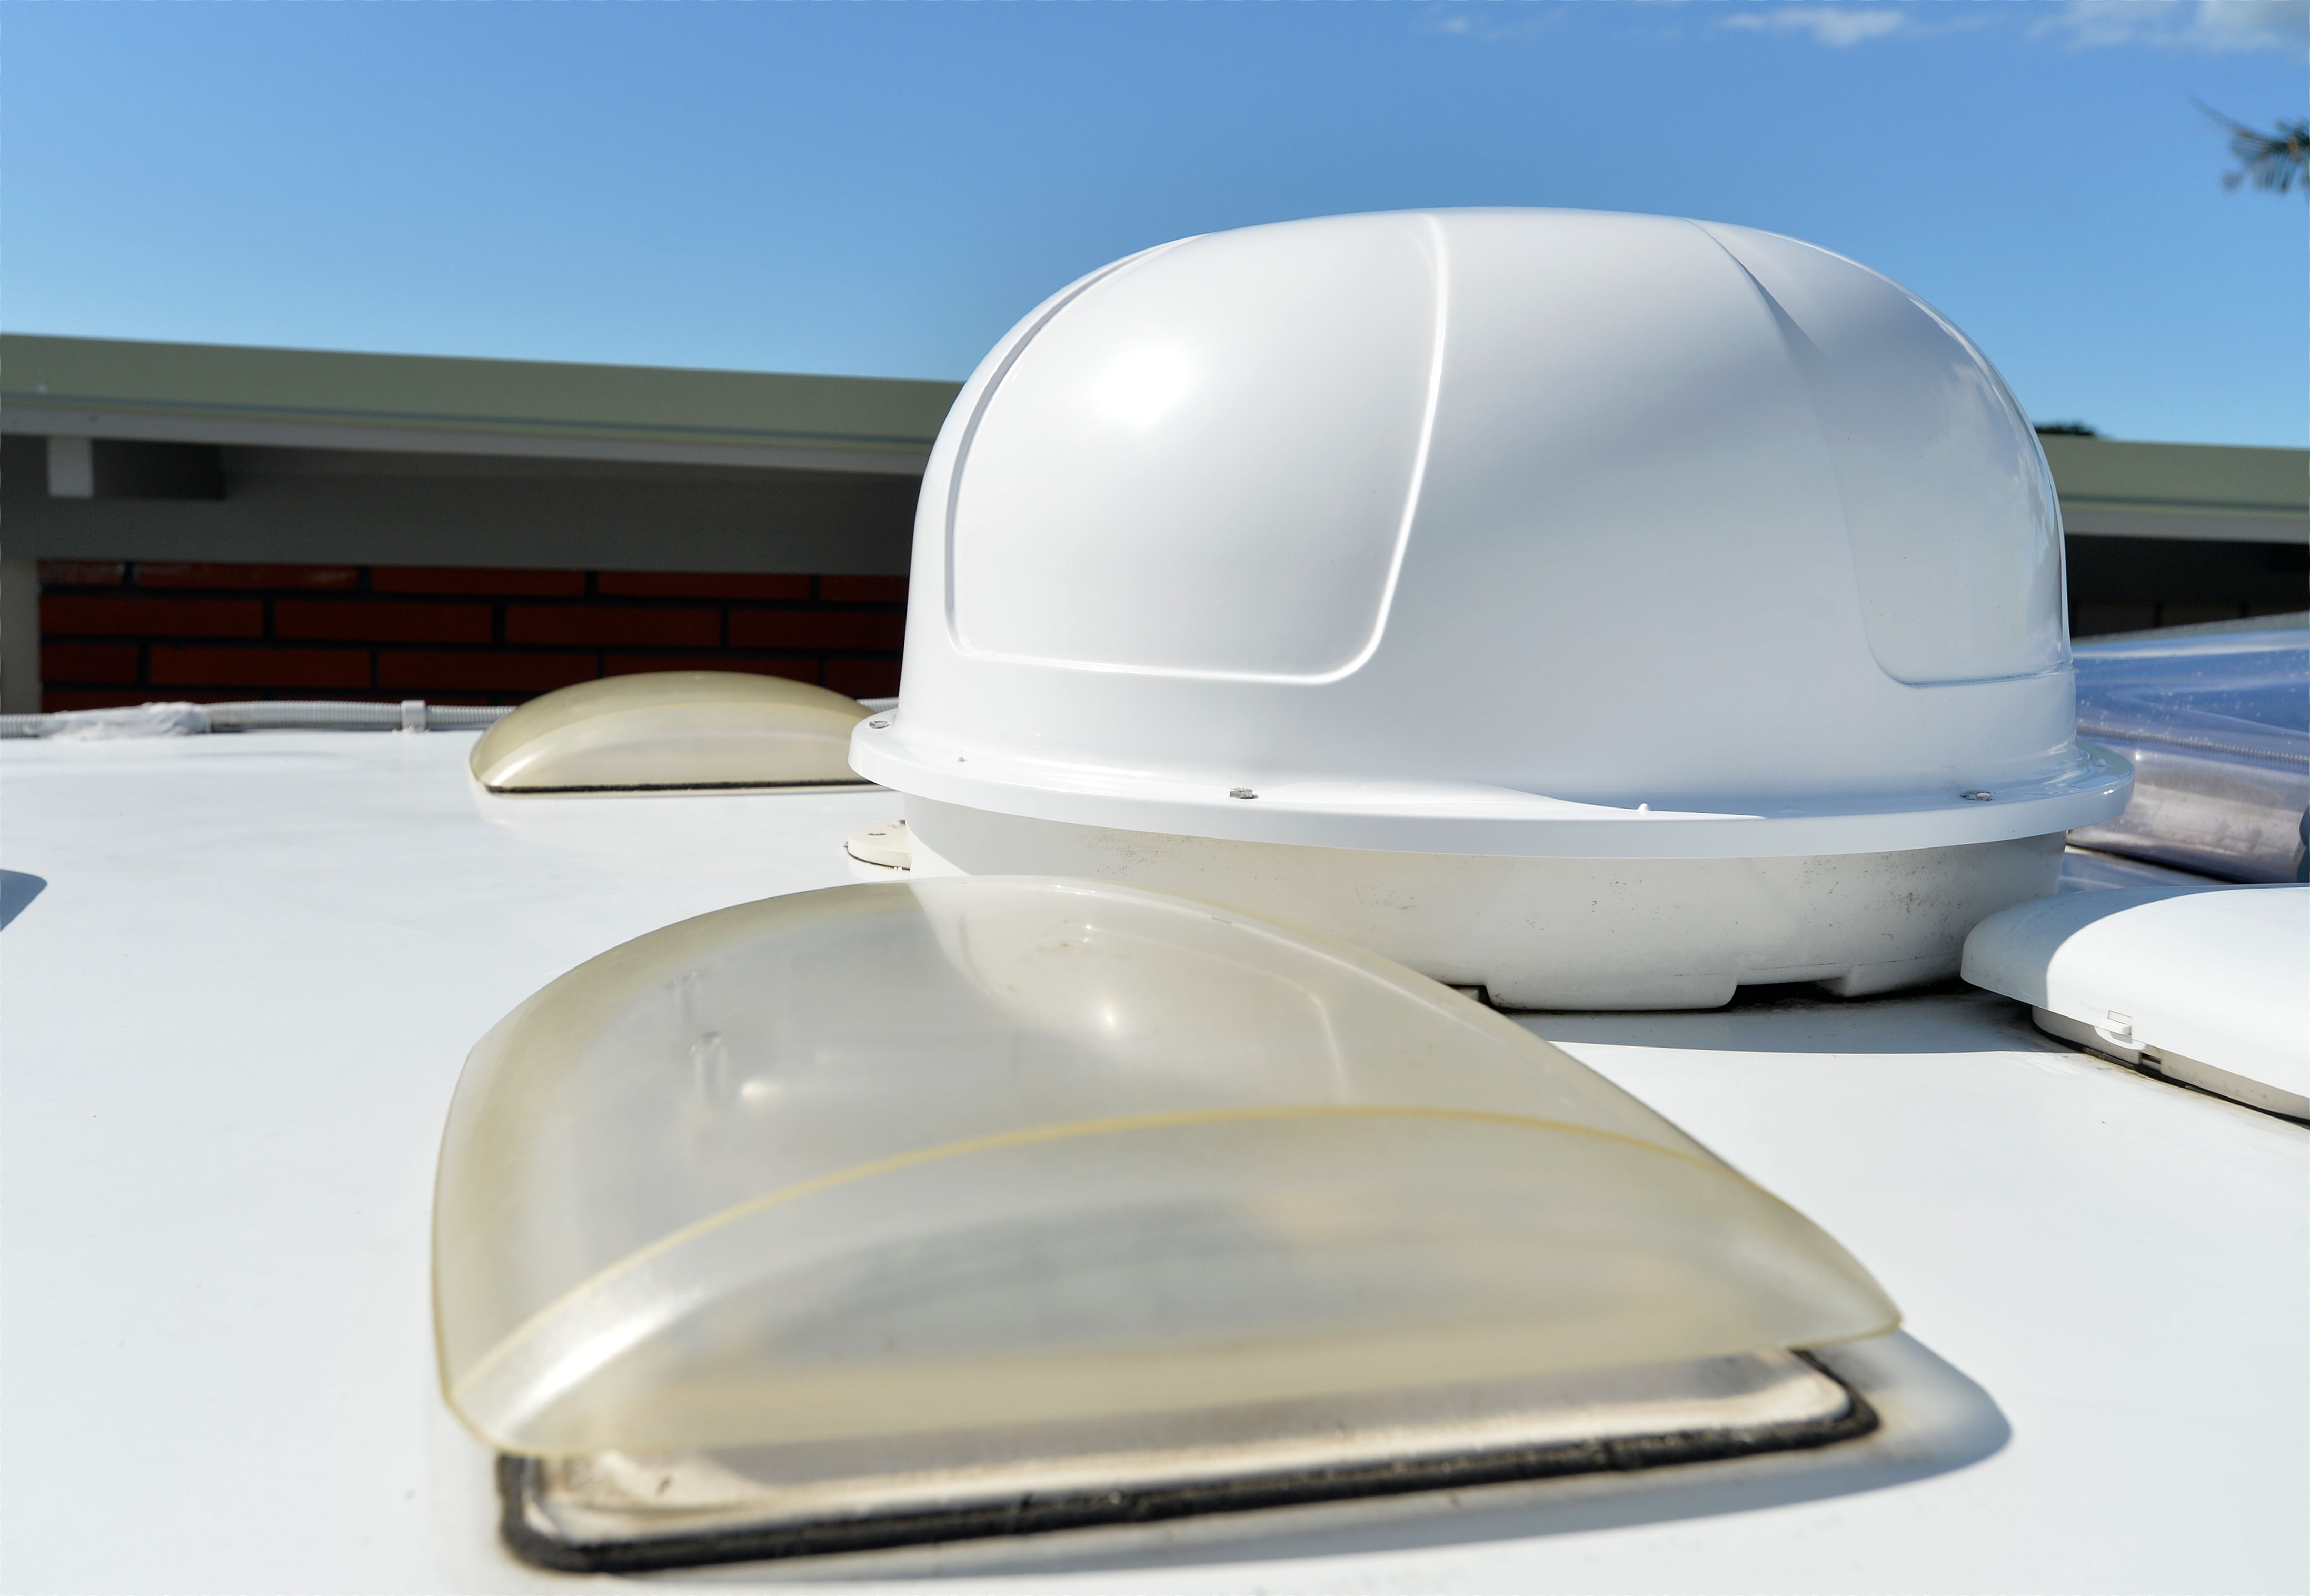
As time marches on, things in a motorhome and caravan need to be cleaned and one of the trickier things to clean is the little MPK roof vents normally found in most showers and bathrooms in your motorhome.
Click on any Image to enlarge

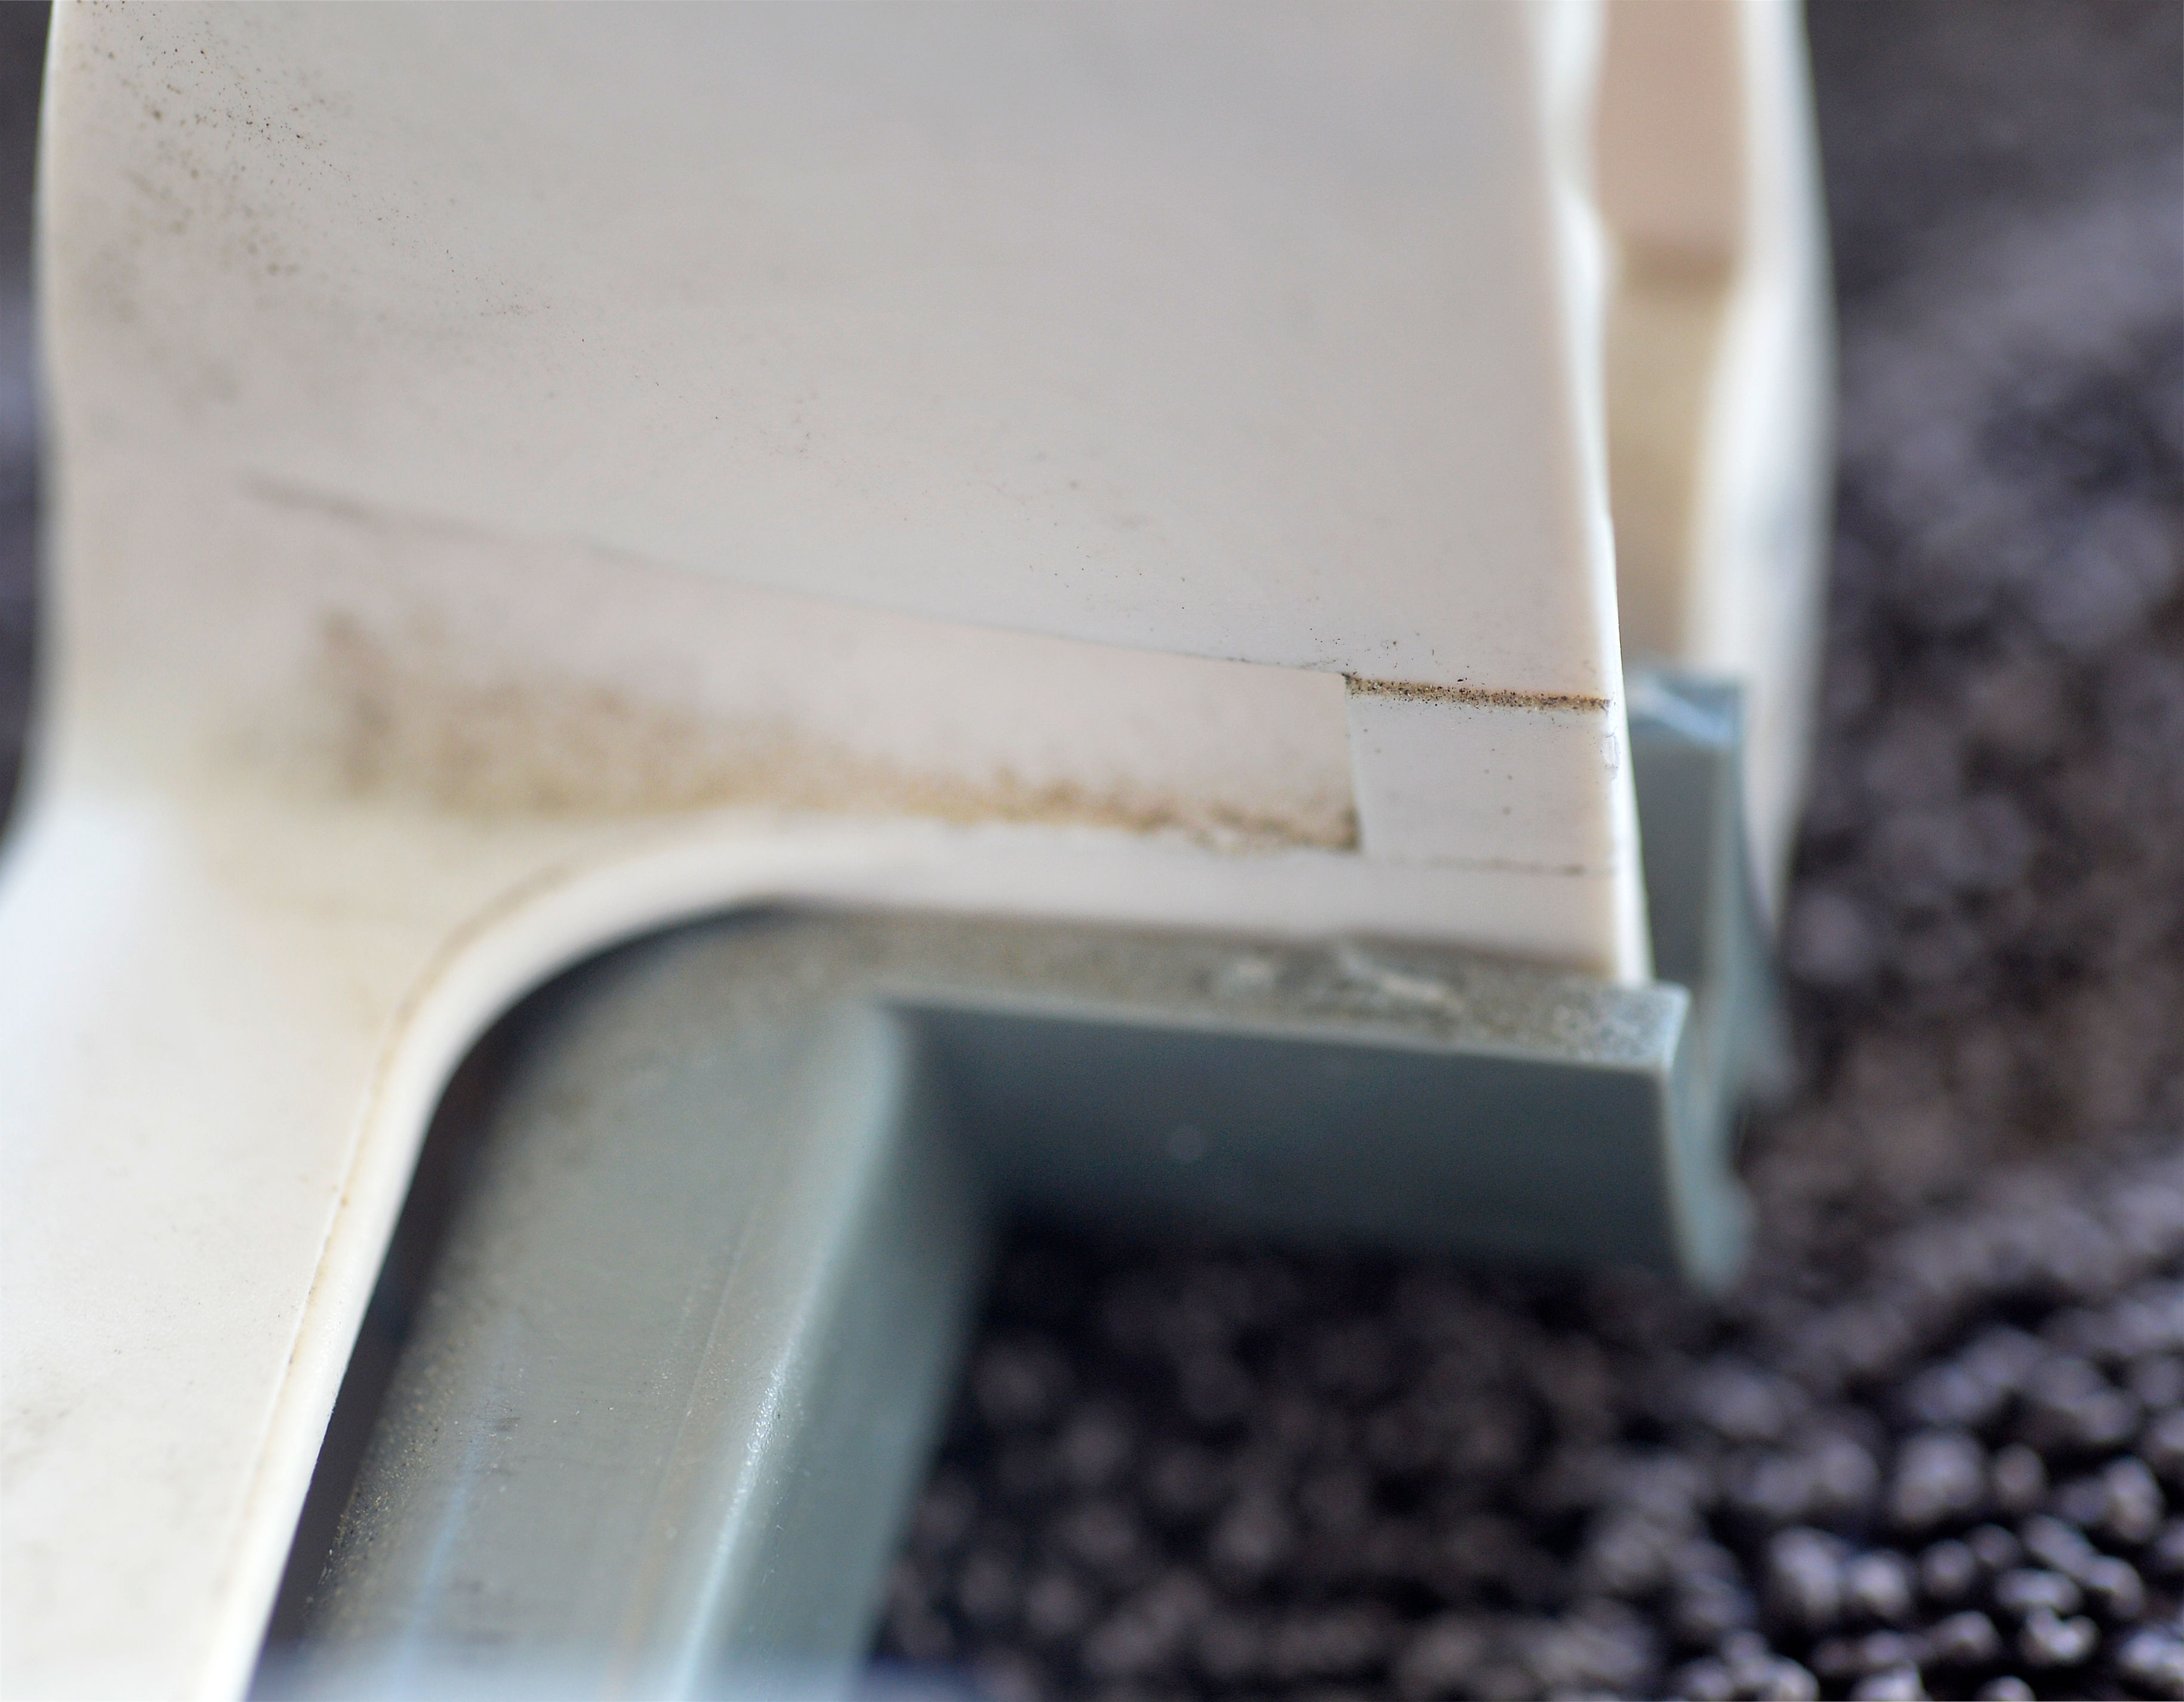
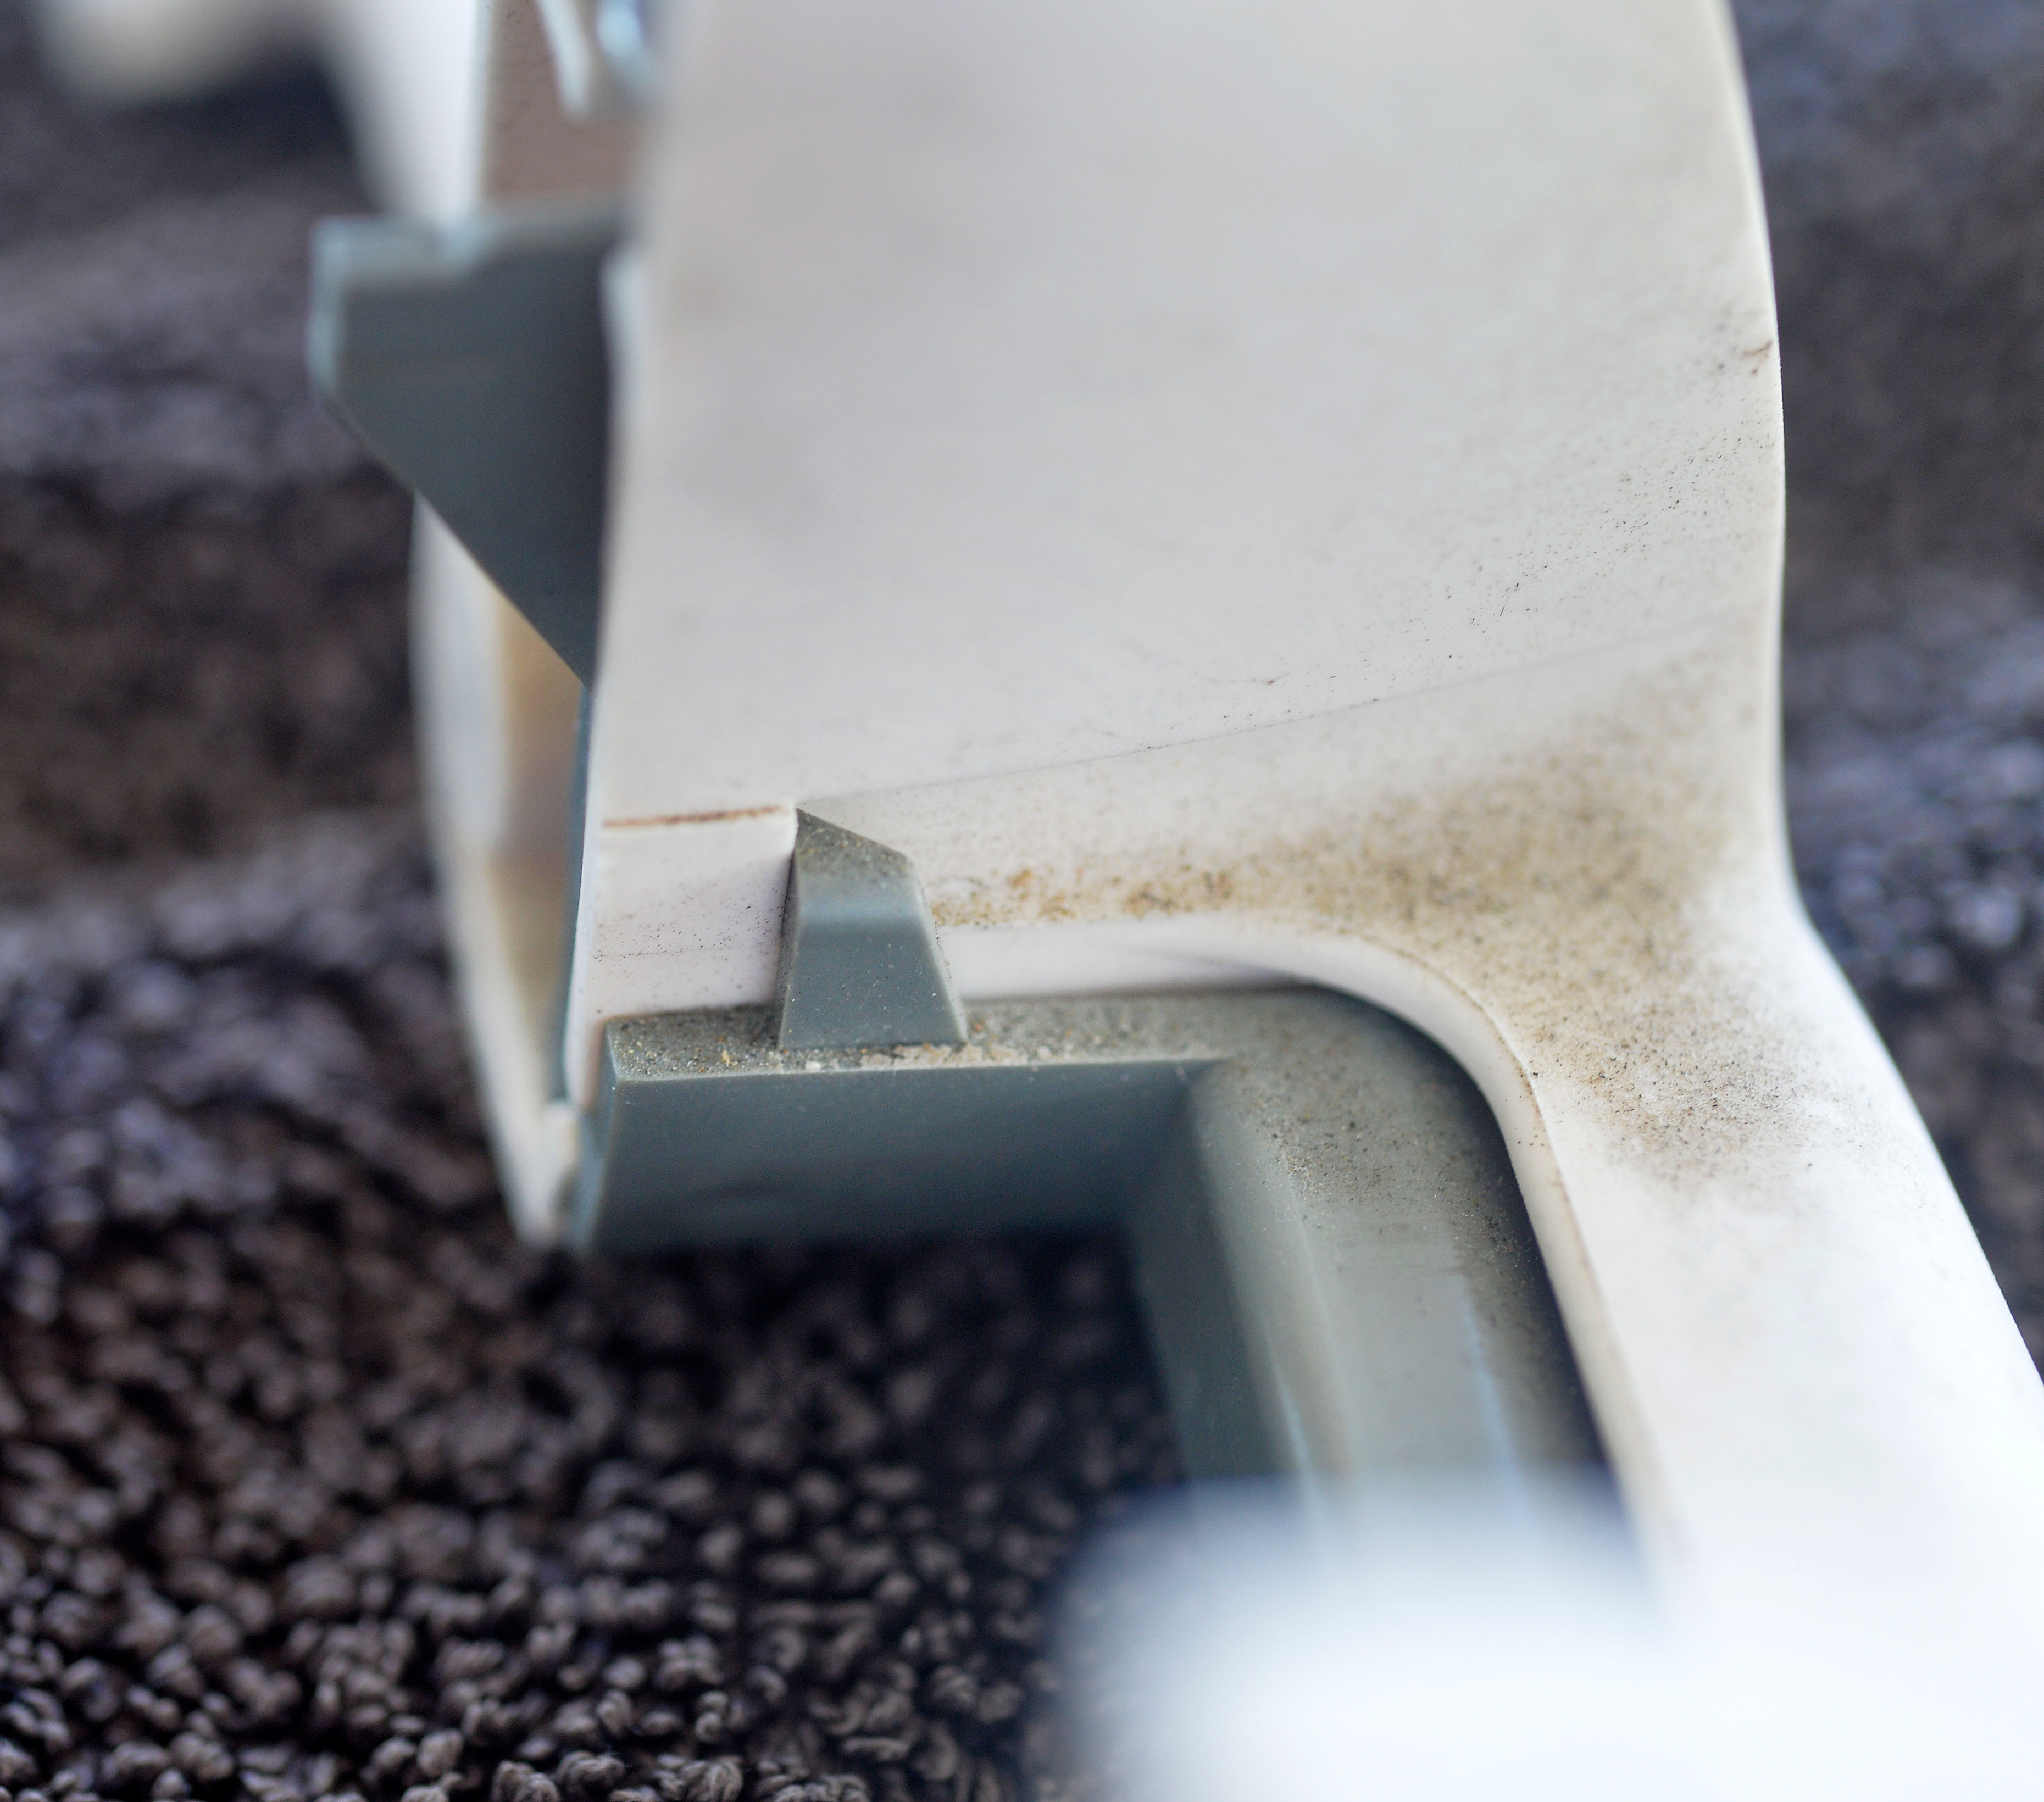
While you’re taking these out to clean, its a good idea while they are out to replace and broken catches that have lost their tabs like two of mine had.
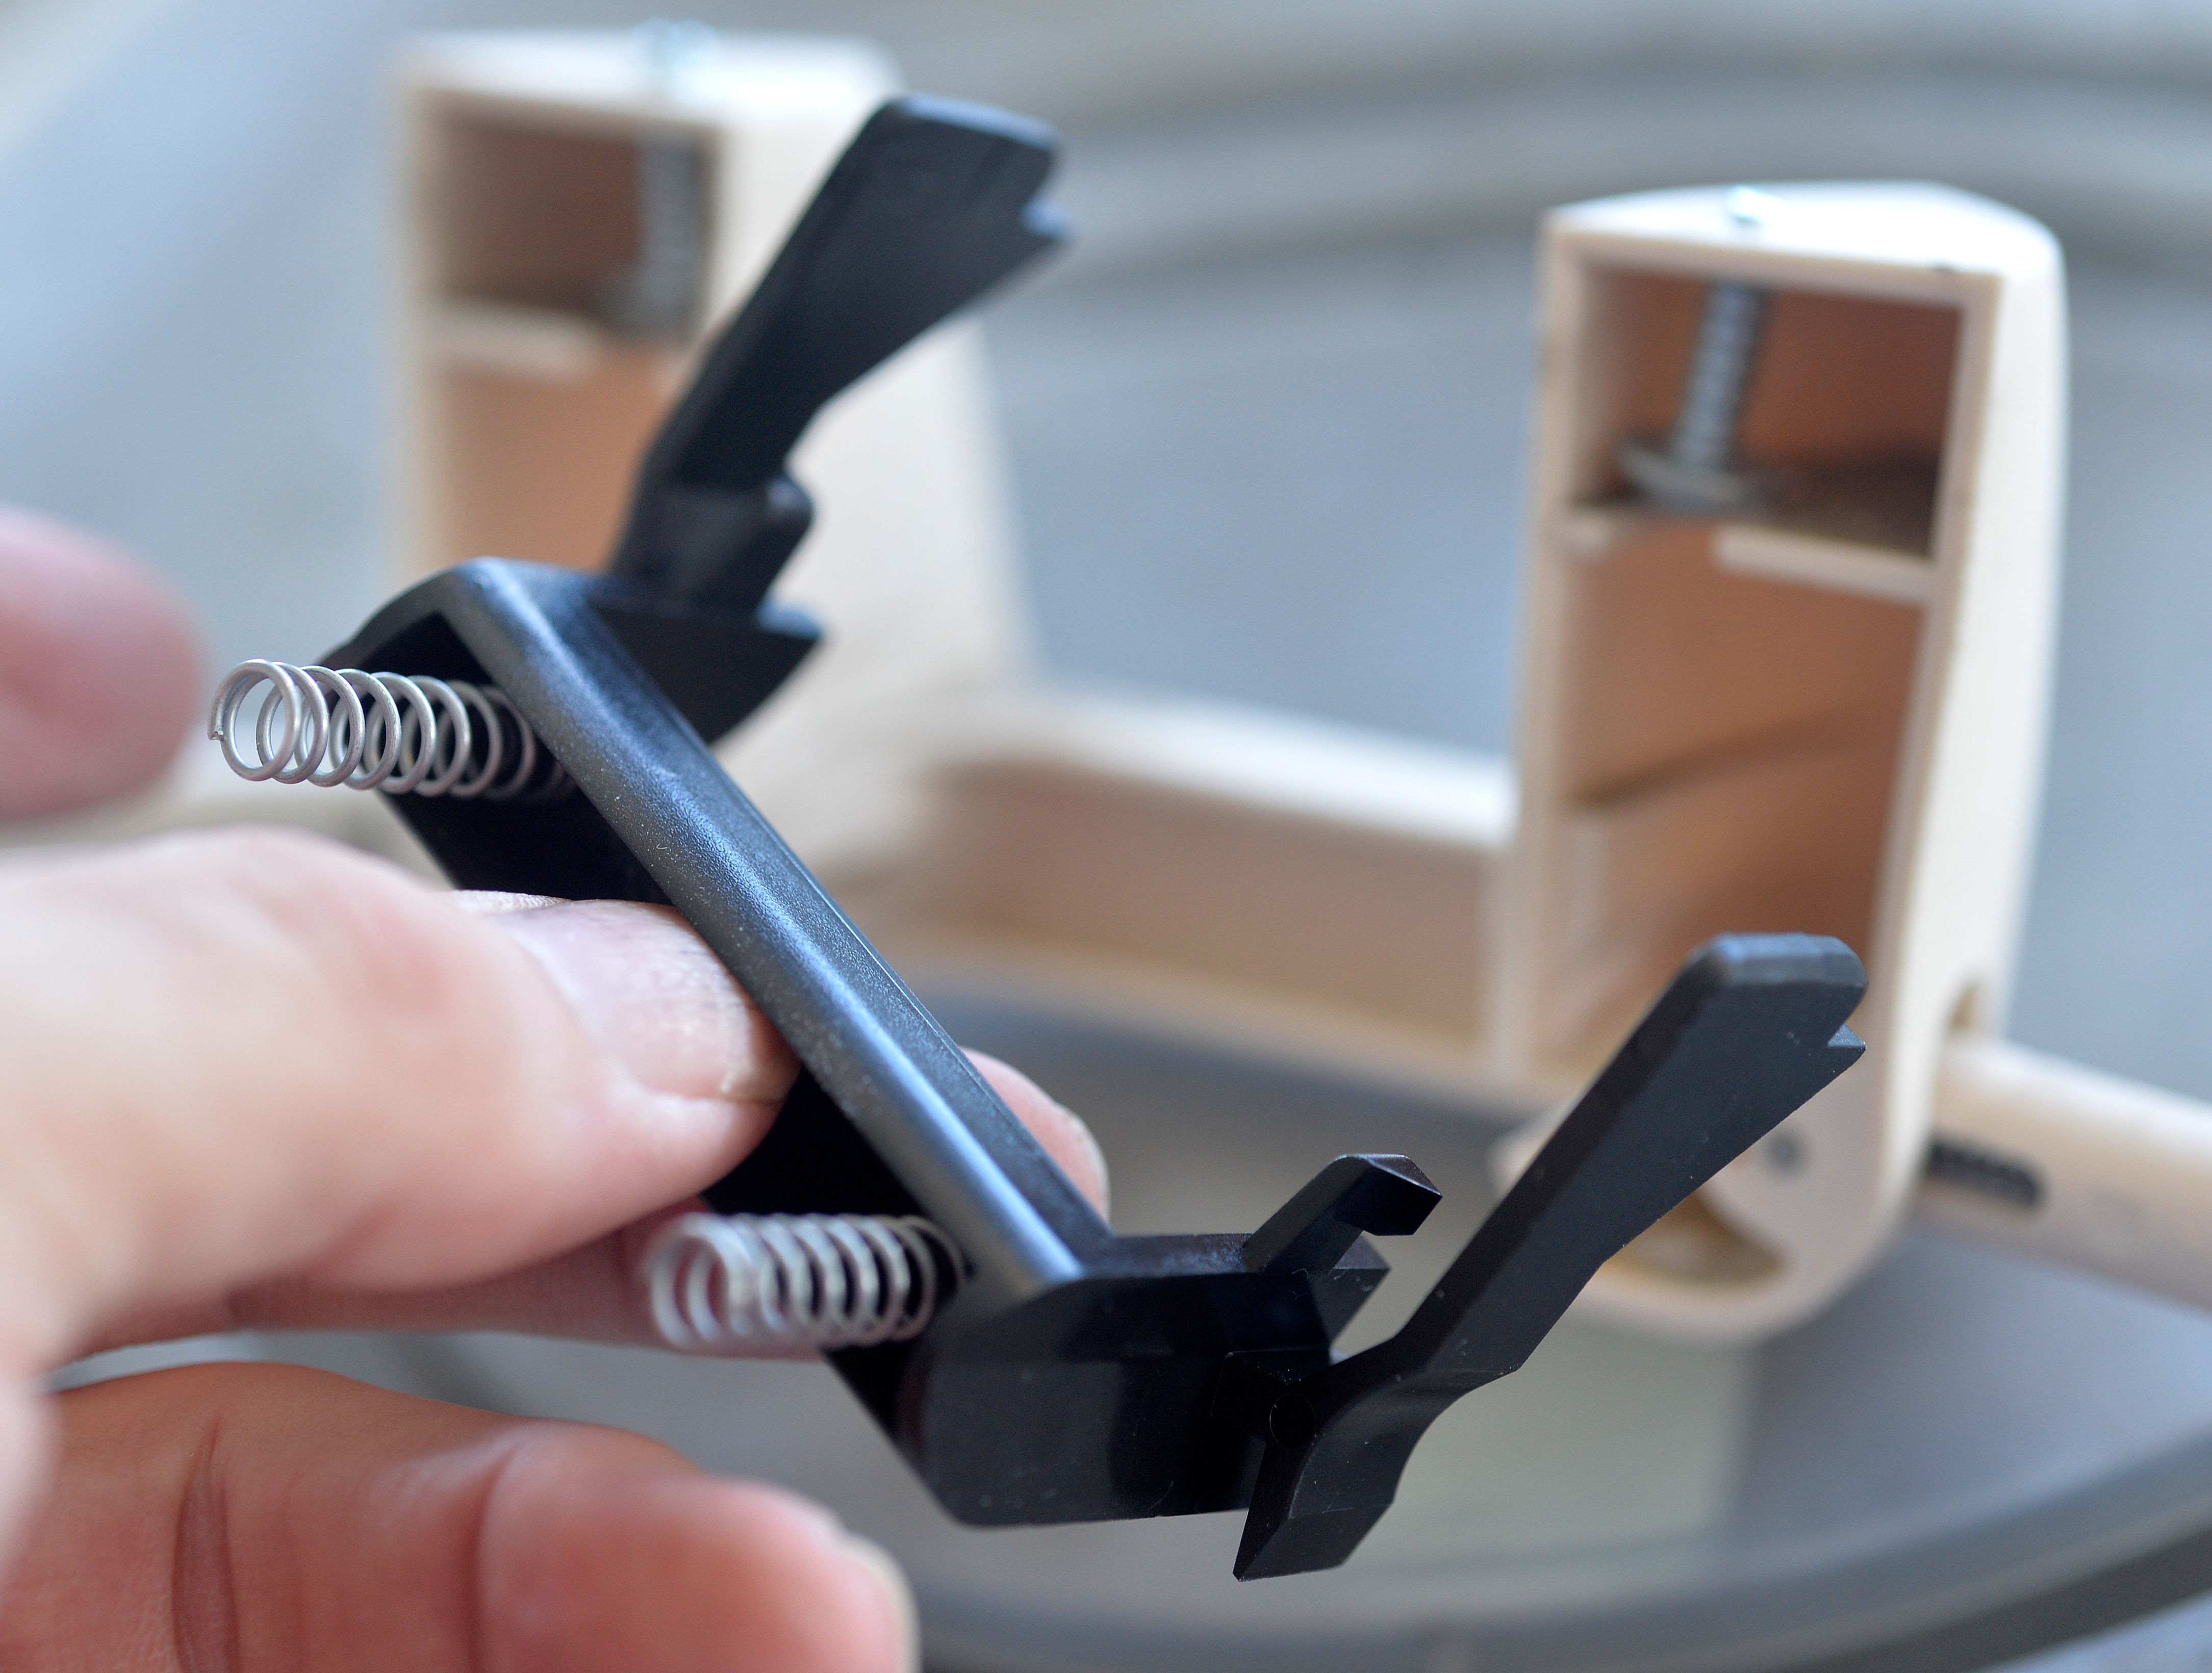
I had the good fortune to have a friend Bruce who had replaced his so he knew exactly where to get some replacements. Moutere Caravans have packets of 4 for $30 plus a courier so well worth getting before you start.

I also went to Bunnings to invest in a Torx screwdriver kit which is like an Alun key set which was very useful to get in the tight spots on the vent.
Getting underway….. After starting on the inside by undoing the 4 Torx screws holding the arms to the motorhome and then gently lifting the vent off the roof, I moved the whole assembly to the kitchen table.
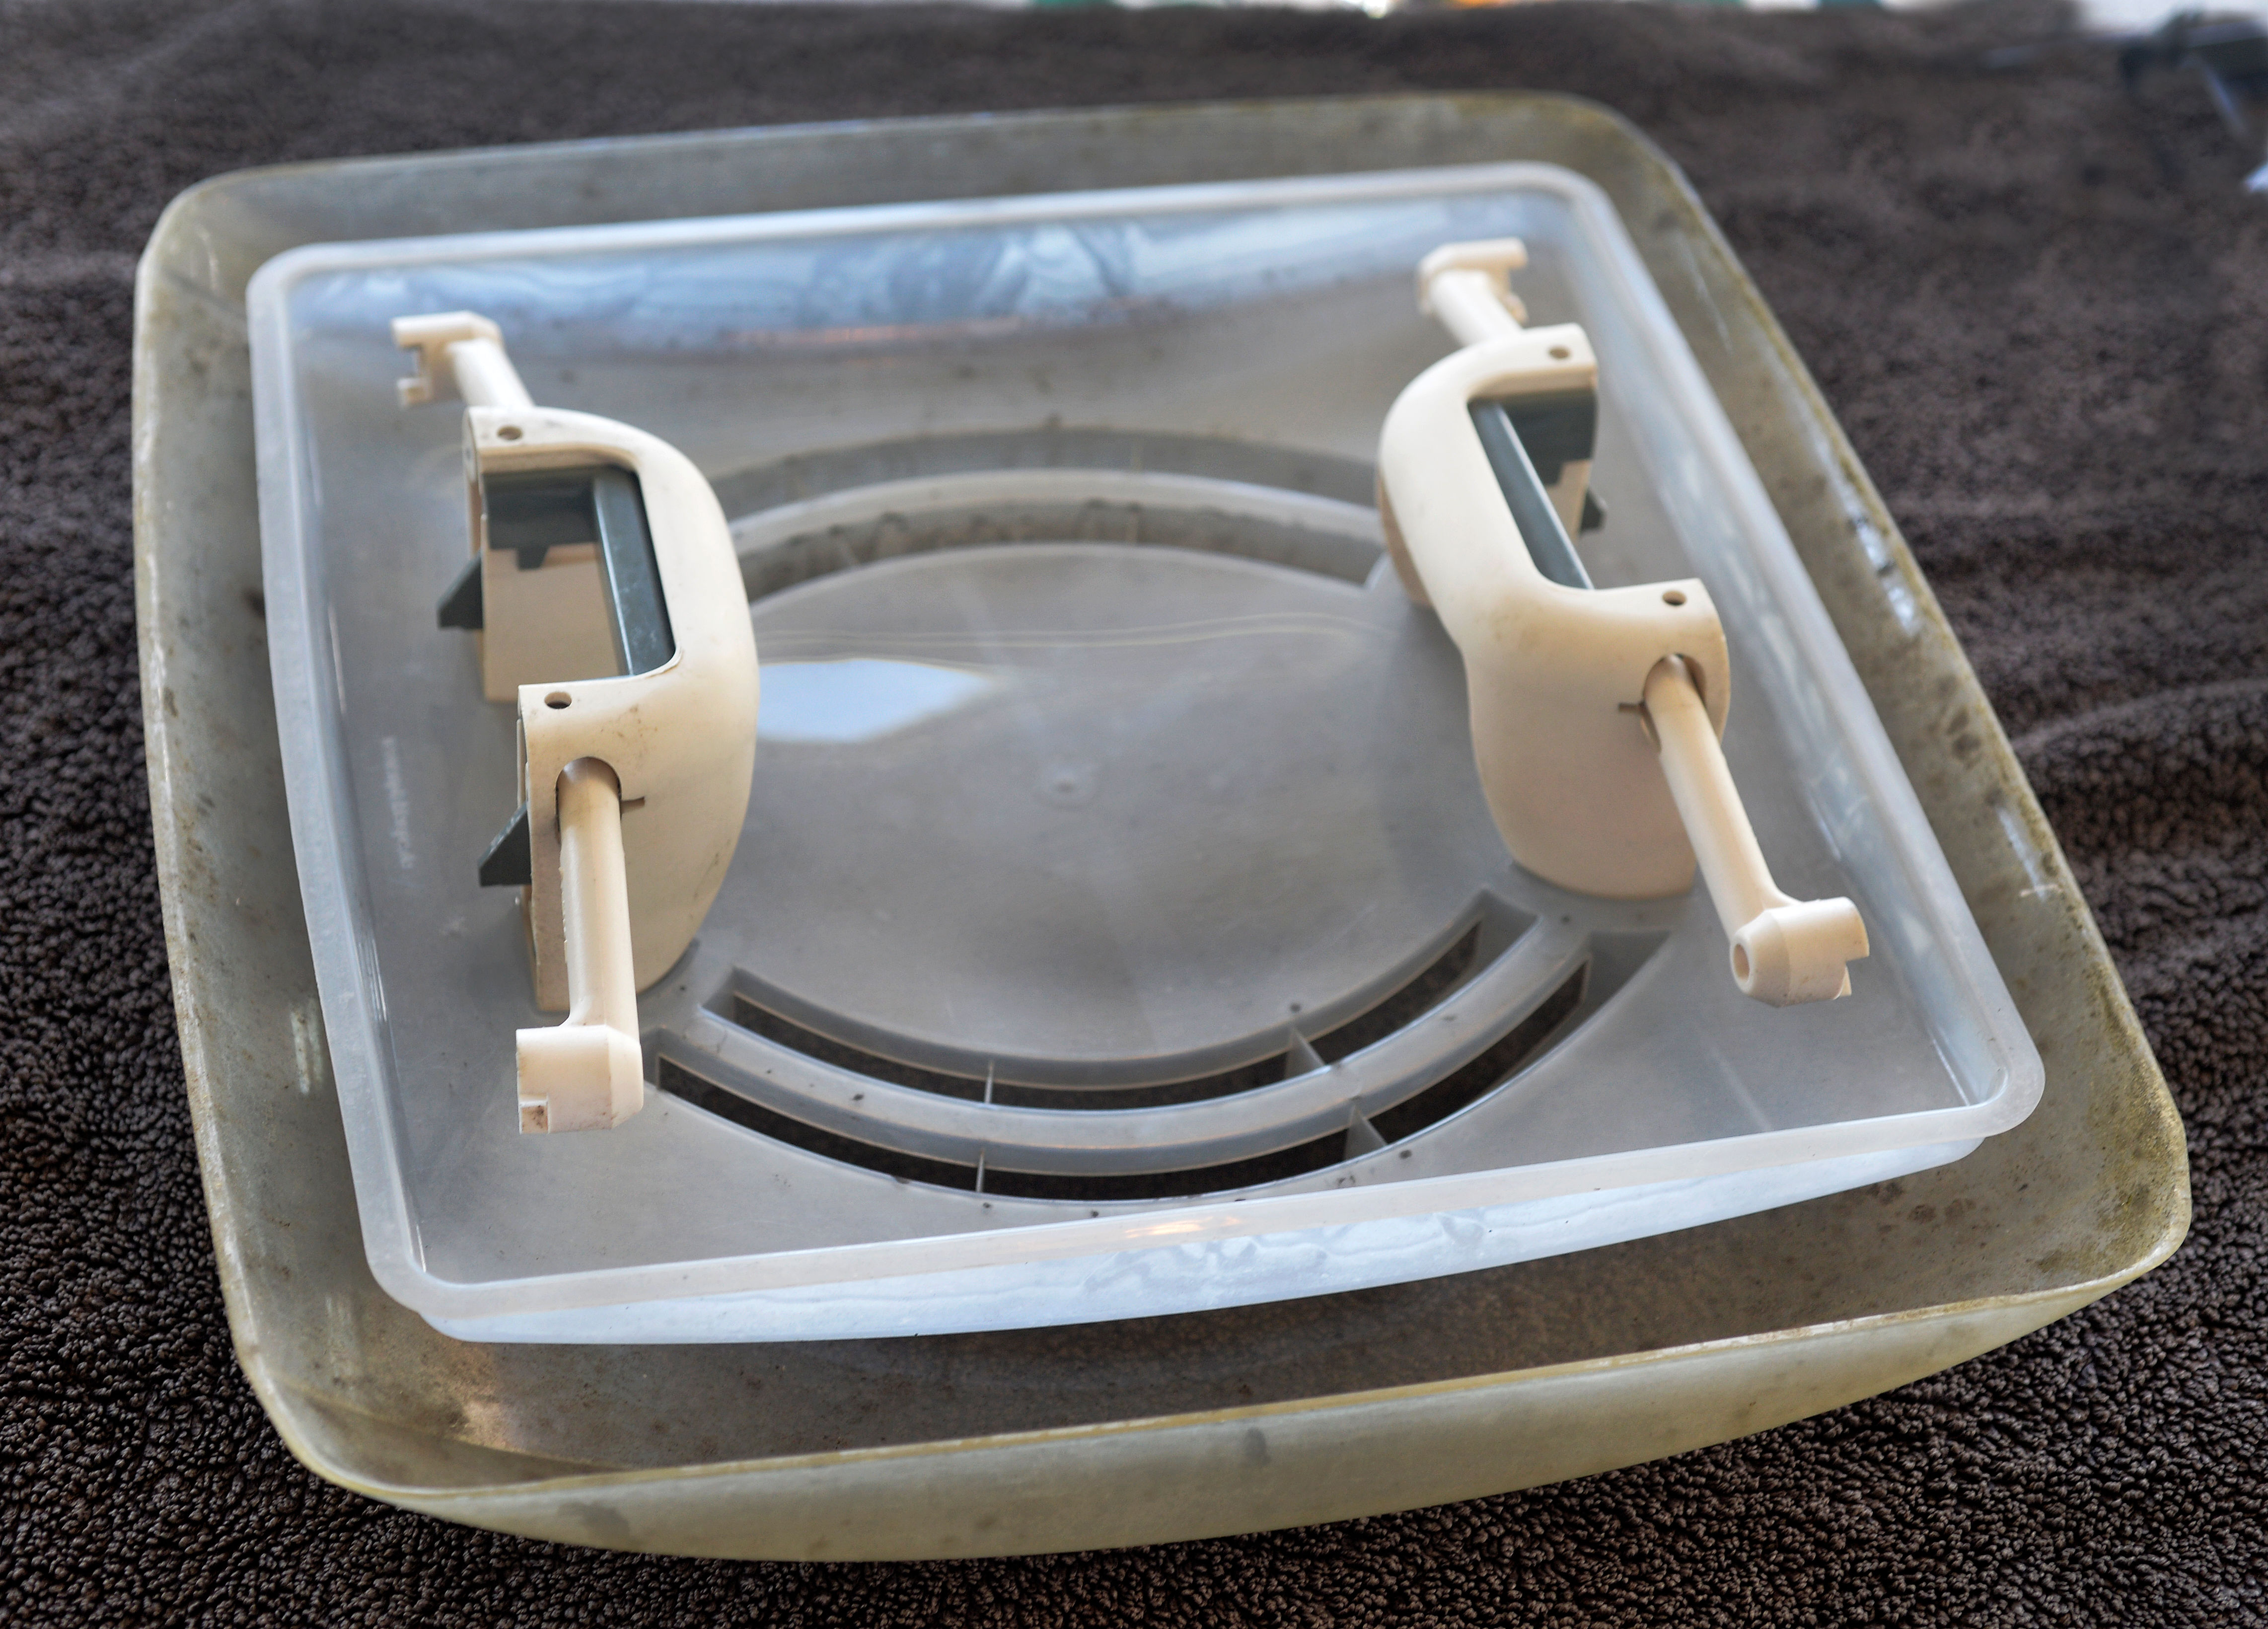
Out came a bucket of Sunlight dishwashing liquid in a bucket and a soft cloth.
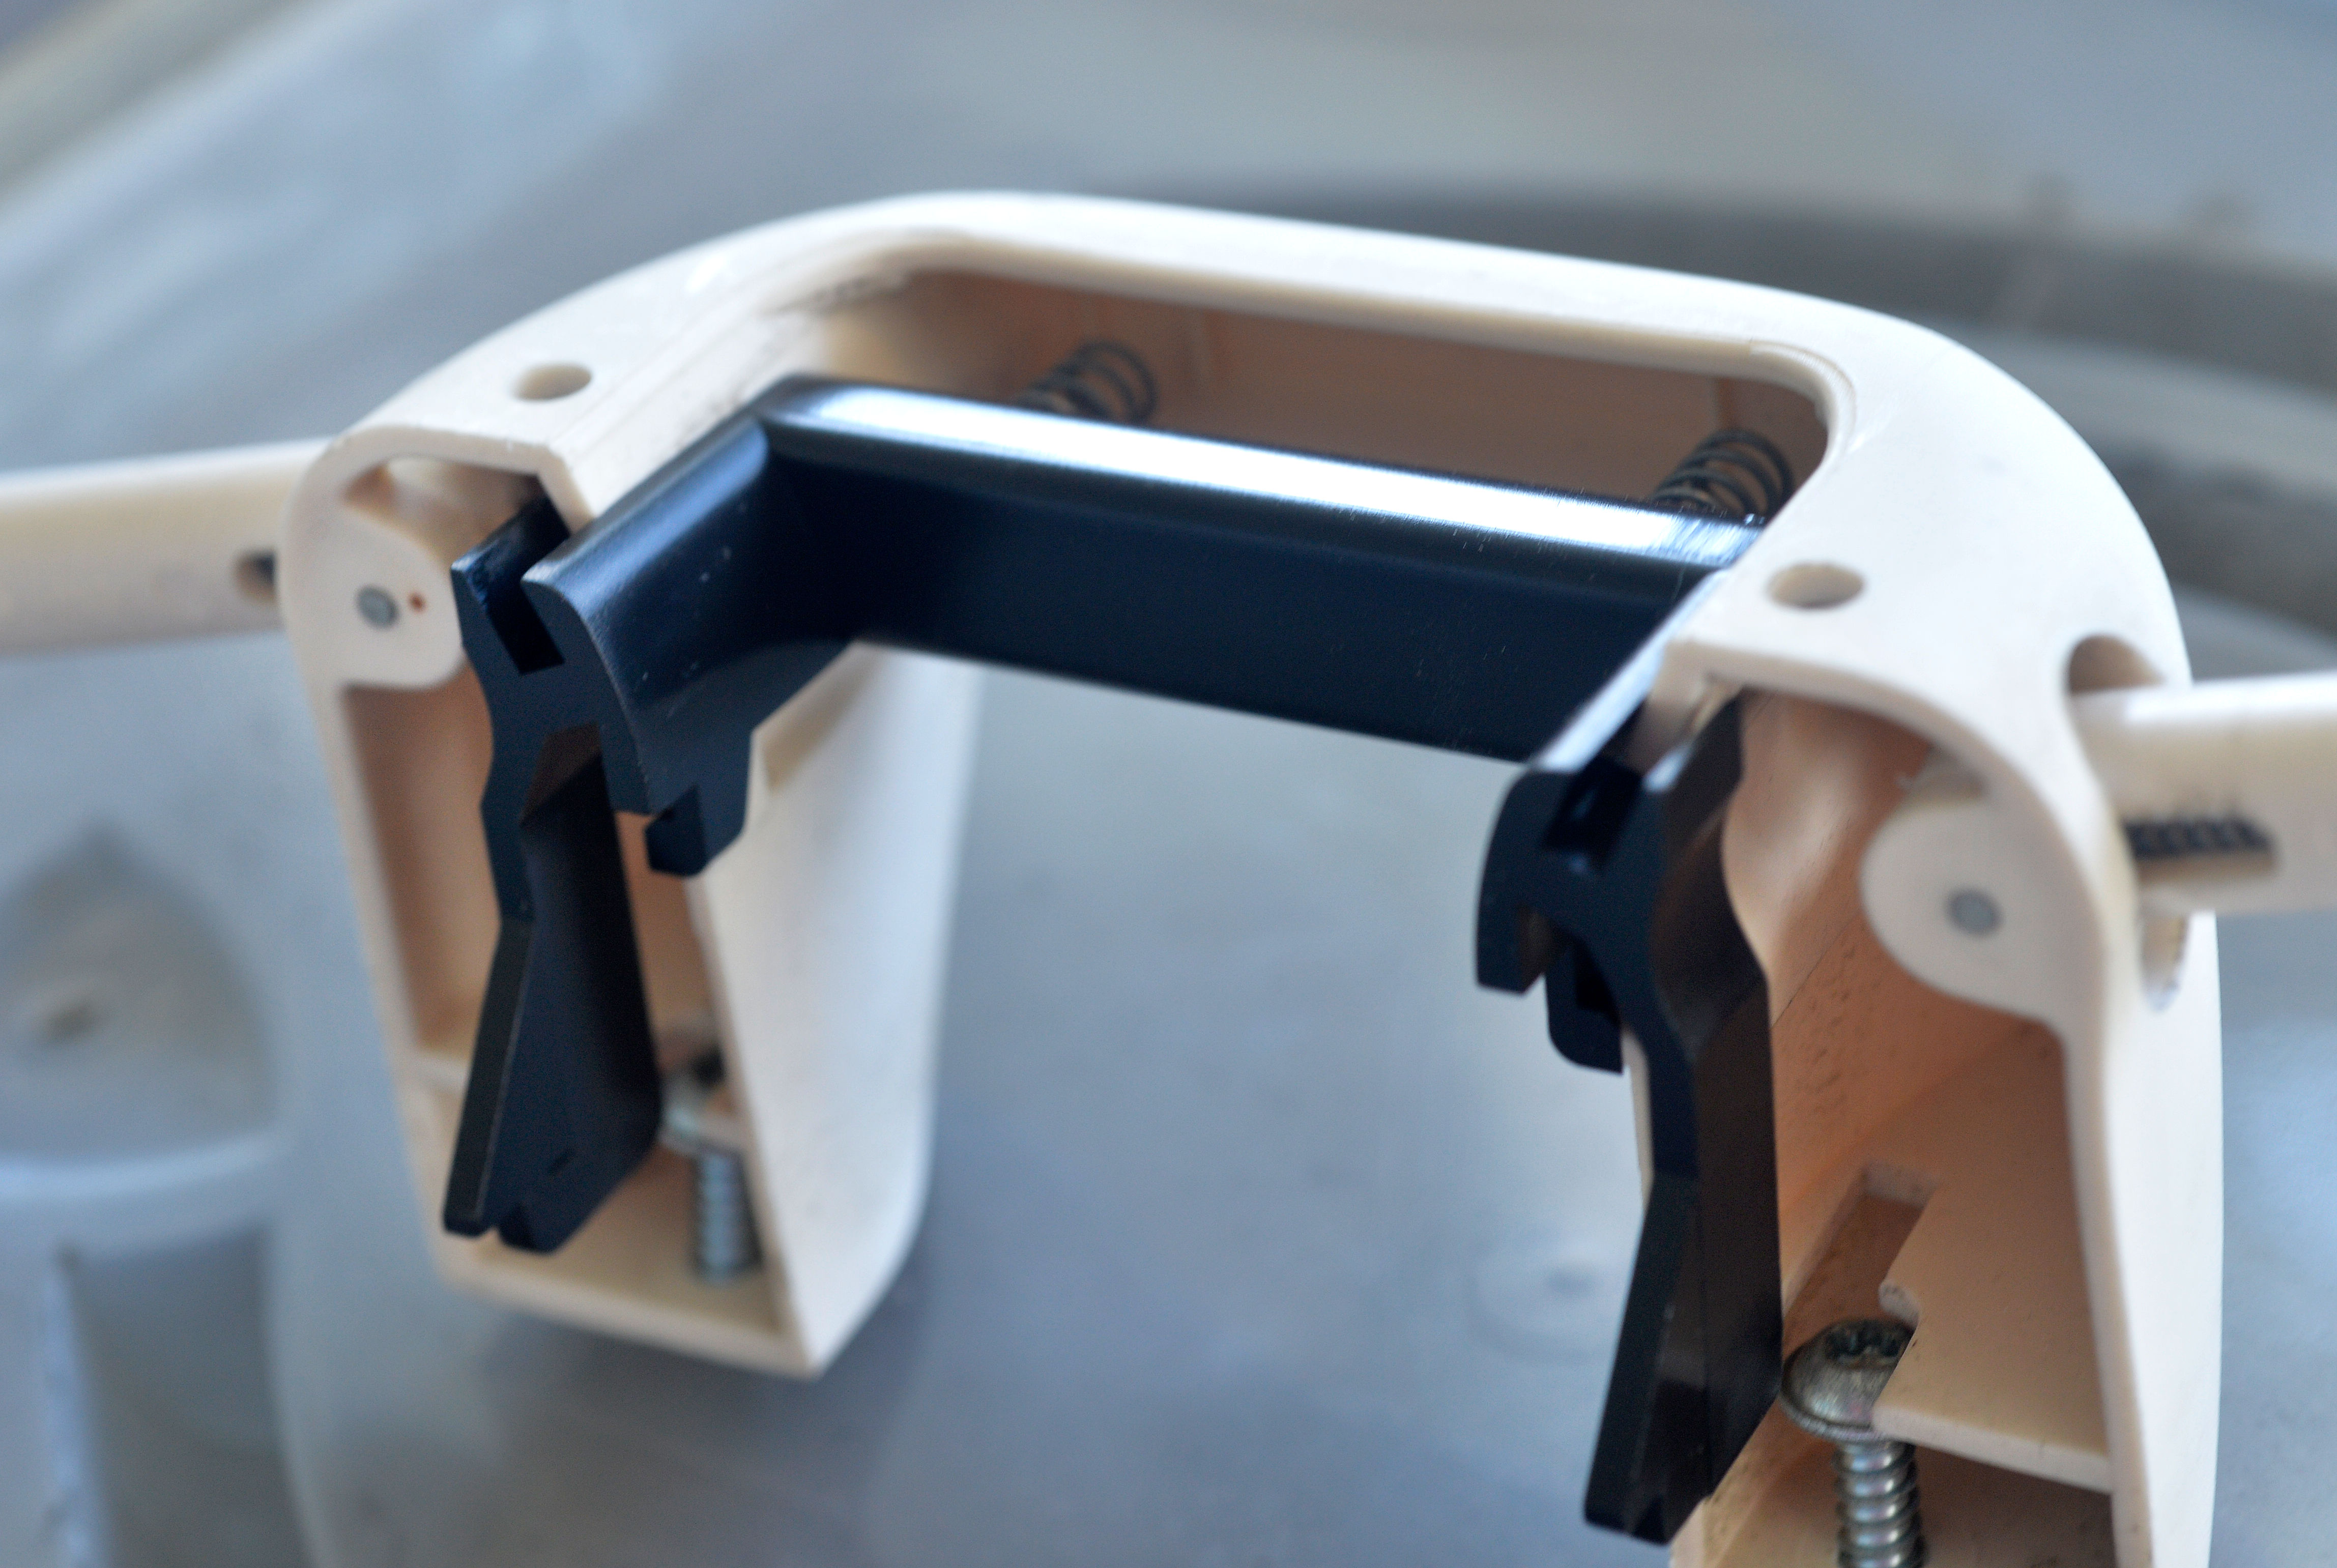
With the vent on its back facing up on the table, I could easily get the Torx screwdriver down through the handle at each end to remove the screws holding the handle onto the perspex. It also holds the plastic inner to the perspex outer cover so expect it to all come apart at that point.

It makes it really easy though at this point to gently prise out the catches for replacement and give the whole thing a good clean. I got some replacement springs too so replaced those as well.
I replaced all the catches as the ones that weren’t broken were so brittle with the sun that the tabs broke anyway as soon as I tried to remove them.
Be careful with the perspex outer cover as it can scratch really easily.
As you re assemble it, be careful not to over tighten the screws as you will strip them in the plastic.

The whole process took me about 2 hours from start to finish and it makes a really big difference and the look when its all back together… there’s also something nice about doing it yourself too!

After 7 years of neglect on our roof, my whole vent was a different colour and as a result, lets in a lot more light.


One thought on “Cleaning those MPK vents”
Comments are closed.