

One of the things we should have done when we first got our Motorhome 7 odd years ago was to put some protection on the bonnet against stone chips. I remember Fiona mentioning it at the time but I was too eager to use the new toy!
Years later after progressively touching up the stone chips on the bonnet leaving pimples of touch up paint, it was time to either repaint the bonnet or tidy things up.
Click on any Image to enlarge

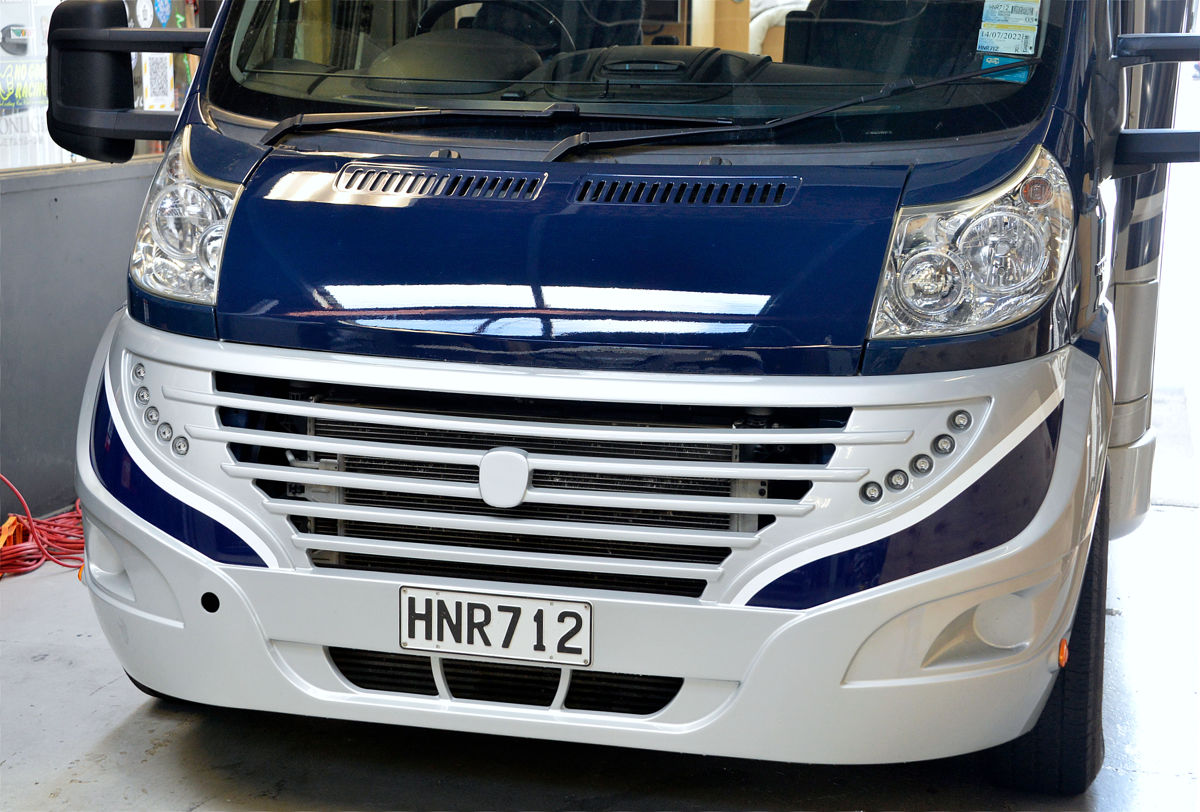
Having just had the bumper done up after it dropped all its paint, I needed to have the decals that Dethleffs originally put on replaced on the newly painted bumper.

My son Drew was involved in Drift Car racing and met Jeremy years ago who is a sign writer extraordinaire who is also a dab hand at wrapping cars and anything else. Drew introduced us by phone so off I went to Jeremy’s workshop get the new decals.

Jeremy is an old school sign writer who can still do signs with a brush.. sounds to me like a photographer who still knows how to process a roll of film 🙂 I liked the sound of that.. nothing like experience!
 He immediately looked at the images I had of the original decals and said “I can do much better than that” ! Jeremys right hand man Jay was there on one side while Jeremy was on the other.
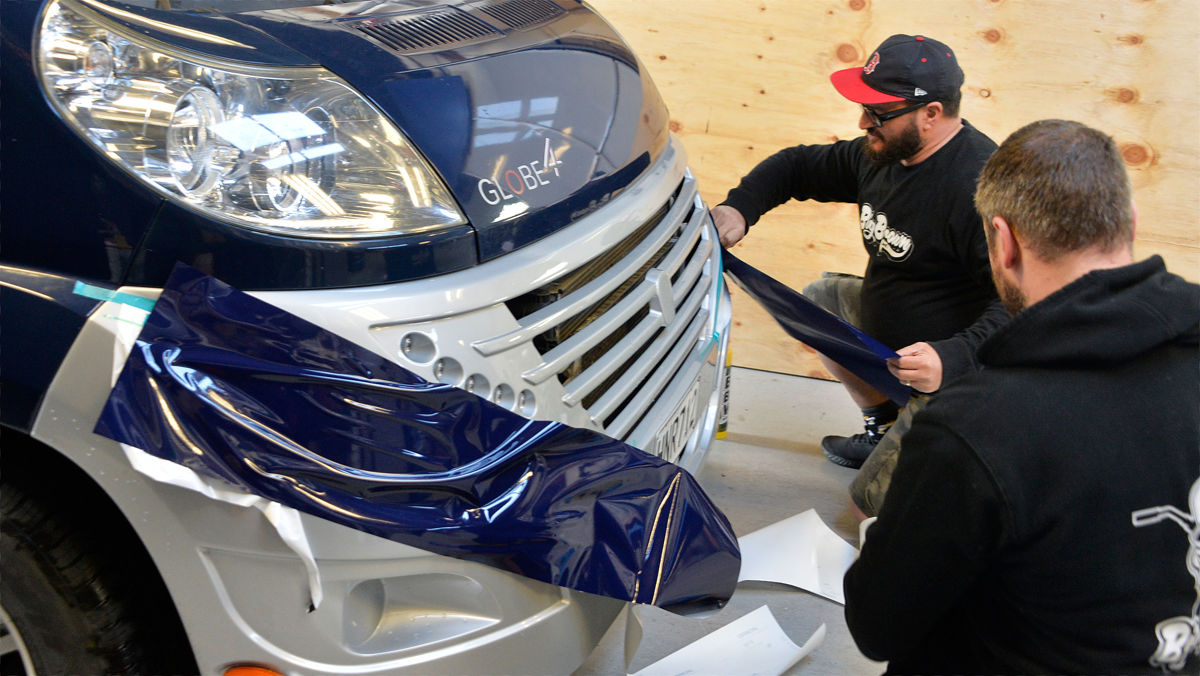
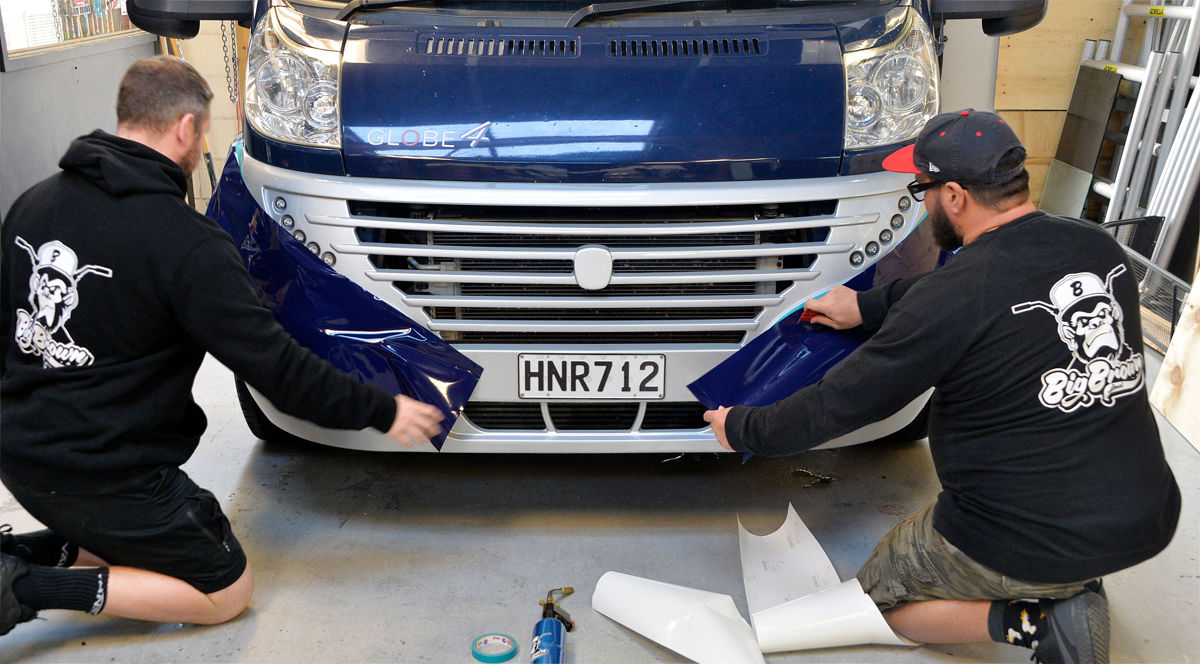

Jeremy’s version of the Decals were quite a lot bigger but followed the contours of the bumper much more closely and also met up with the pattern on the sides of the van much better so it all looked a lot more streamlined than the original Dethleffs effort. I was over the moon.
Click on the Gallery below for blow by blow slideshow


Next came the bonnet which I was only going to get Jeremy to tackle if it wasn’t a huge job. Jeremy took one look at it and after a comment like “easy peasy”, we were off.

Jeremy got some very fine wet and dry sandpaper and with some water, gently hand sanded all the little pimples of touch up paint that I had applied down so the bonnet was smooth. There was also a Globe 4 decal on the bonnet which had to go too.


The bonnet then looked like a bluey grey colour which looked awful. I think Jeremy could tell I was a bit nervous so he cut off a tiny bit of bonnet protector and after wetting it, stuck it in the middle of all the horrible grey and immediately, it took on the lovely deep blue I was used to! It was a WOW moment.. I was amazed and it was a high gloss too.
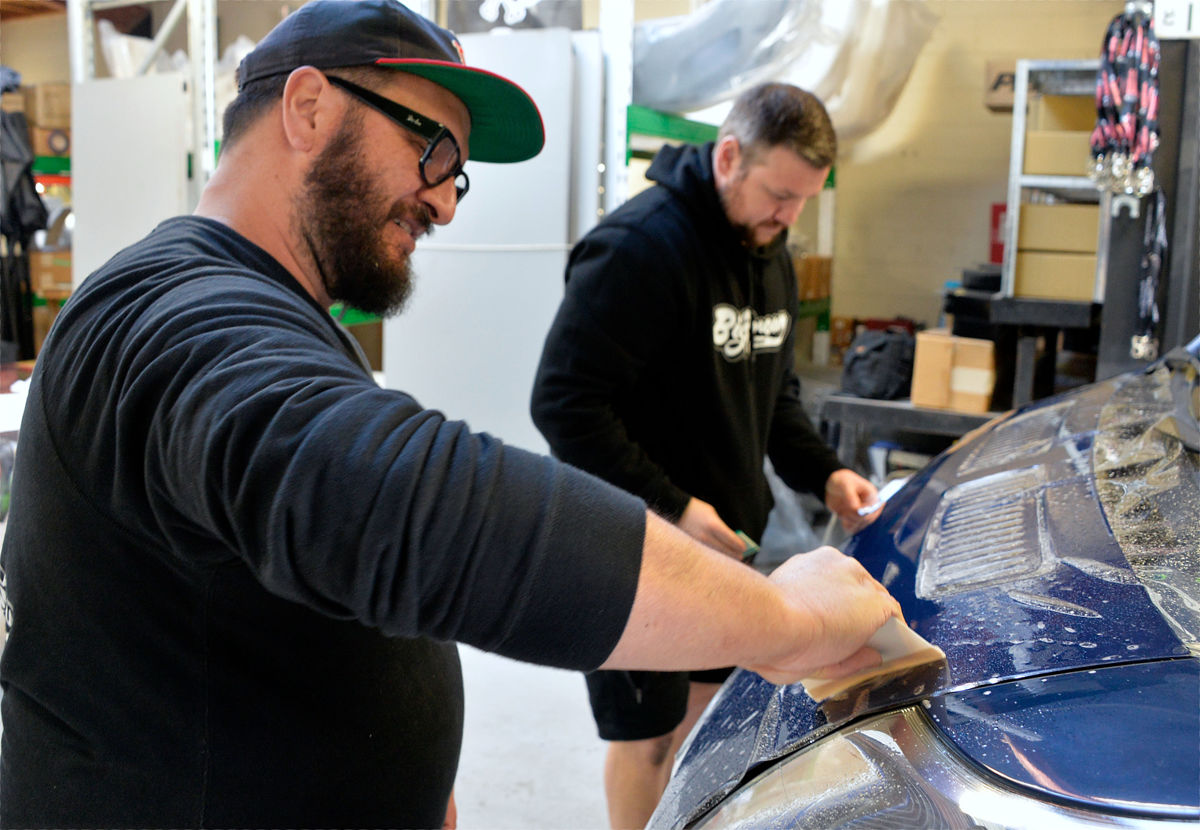
Jay appeared with a sheet of the protector big enough for our bonnet and between them, they wet it and the bonnet and on it went. The next 30 minutes or so were spent squeezing out the water but it looked absolutely amazing. The best part was that out of the 40 or so original stone chips on the bonnet, the sanded paint filled up the holes left like a filler so you could really only see a handful of them afterwards.. A HUGE improvement.. Its like a new bonnet.
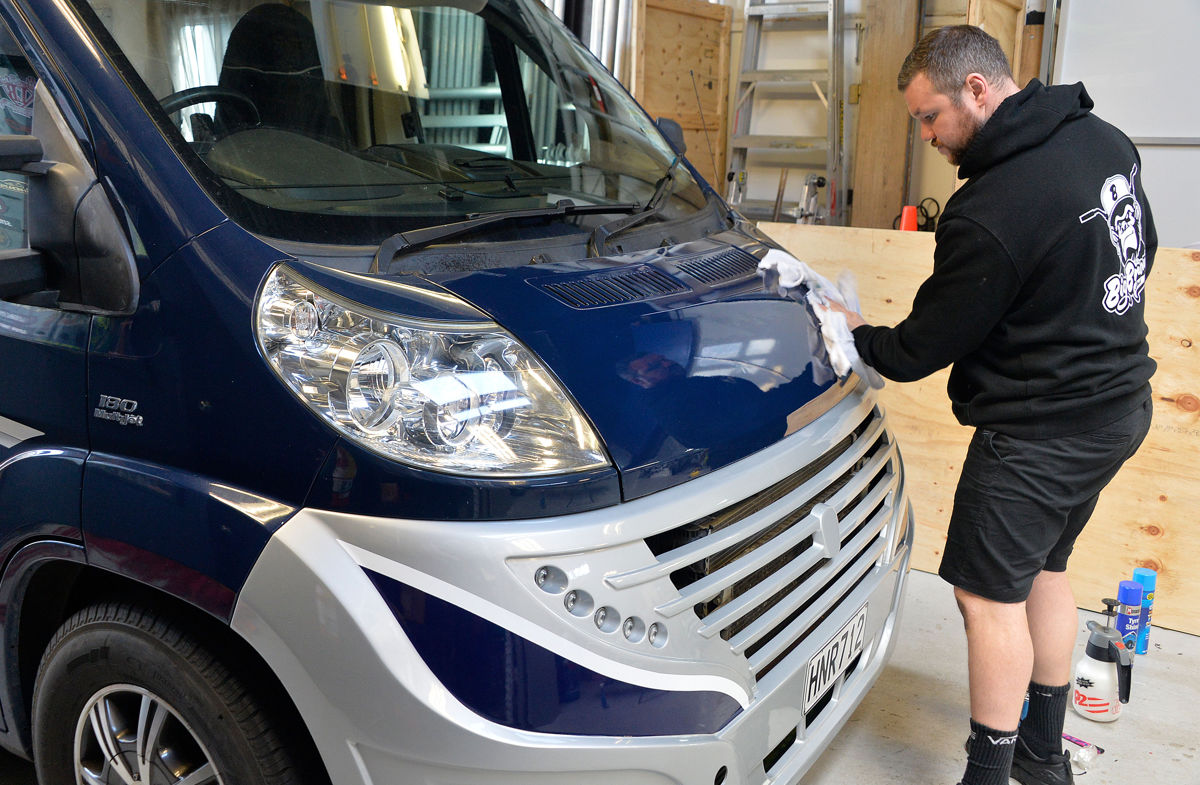
Watching the process was awesome too.. with the new technology products now it really was something to see.
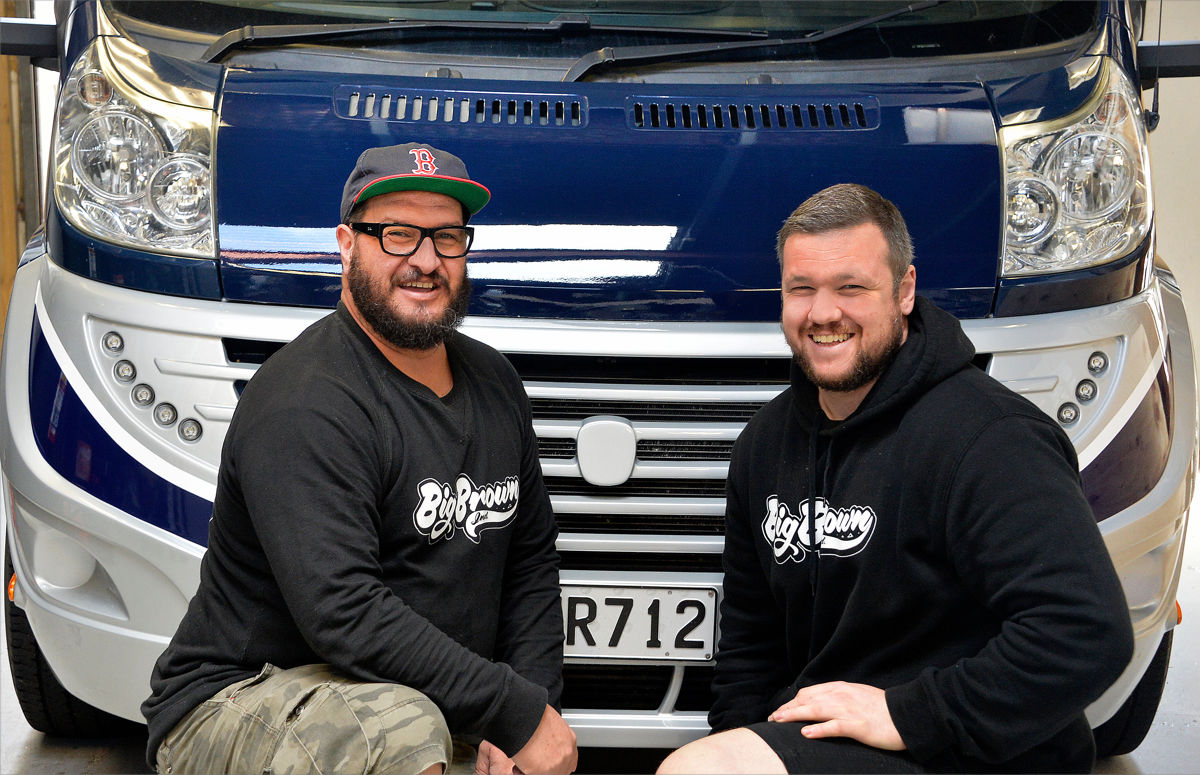
If you’re looking to do a stone chip tidy up or do something with your Motorhome or Caravan, you can find Jeremy and Jay at Big Brown Industries in the Wairau Valley. www.bigbrown.co.nz

You must be logged in to post a comment.